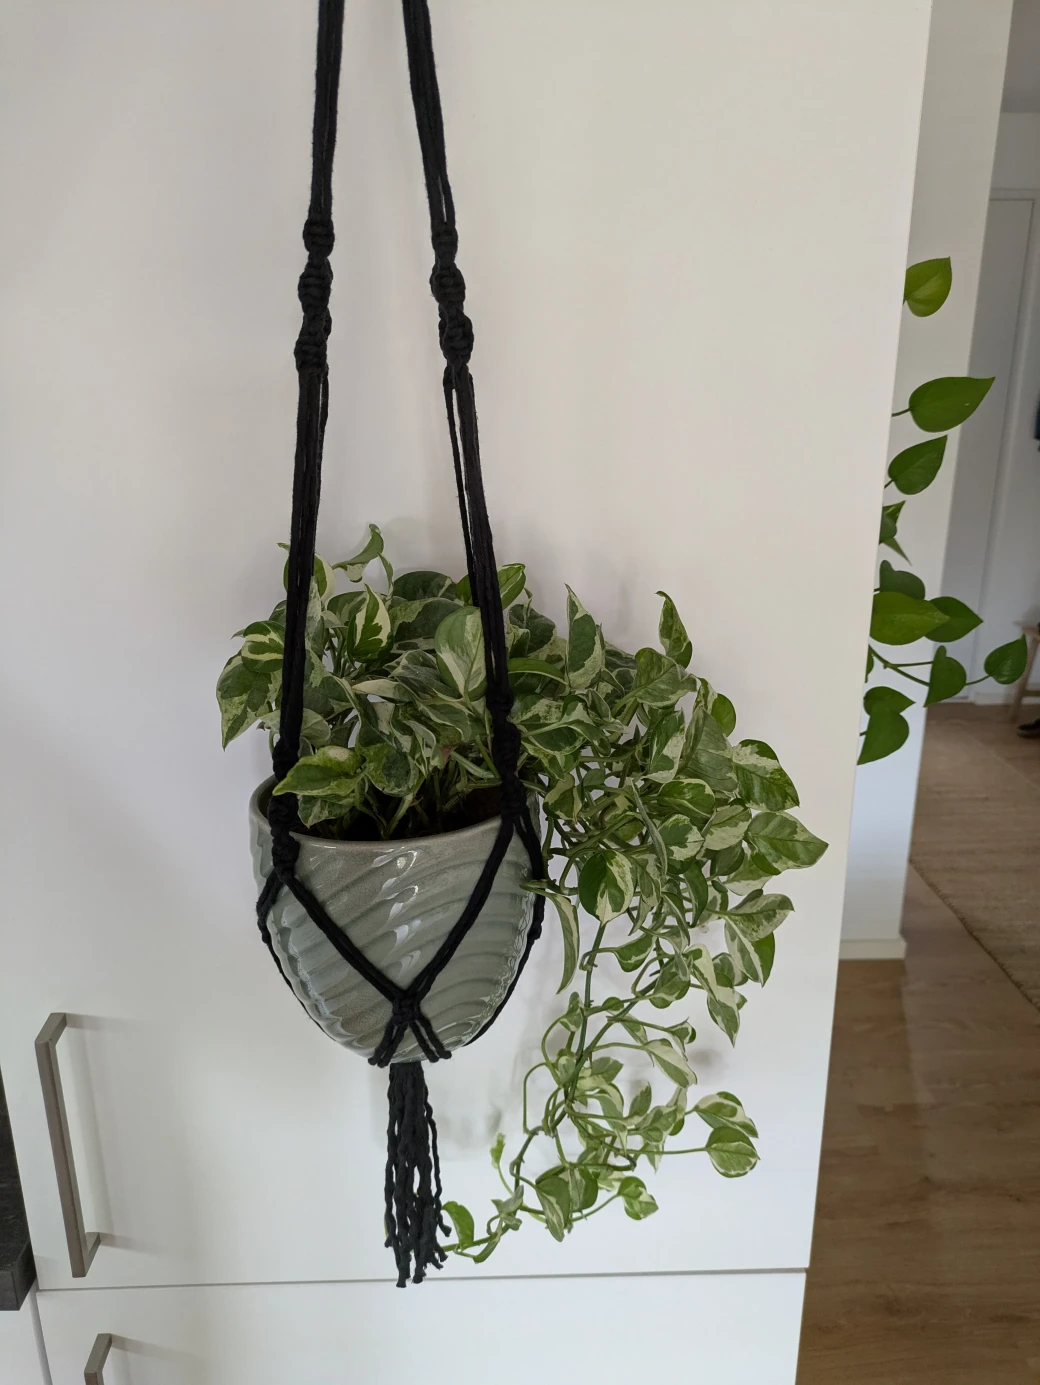
Macrame Hanging Basket
Quickly and easily knotted, this hanging basket made of macrame yarn is a real eye-catcher. Once you understand how the hanging basket comes together, you can let your creativity run free and vary the knots as you wish.
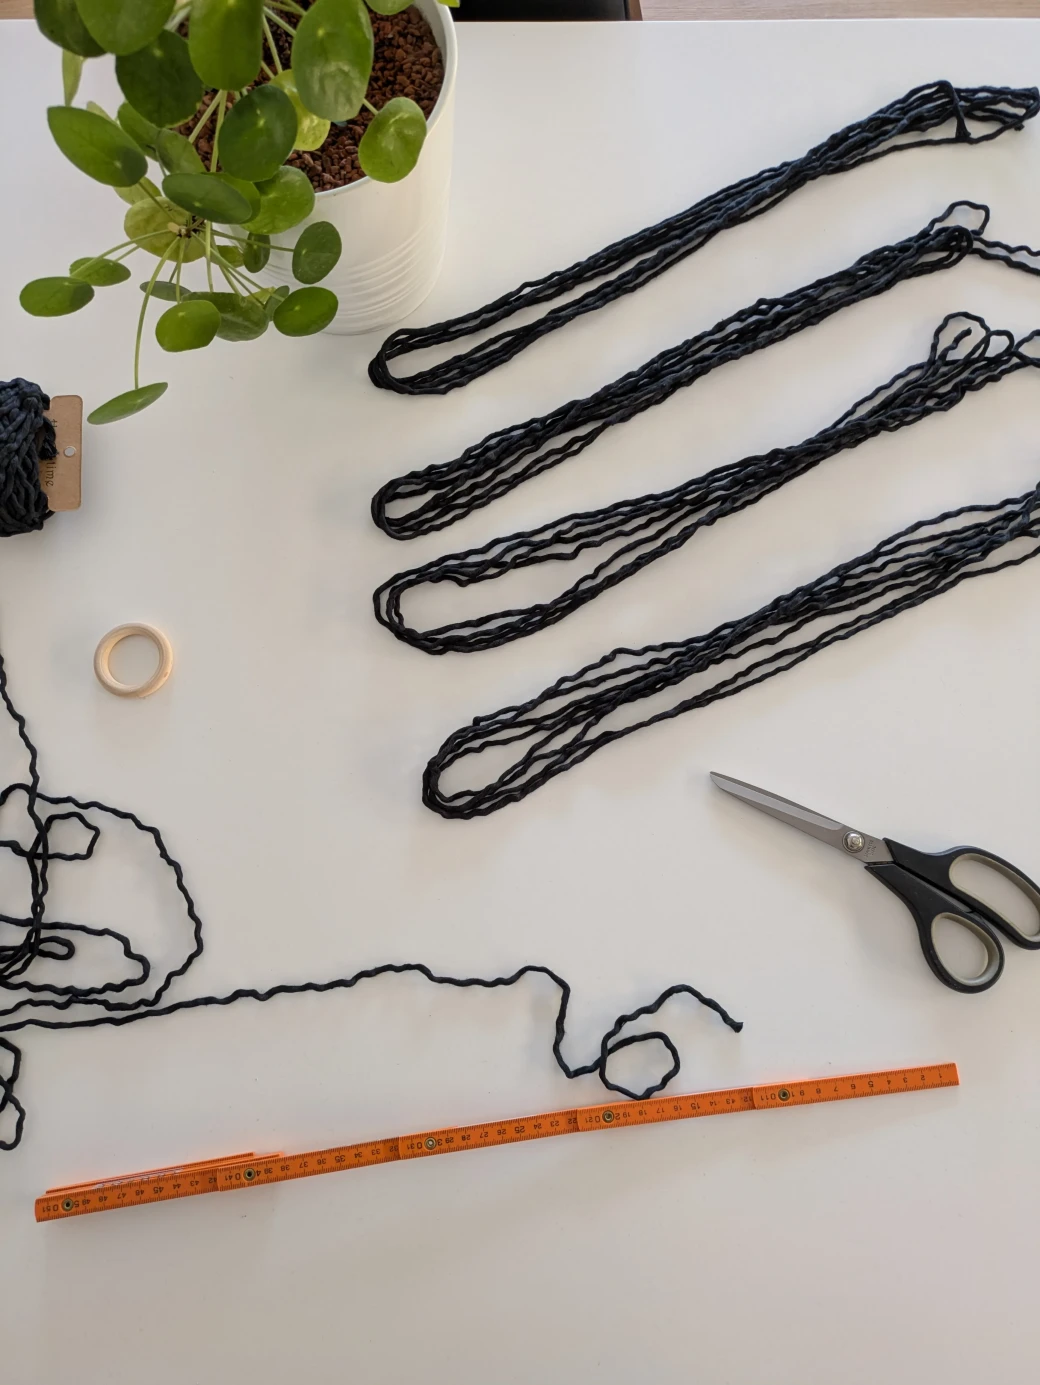
Material List
- Macrame yarn 4 x 4m
- Macrame yarn 4 x 2.5m
- Macrame yarn 2 x 60cm
- Wooden ring for hanging
- Ruler or tape measure
- Scissors
- Clothespins or clips for separating the threads, if necessary
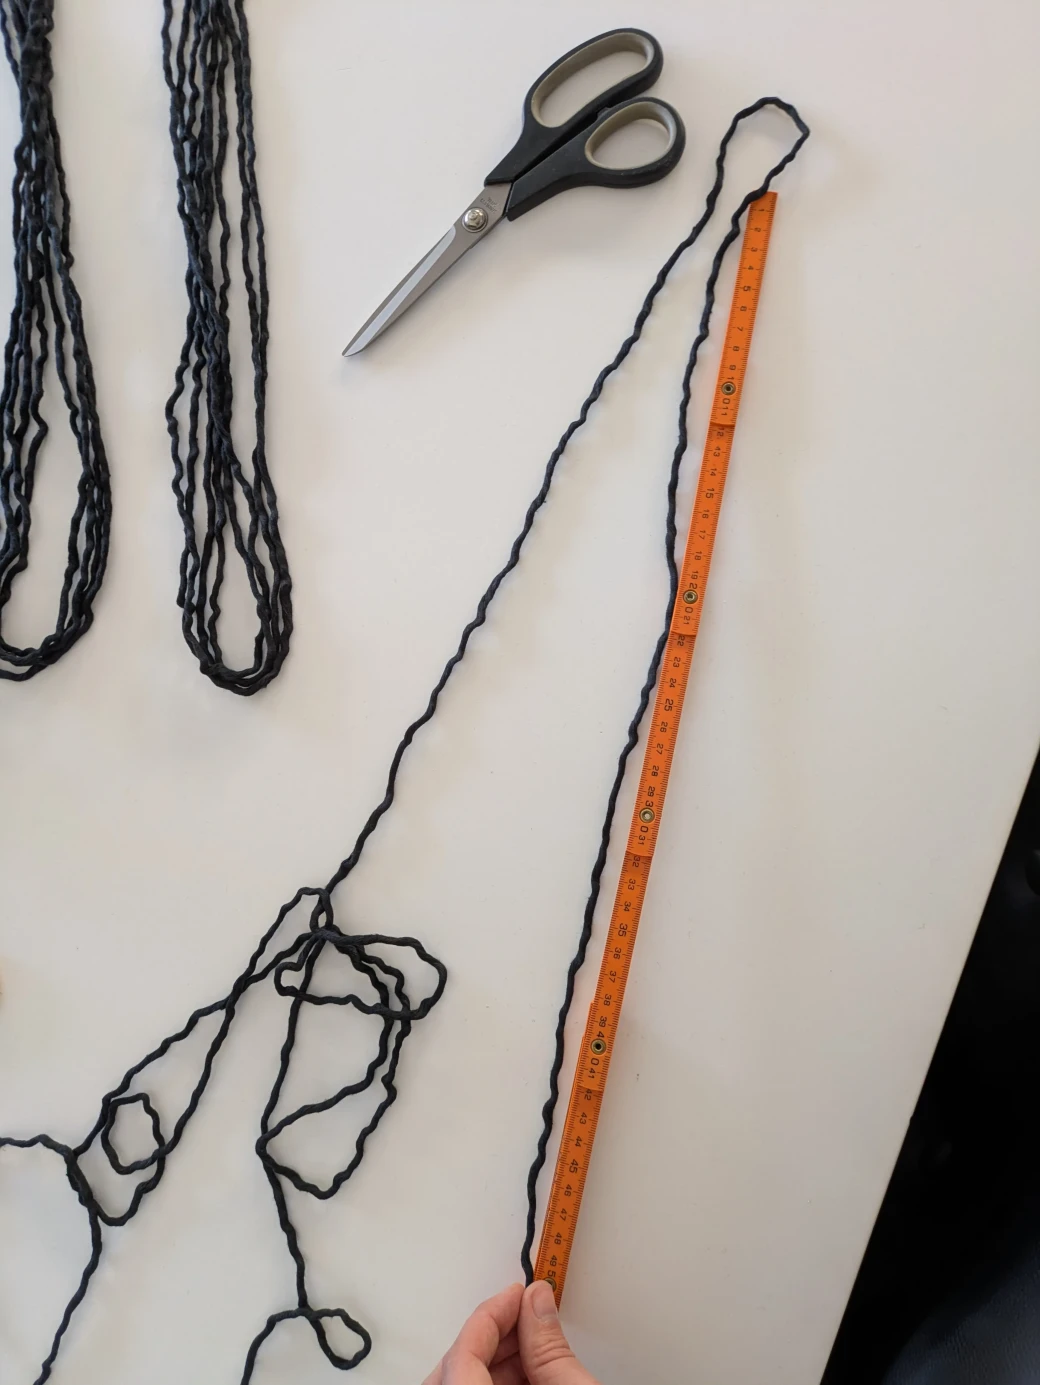
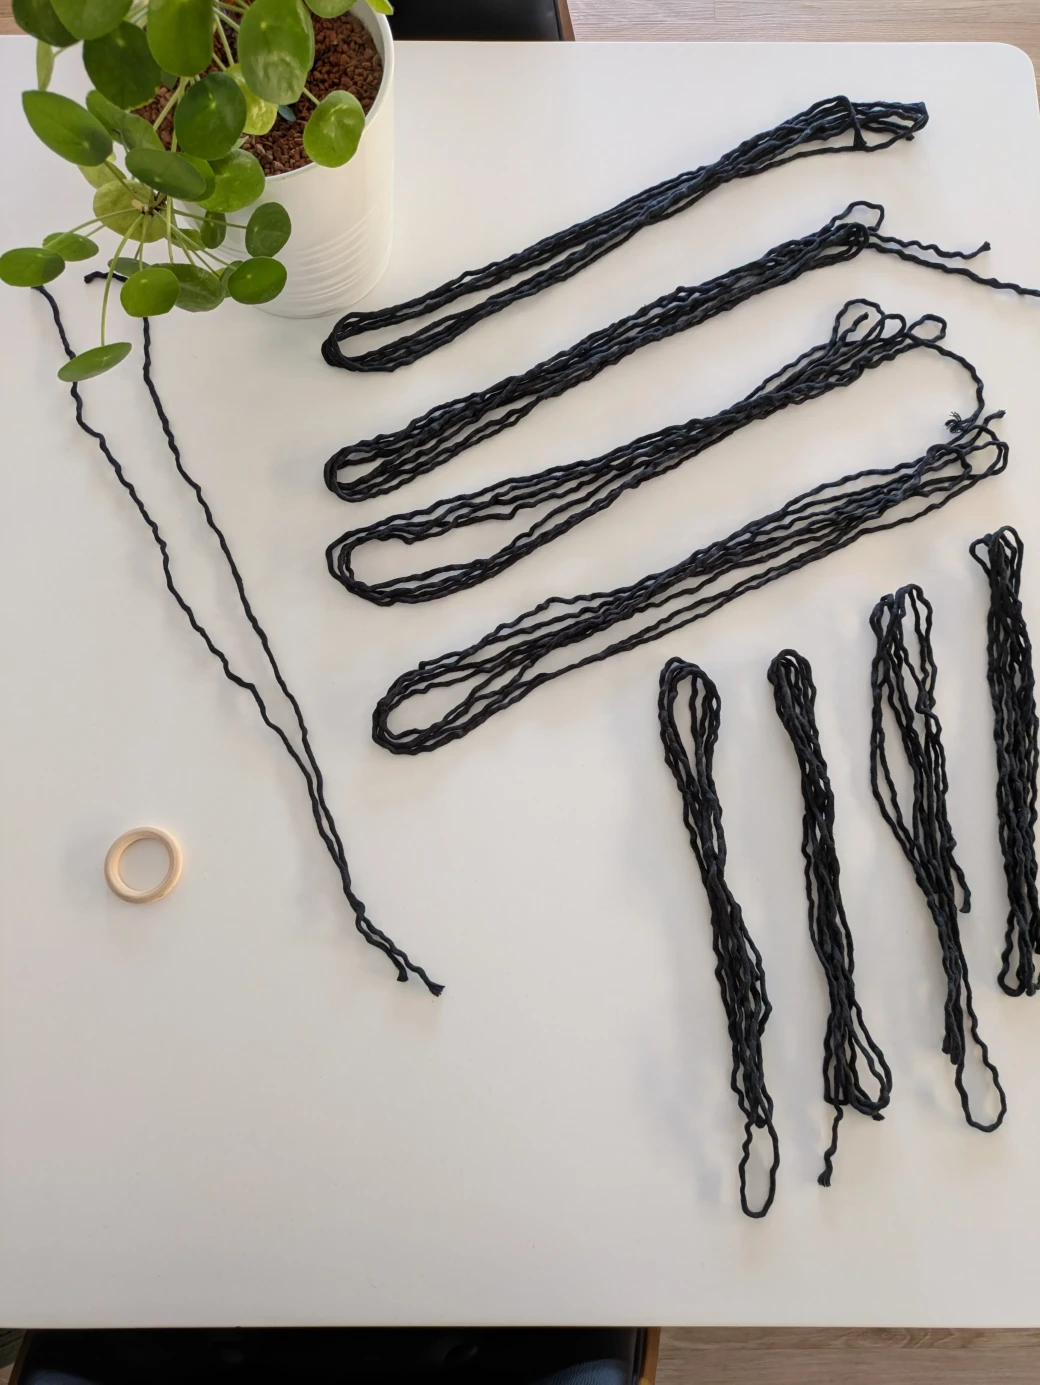
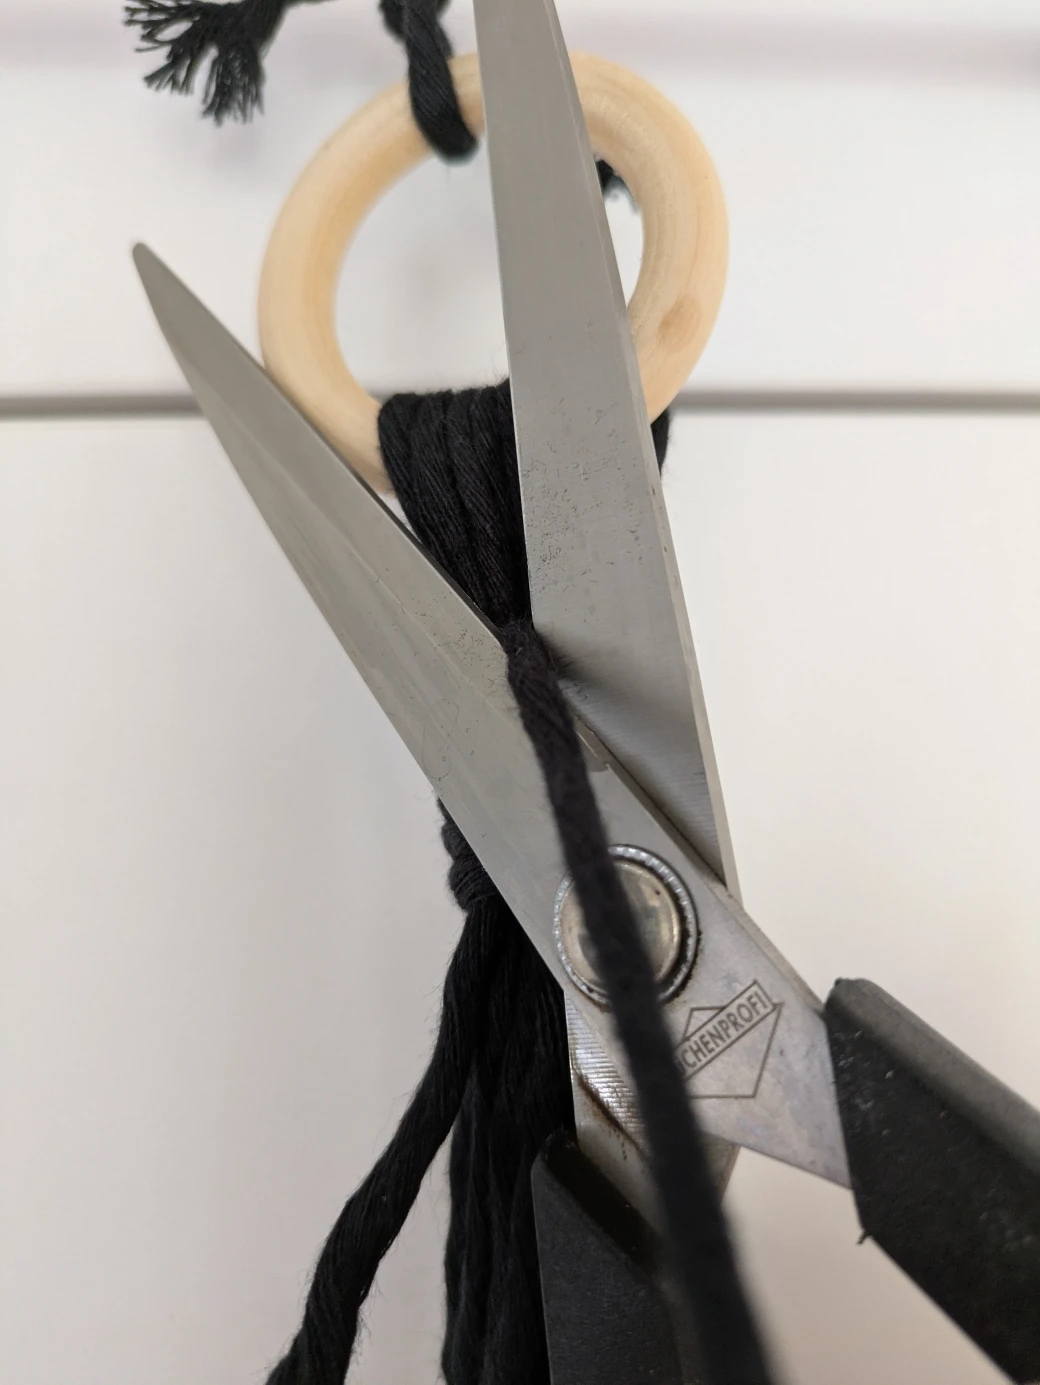
Step 1: Cutting the Yarn
The first step is to measure and cut the macrame yarn. For this hanging basket, we need four 4m long working threads, four 2.5m long filling threads, and two 60cm long threads for tying the wrapping knots at the beginning and end of the basket.
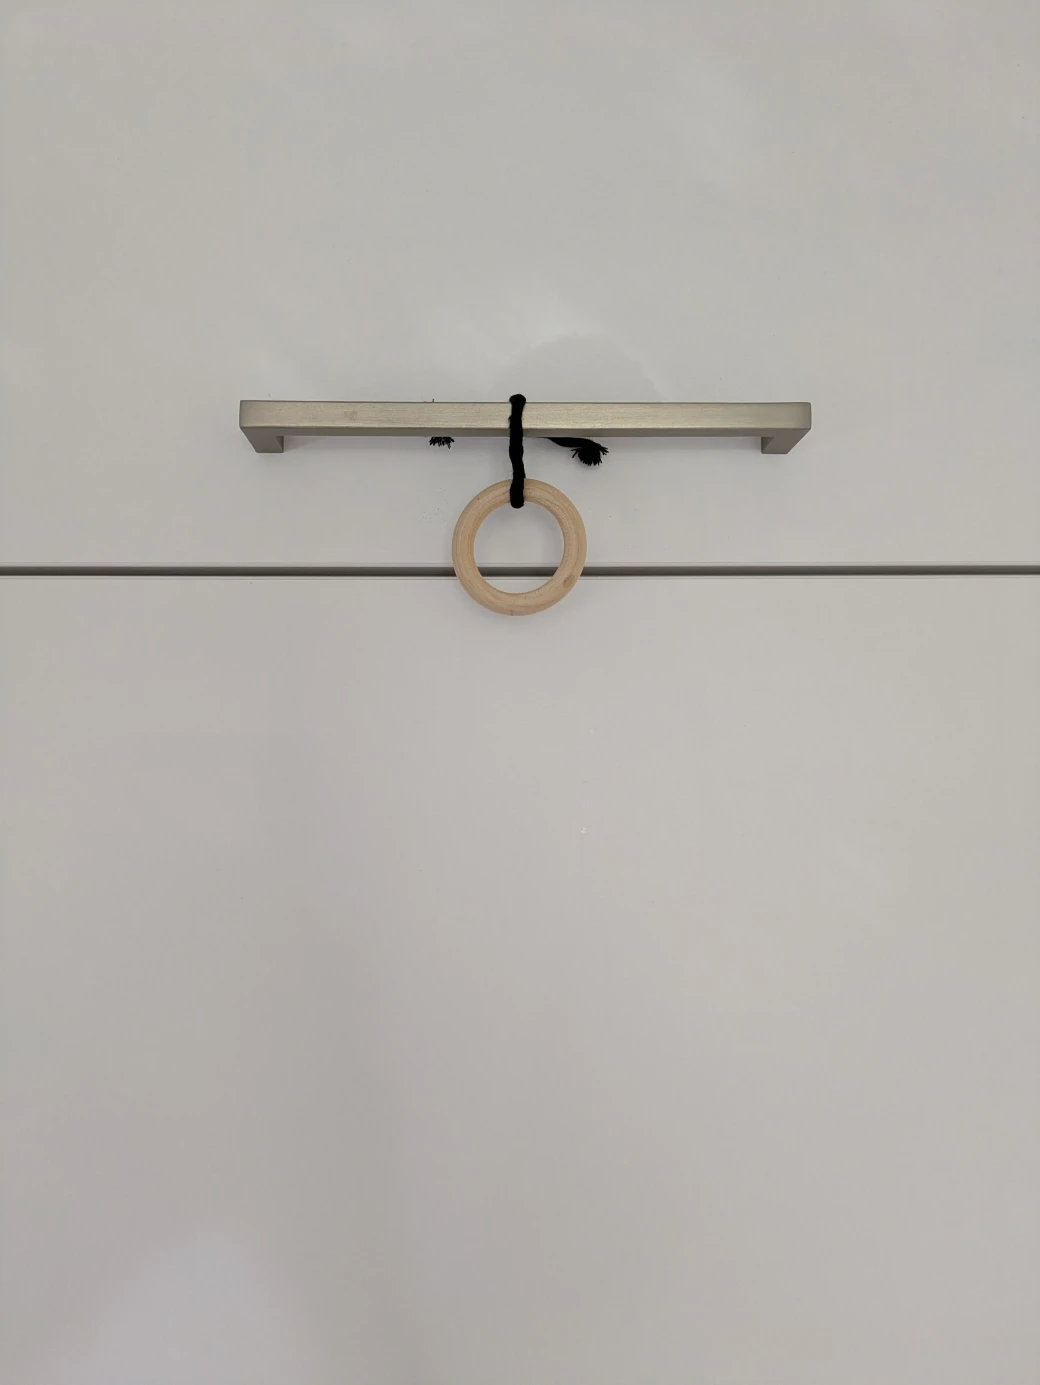
Step 2: Preparation for Knotting
The next step is to prepare everything for knotting the hanging basket. It's best to first hang the wooden ring at about eye level; this is perfect for knotting. For example, I attached the wooden ring to a kitchen cabinet with a small piece of thread. Alternatively, you can also hang the ring over a coat hanger and then hang it on a door frame.
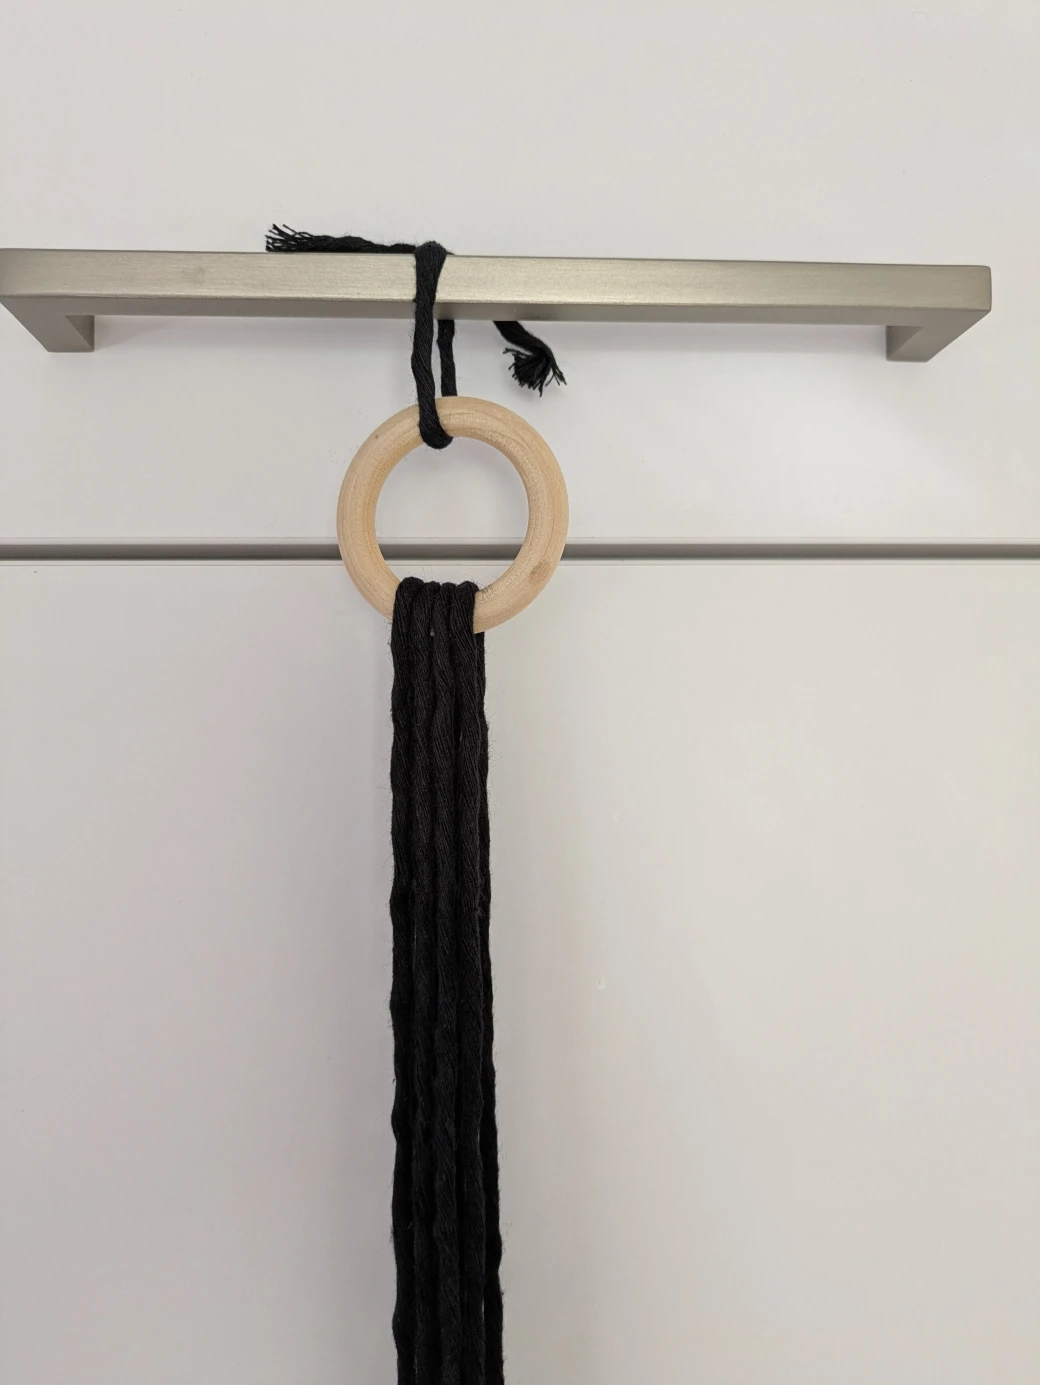
Then, start by threading the working threads and then the filler threads one after the other through the ring. Make sure the threads are centered and the yarn ends are approximately ending at the same length.
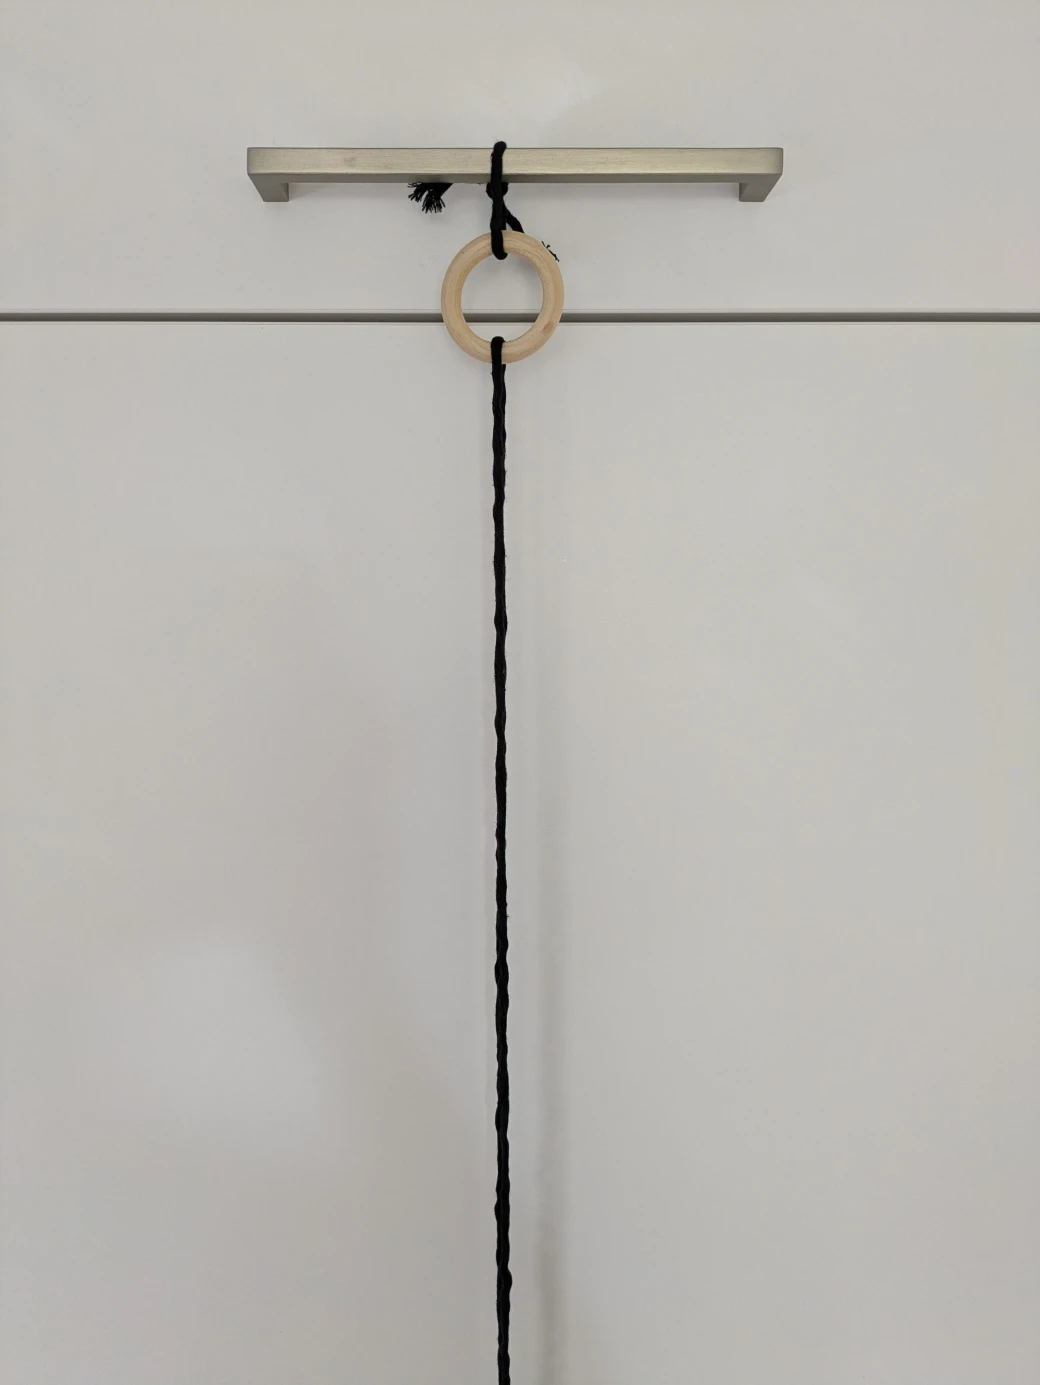

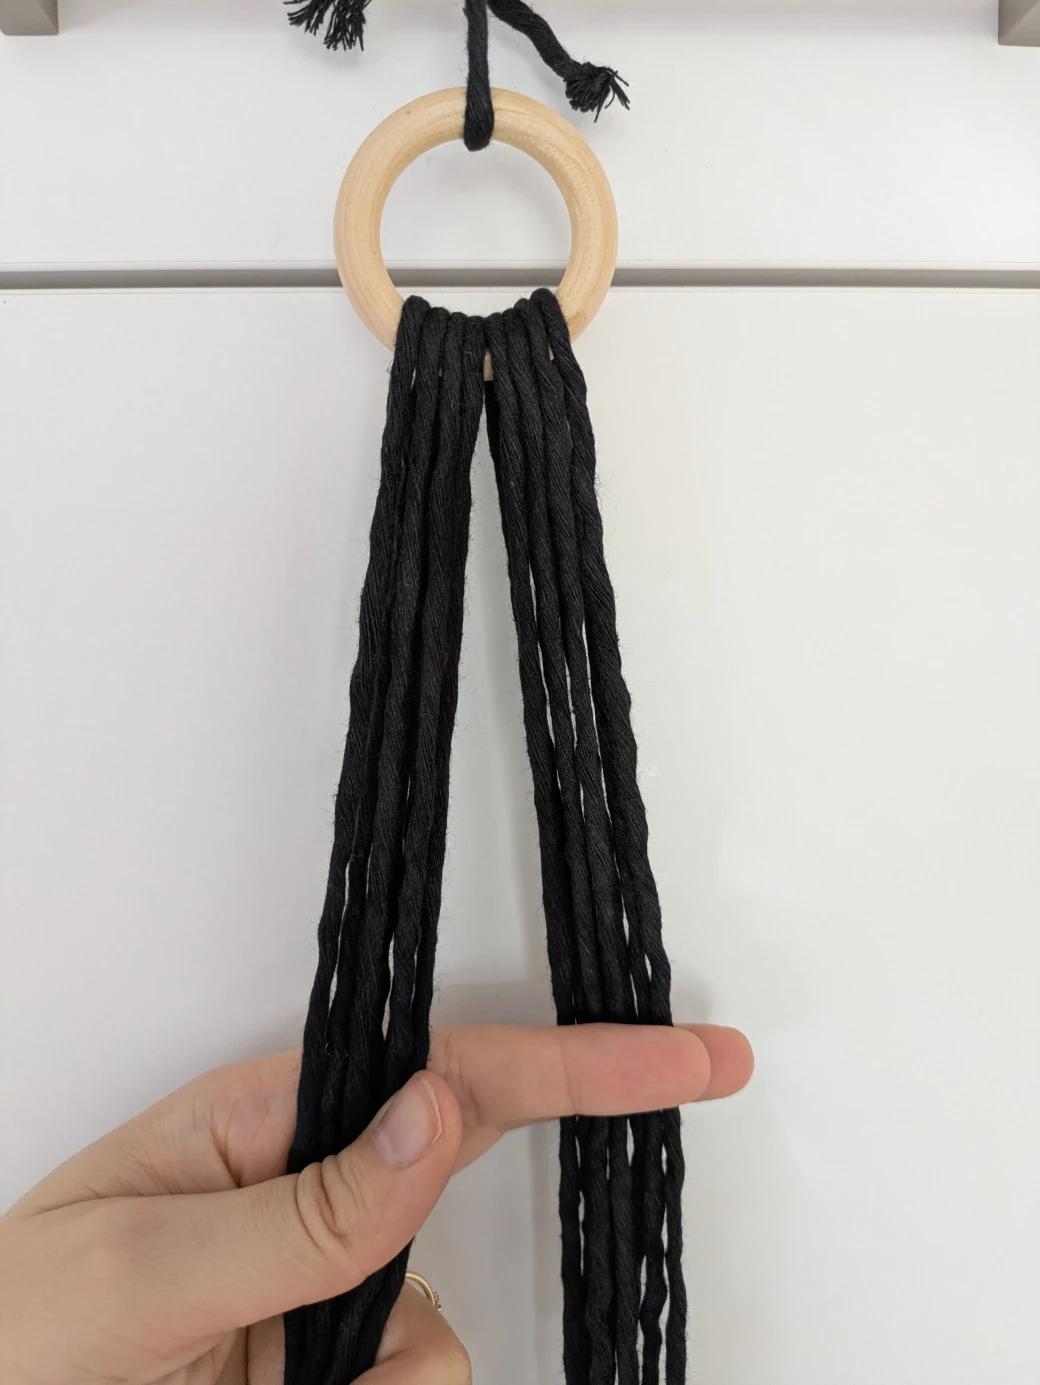
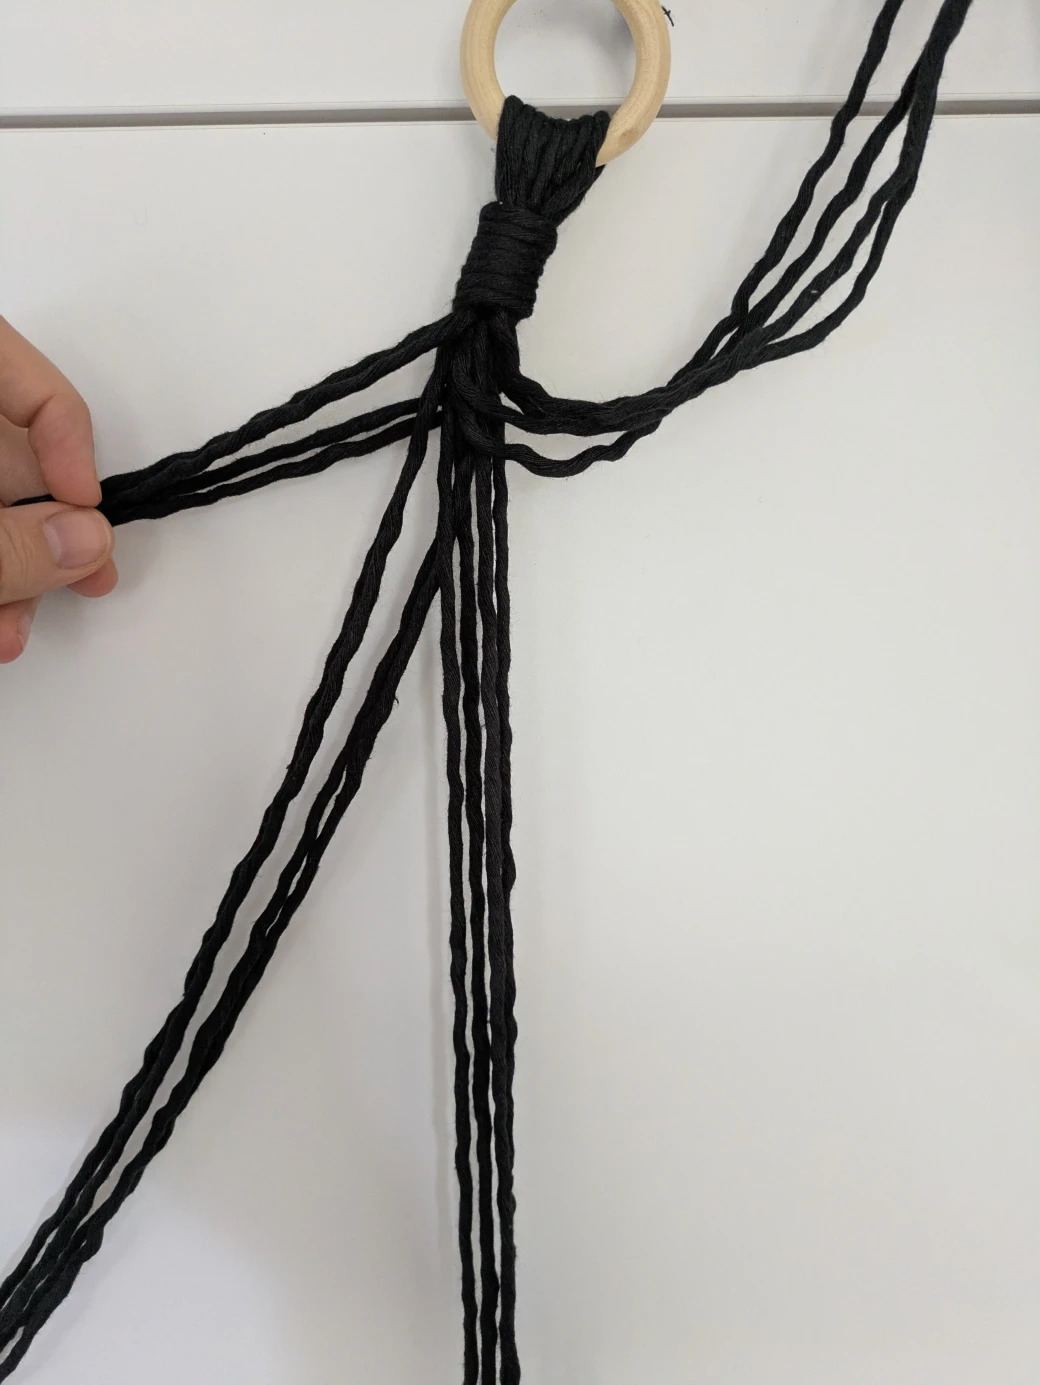
Step 3: The first Wrapping Knot
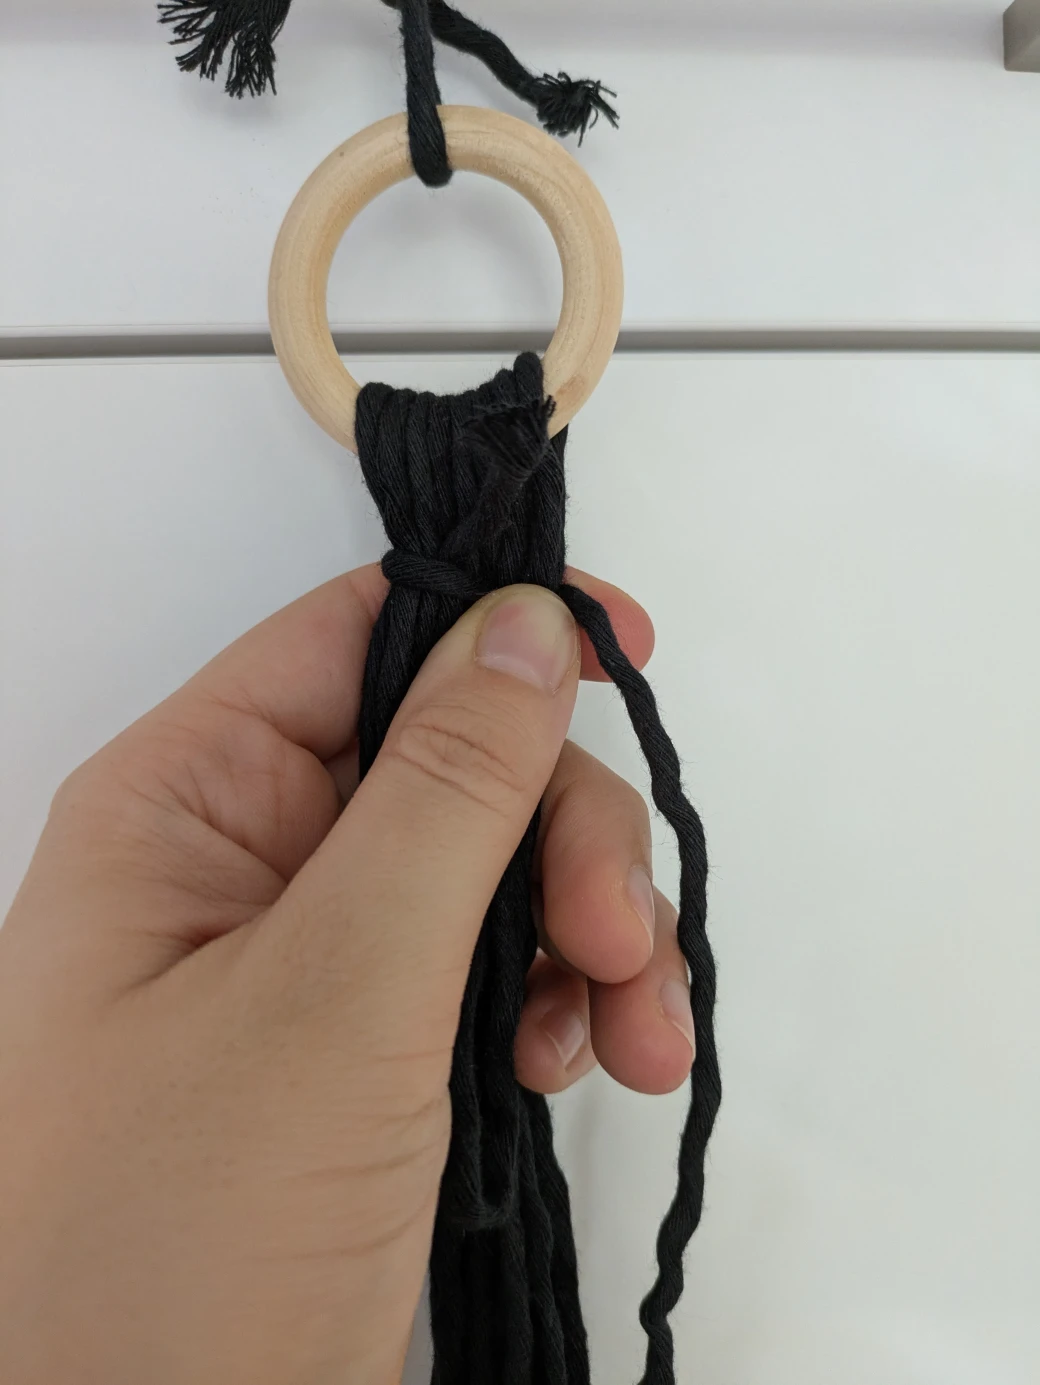
To begin the hanging basket, first use a wrapping knot to securely connect all the threads and attach them to the wooden ring.
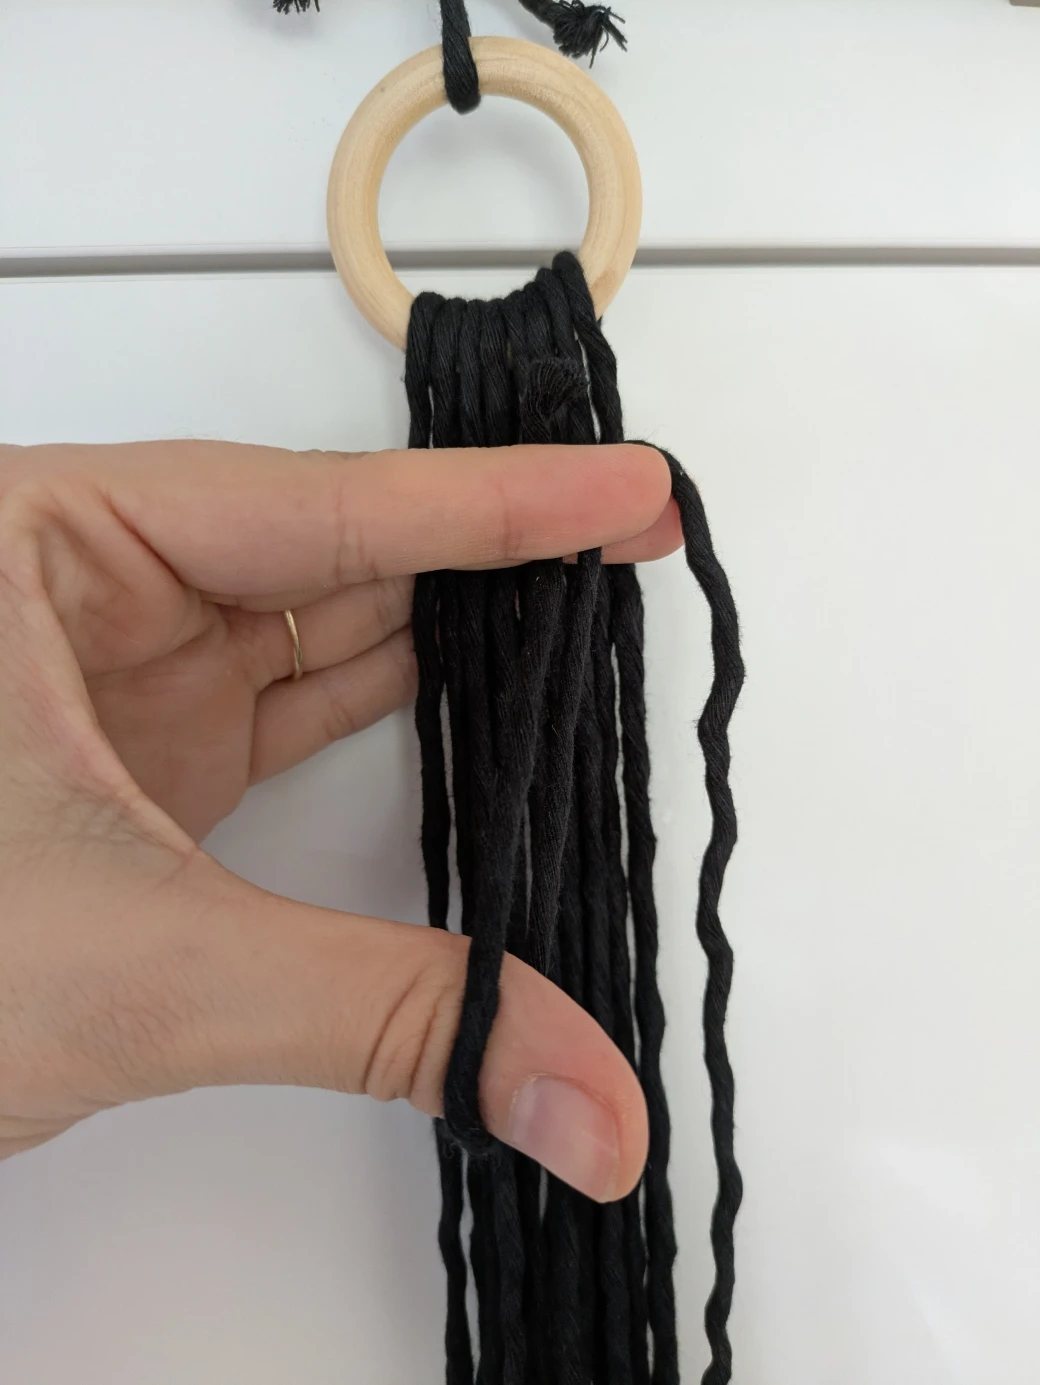
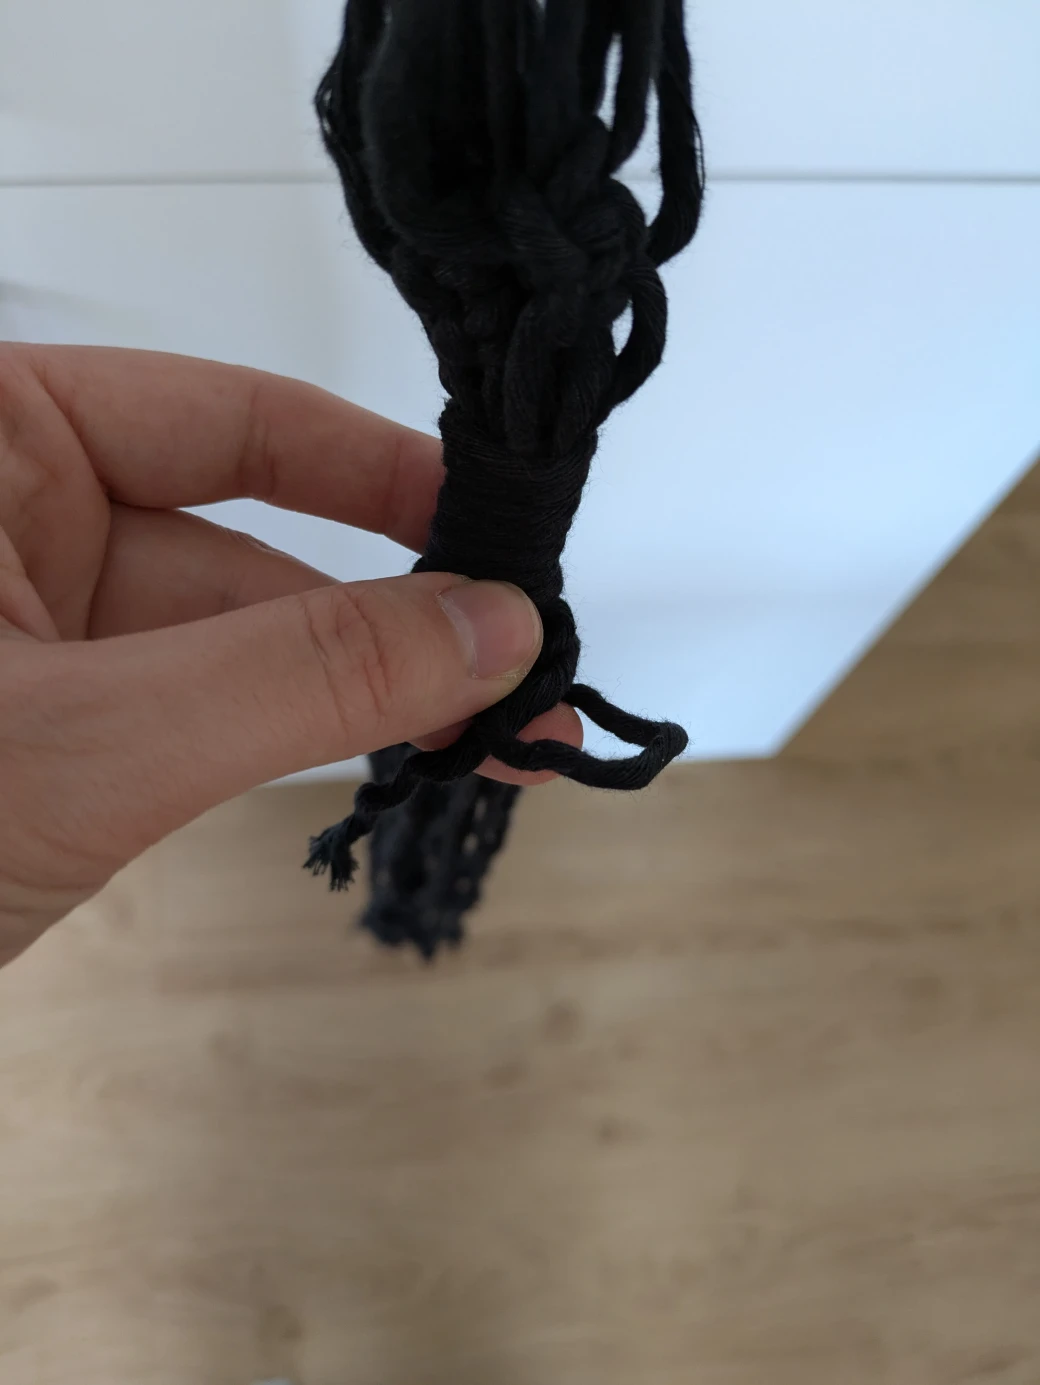
To do this, take one of the two 60cm threads and place it on top of the remaining threads, forming a loop that's open at the top. Then, begin wrapping the remaining 60cm thread piece by piece around the other threads of the hanging basket. Do this quite tightly and make sure the threads are wrapped nicely next to each other to create a beautiful finished result. Also, make sure you don't wrap the top end of the thread, as we'll need it to close the wrapping knot.
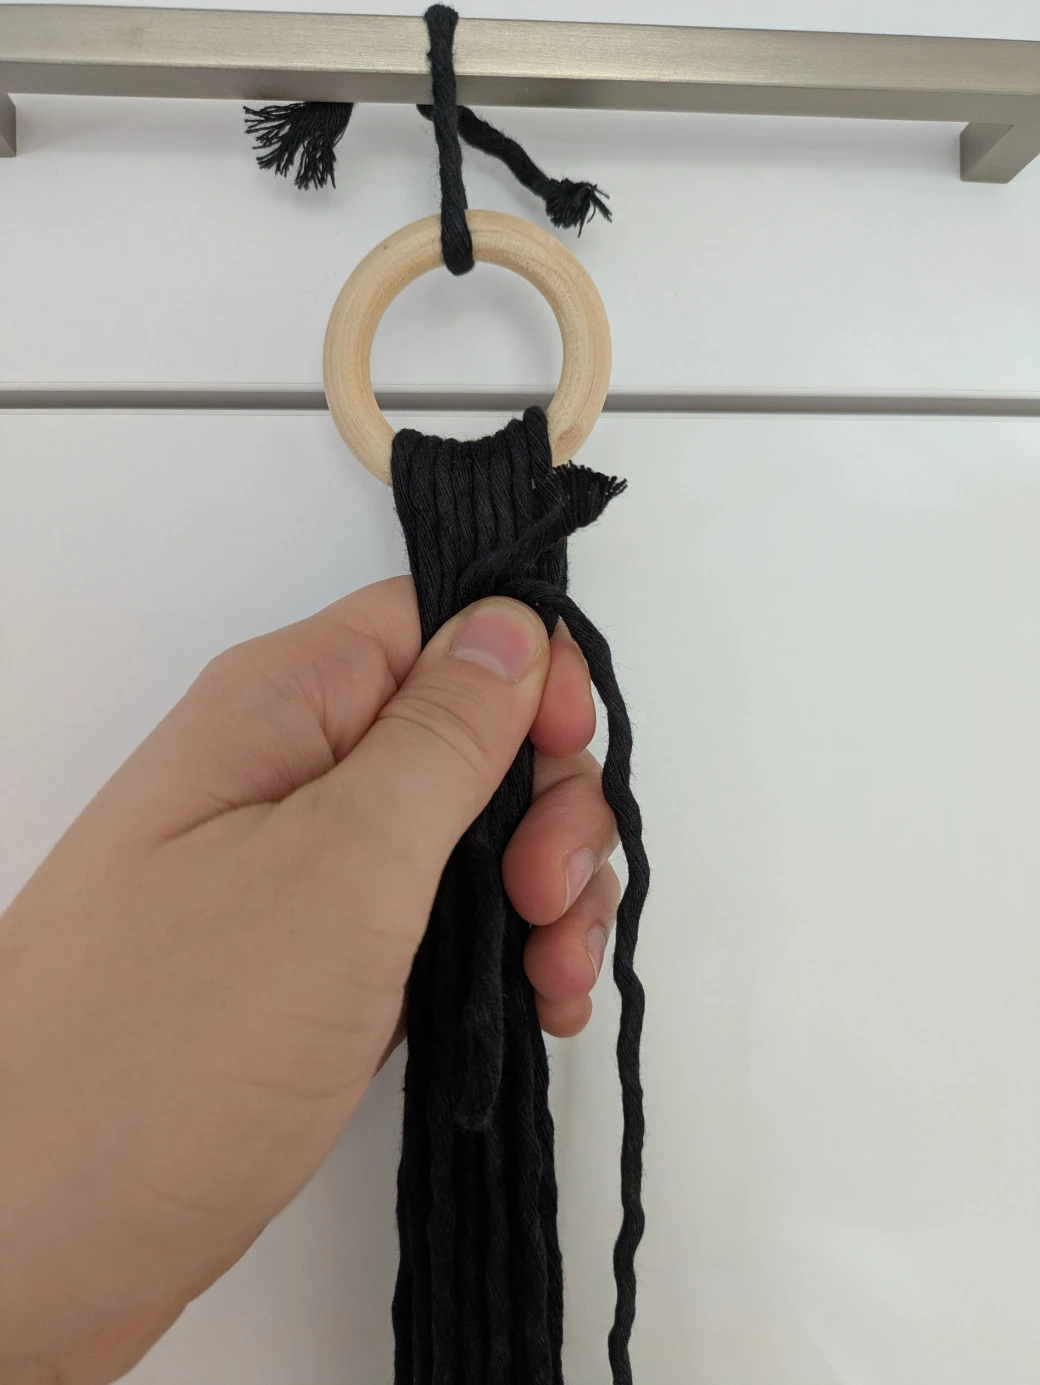
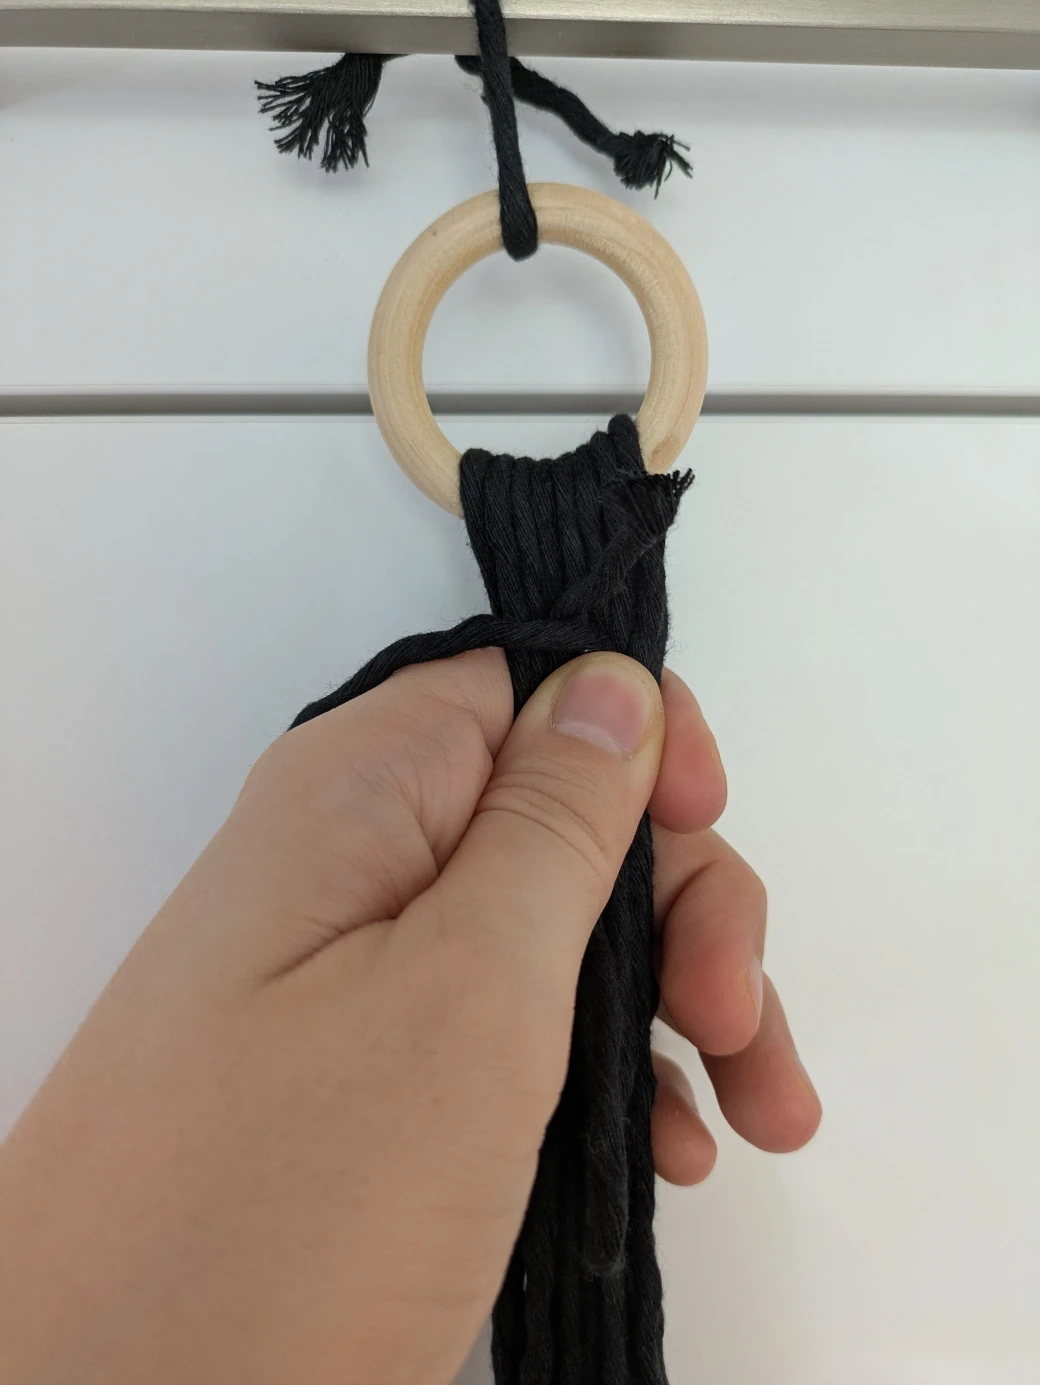
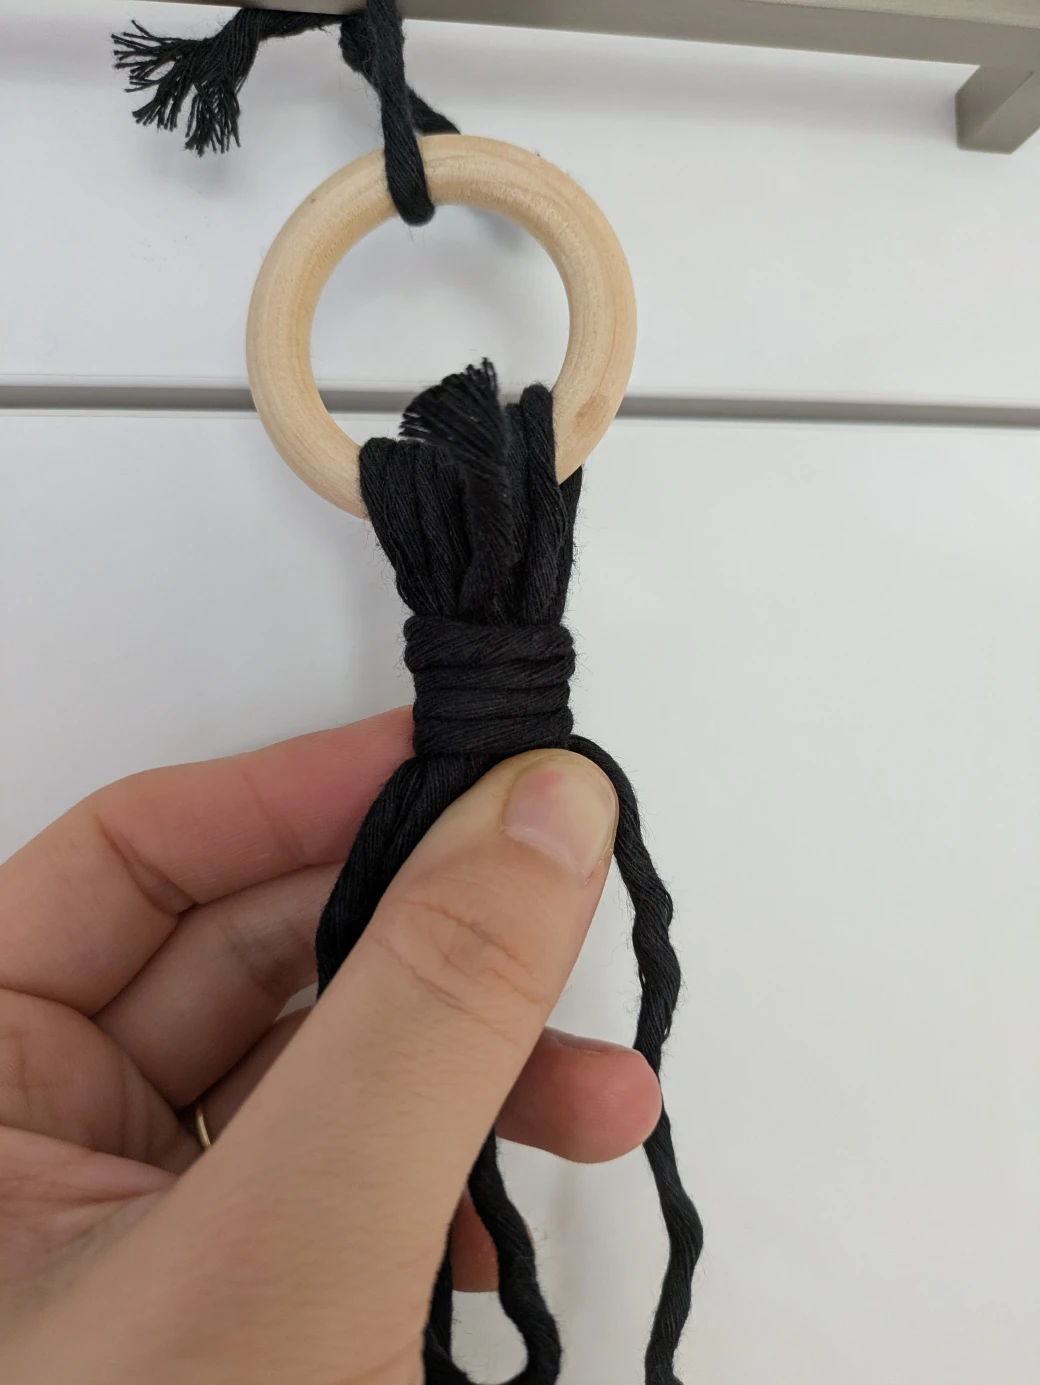
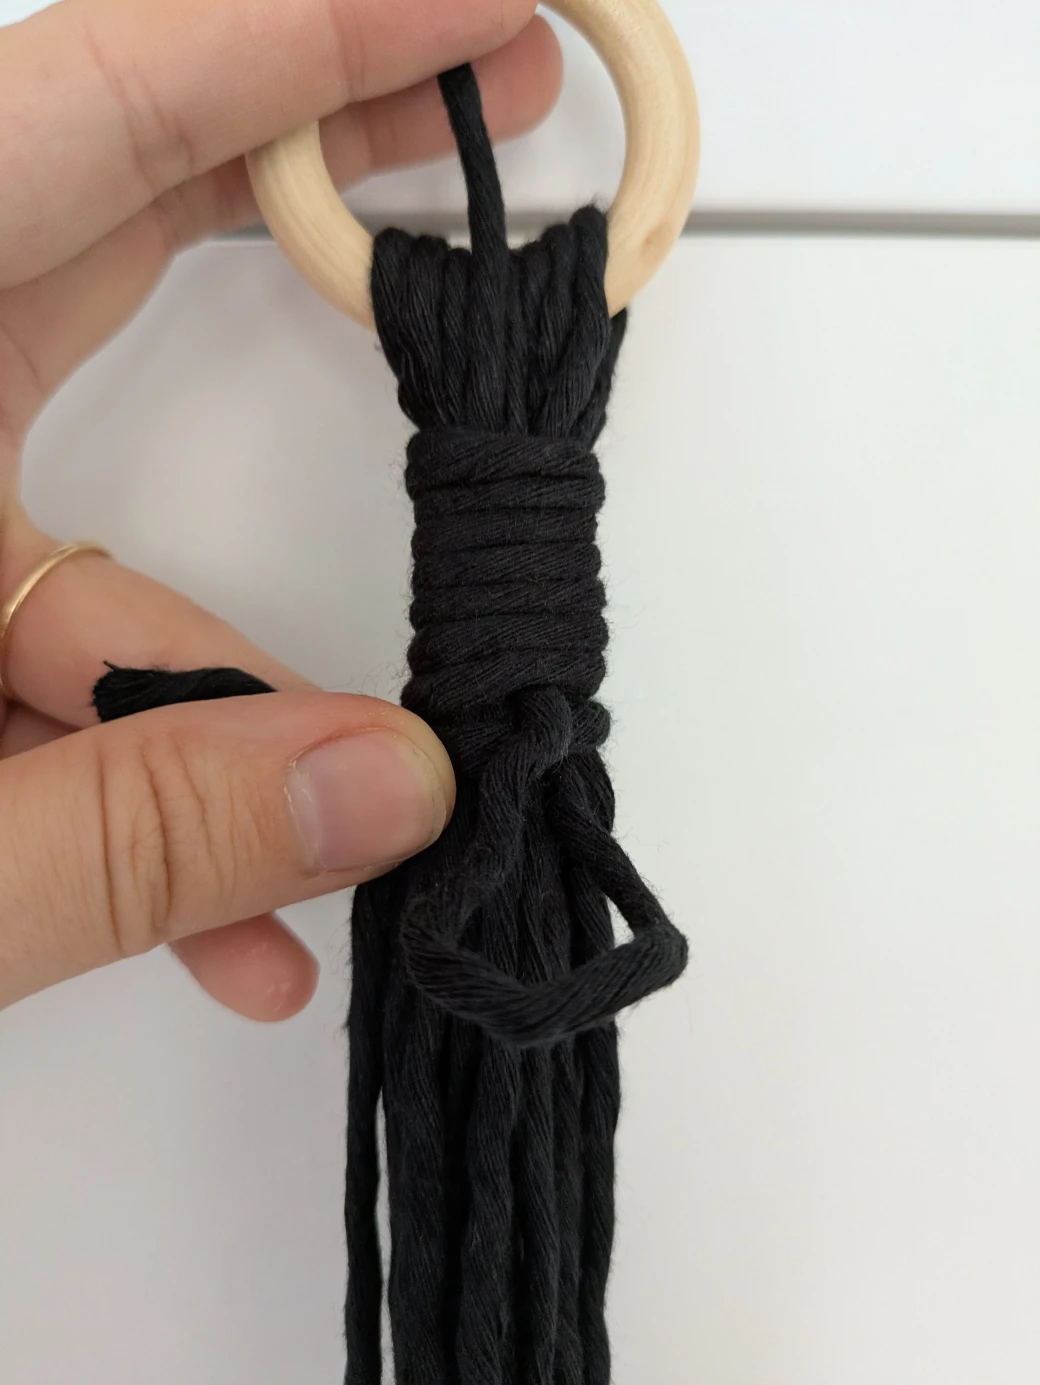
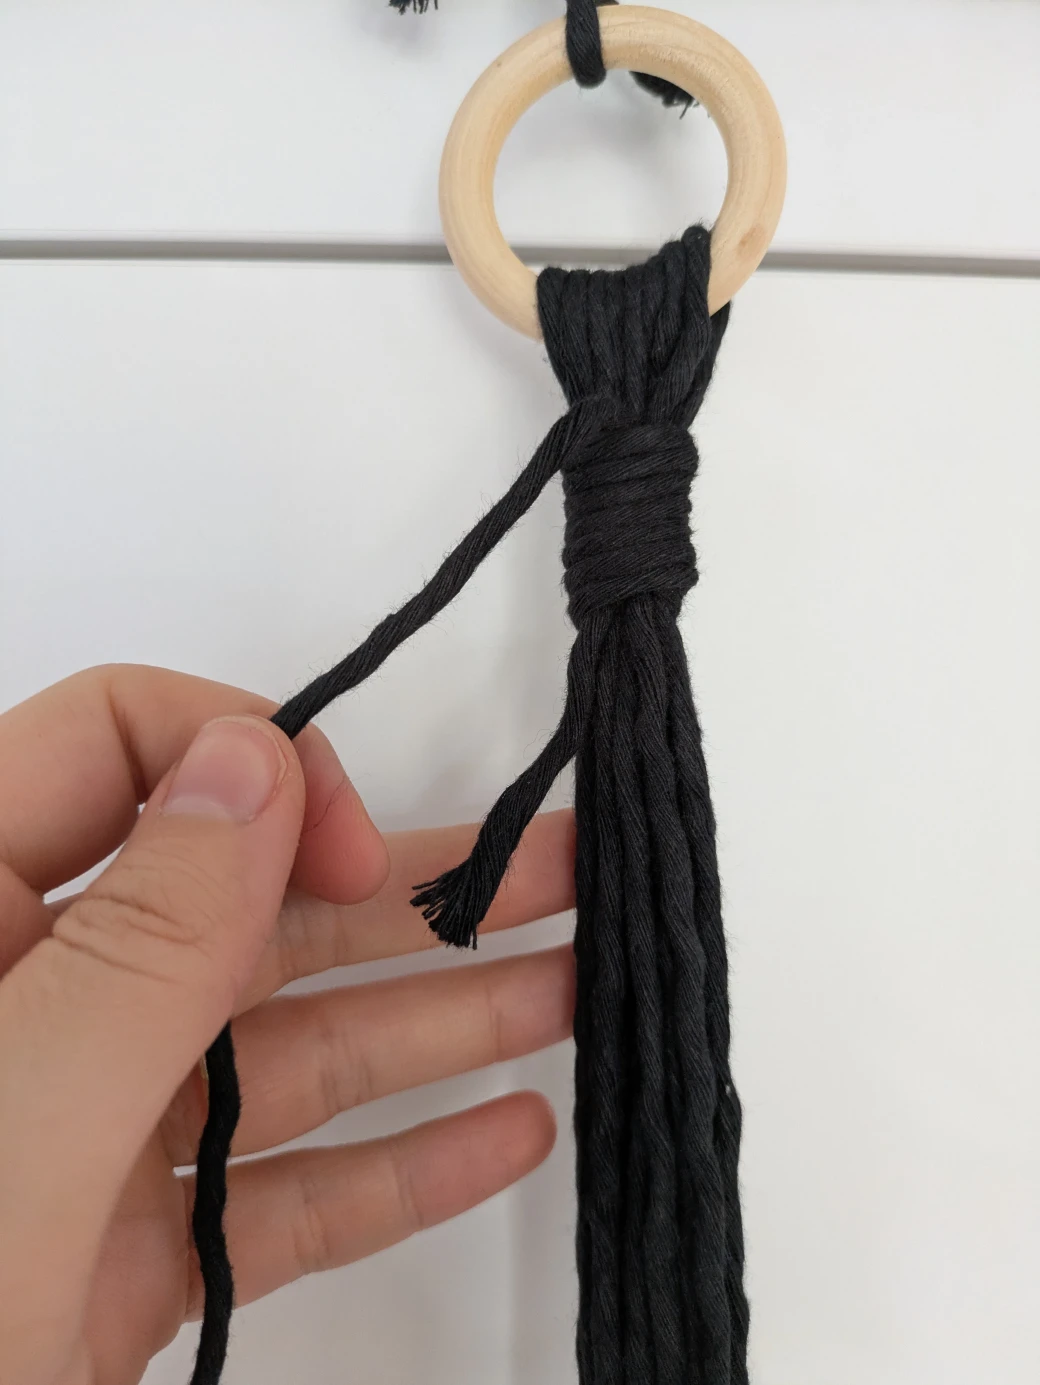
When only a little thread remains, thread the end of it through the loop at the bottom of the wrapping knot. Next, hold this piece of thread firmly and simultaneously pull on the top end of the wrapping knot. This will pull the loop under the wrapped section and securely close it. Once the wrapping knot is sufficiently tight, you can trim the ends of the thread.

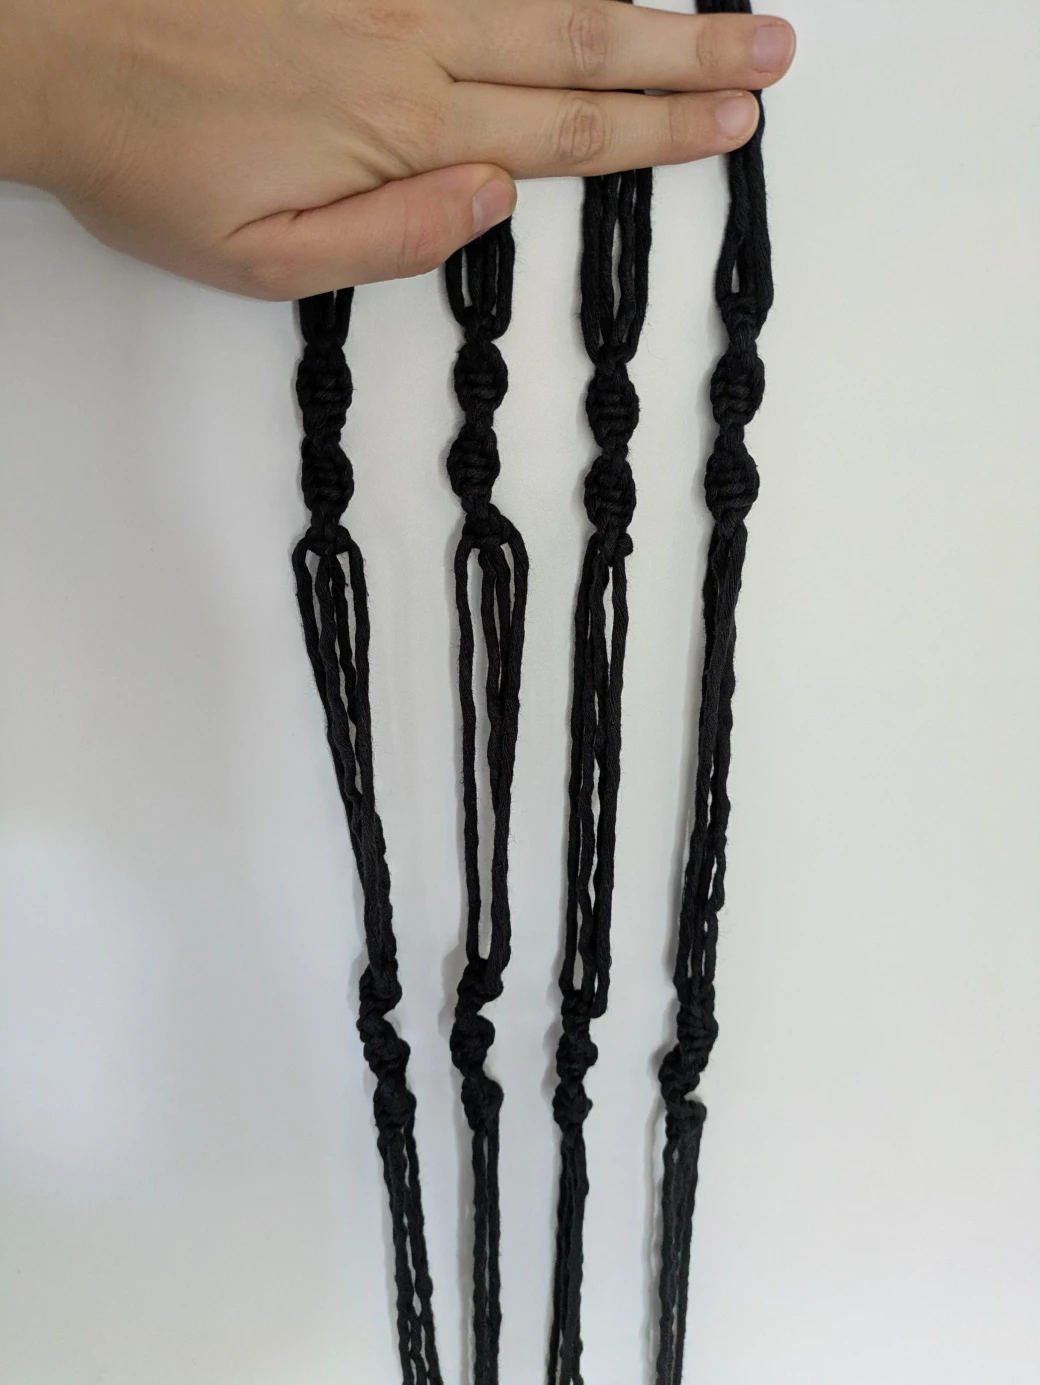
Step 4: The first Spiral Knots
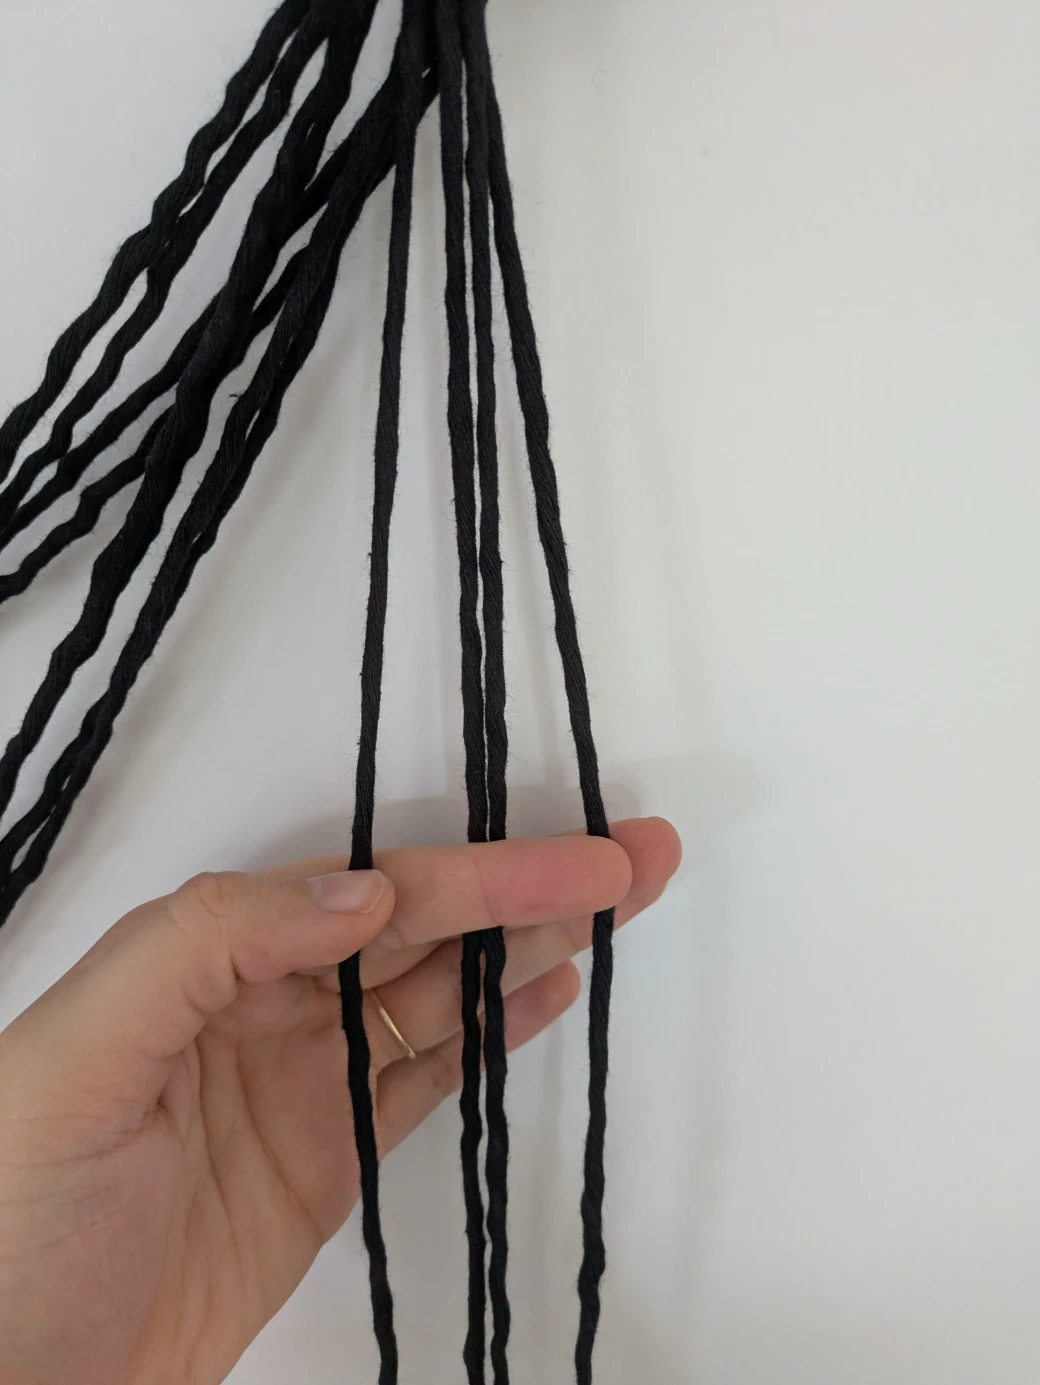
Now that the wrapping knot has connected all the threads to the wooden ring, it's time to begin tying the actual hanging basket. To do this, all 16 threads are first divided into four groups, each with two long working threads and two short filling threads.
To tie the spiral knots one group at a time is used, with the two working threads on the outside and the filling threads on the inside.
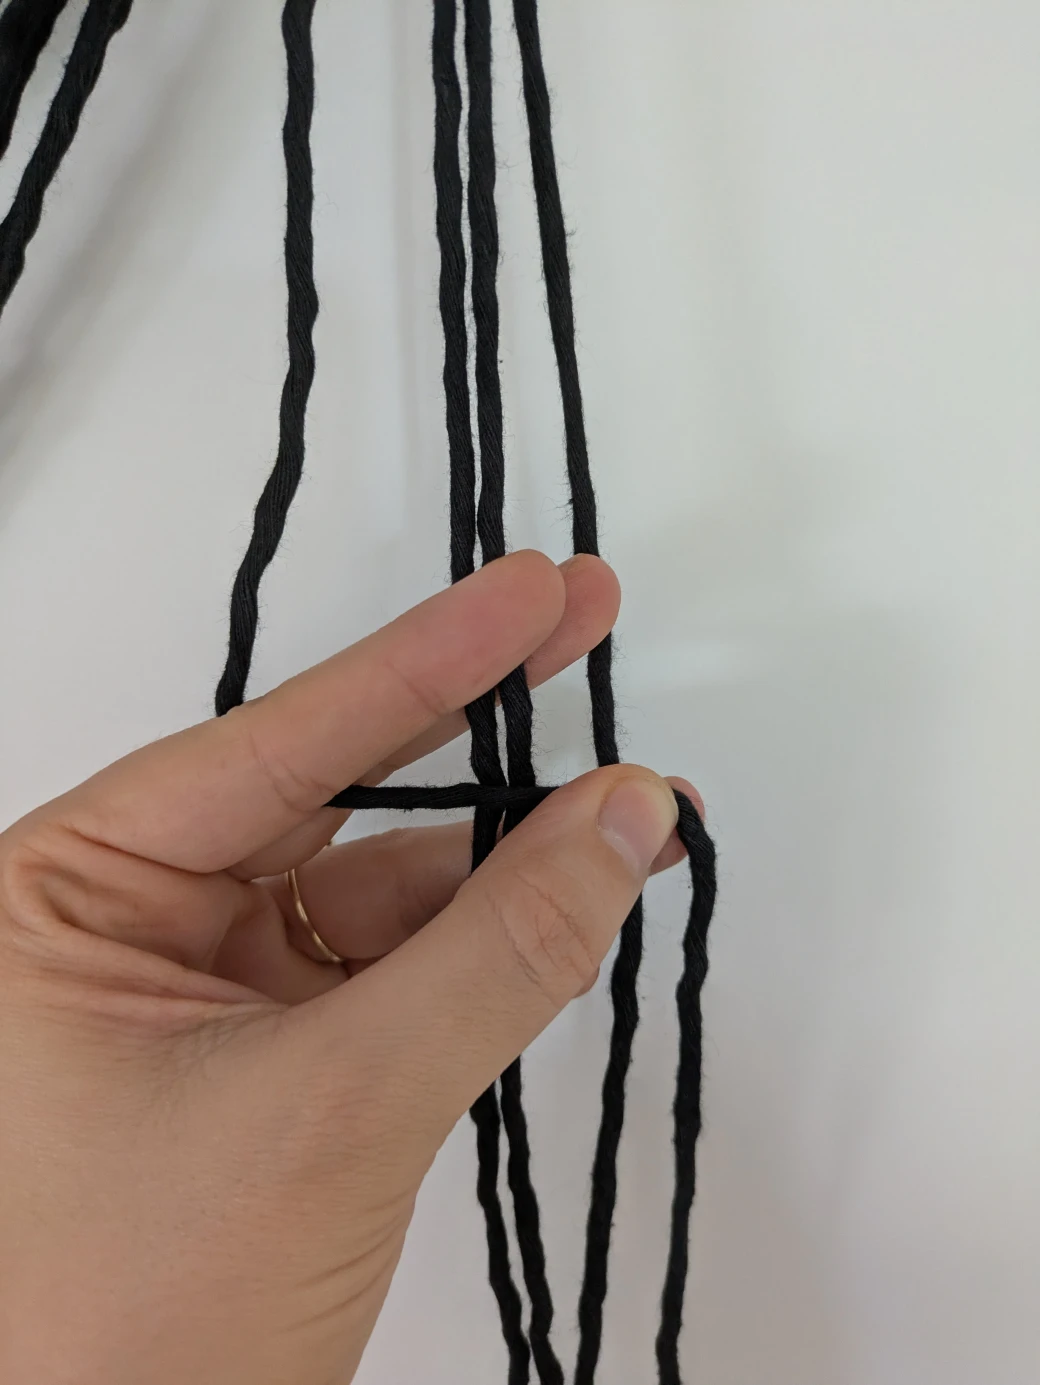
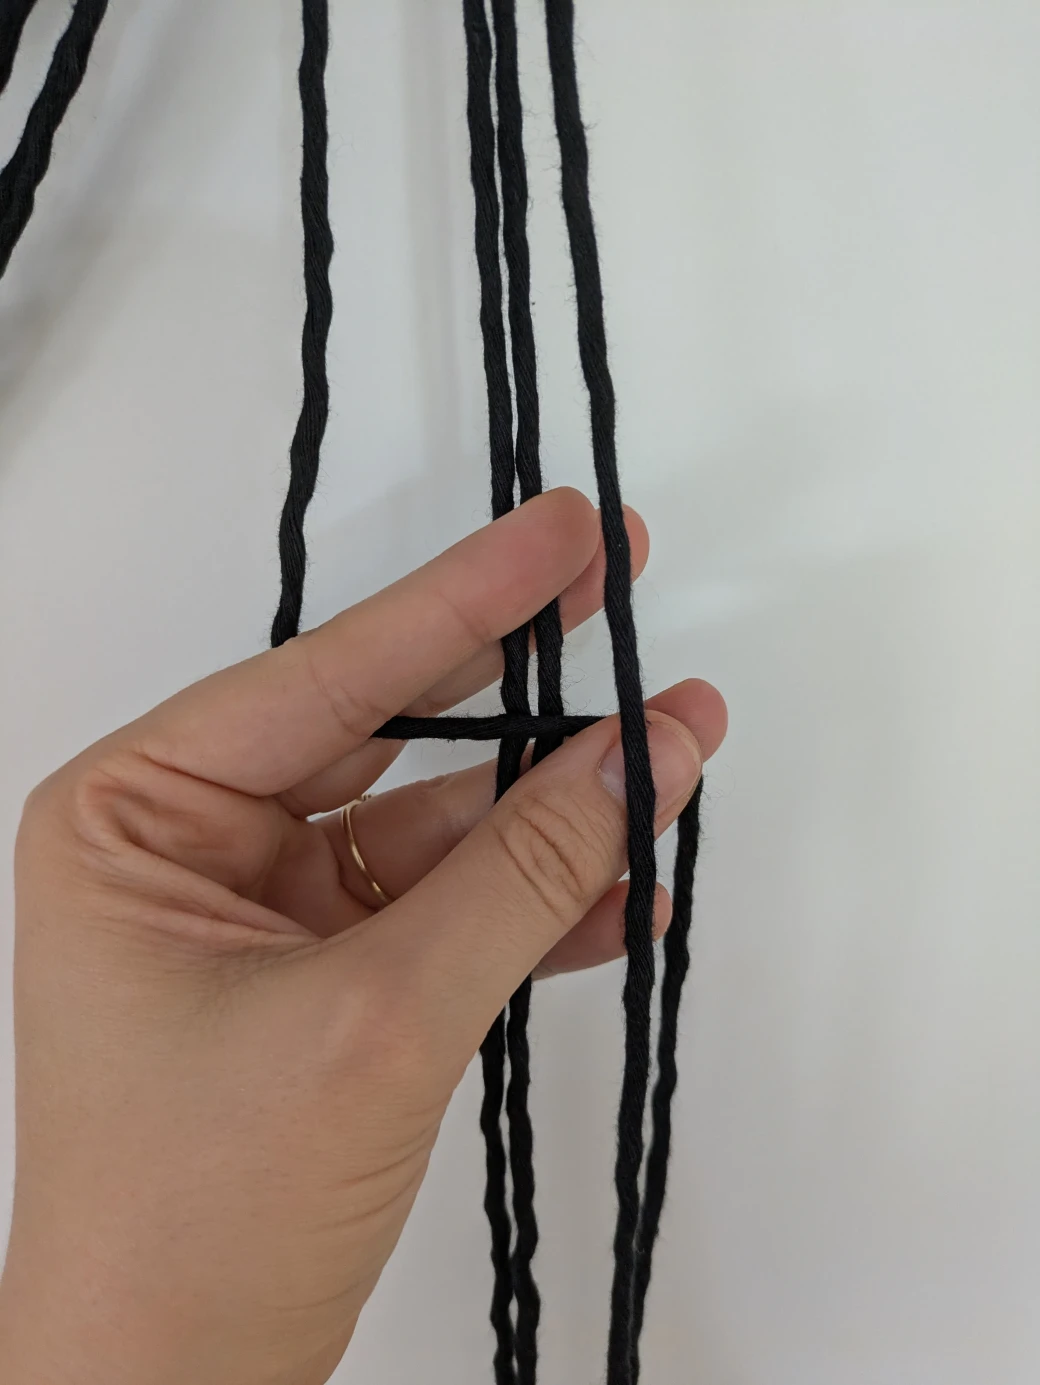
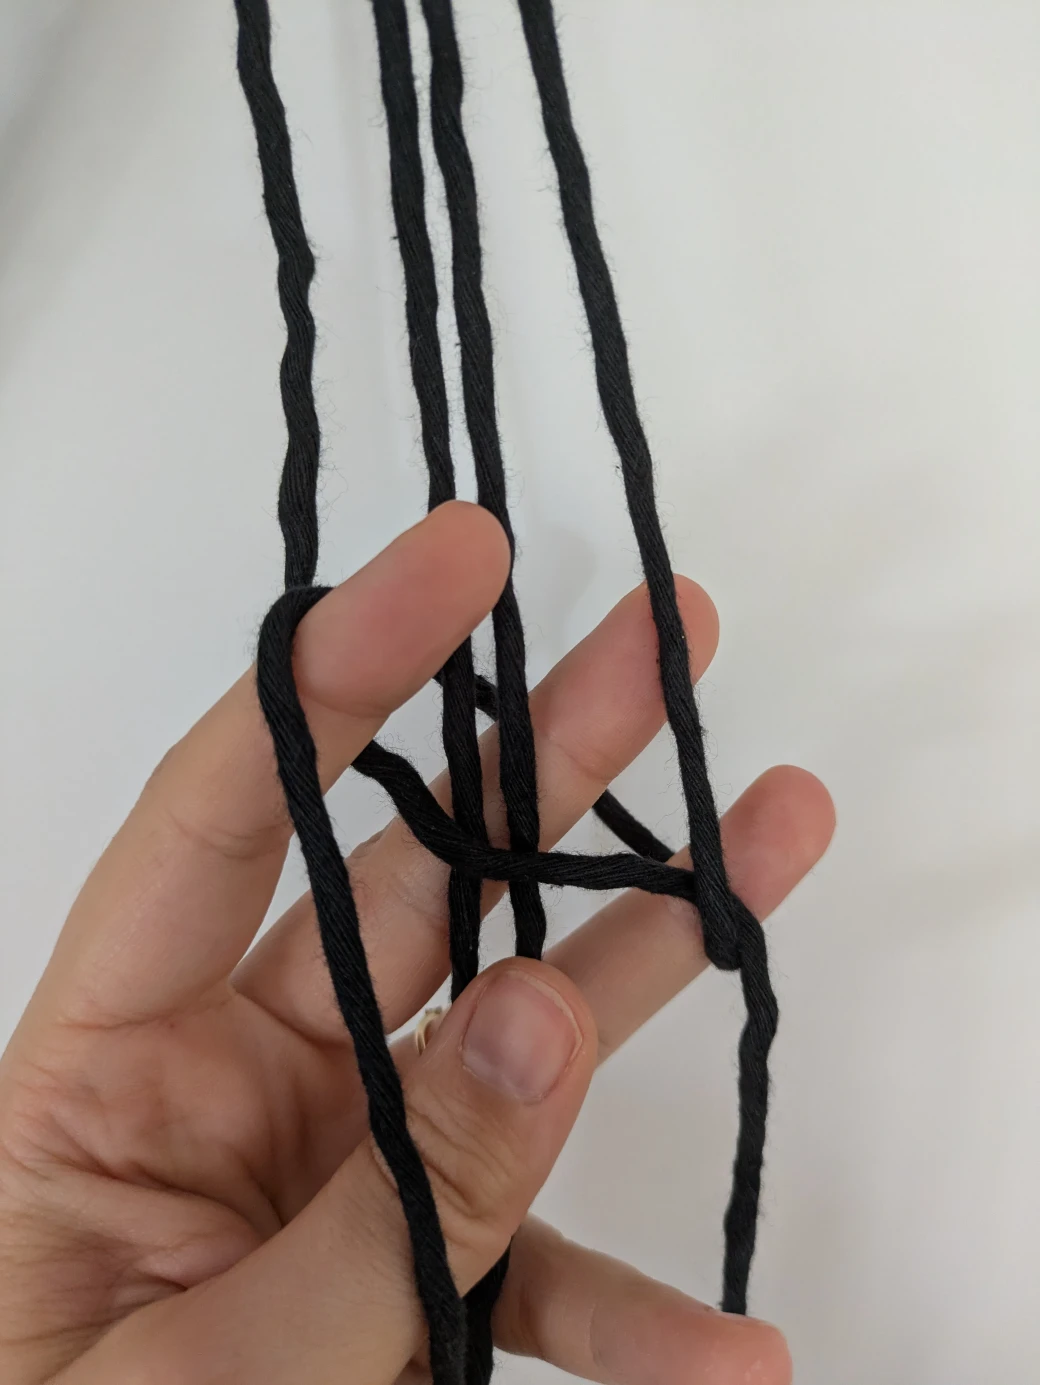
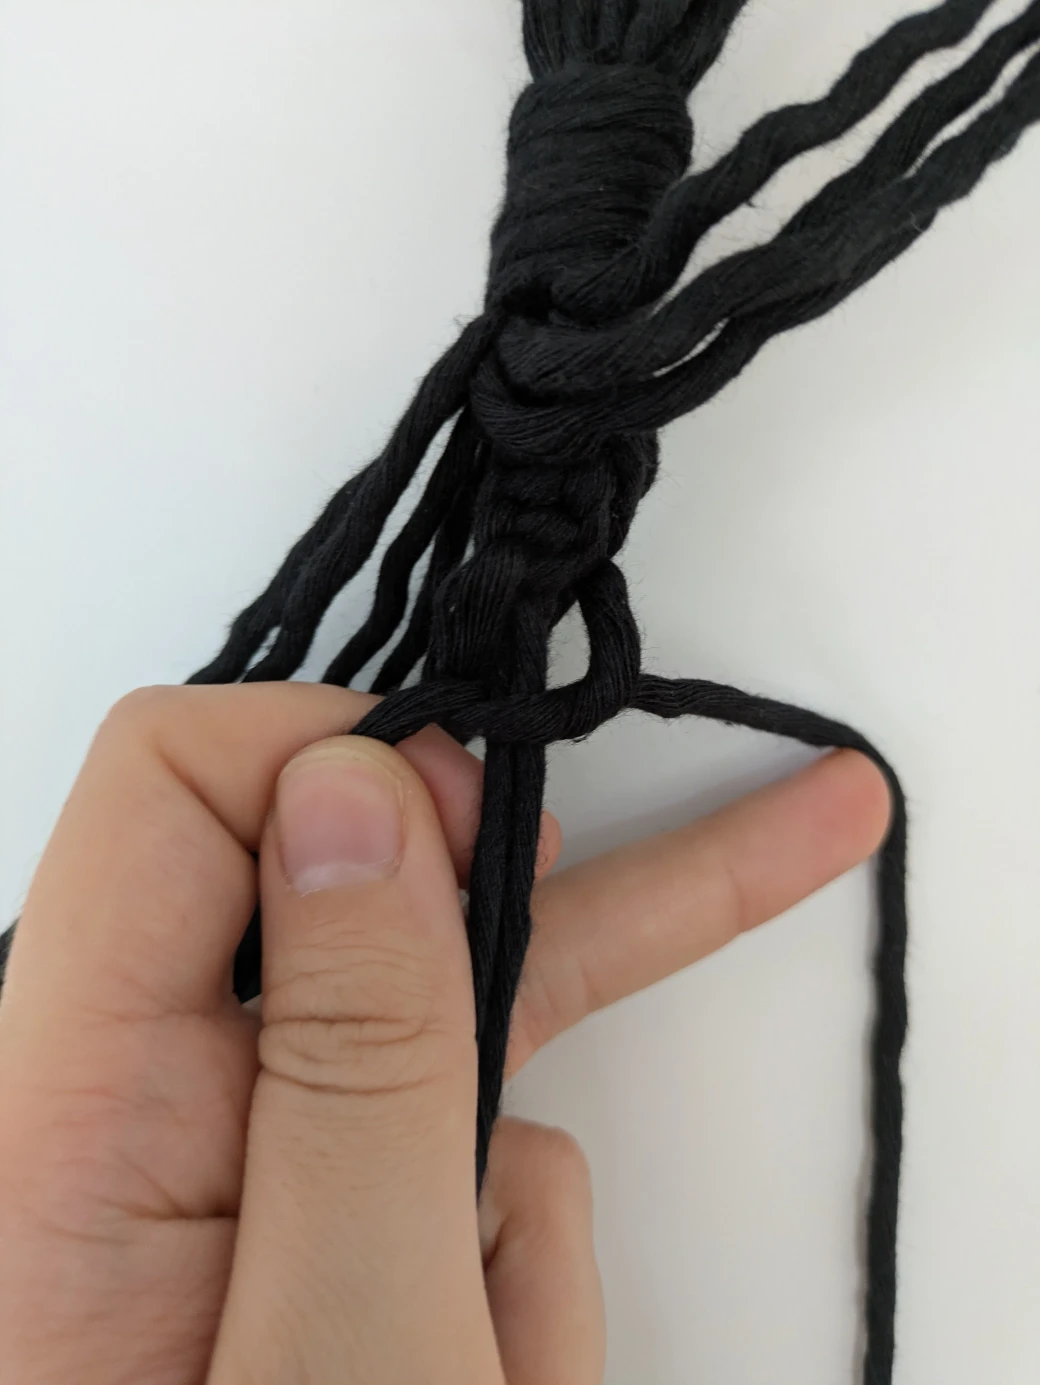
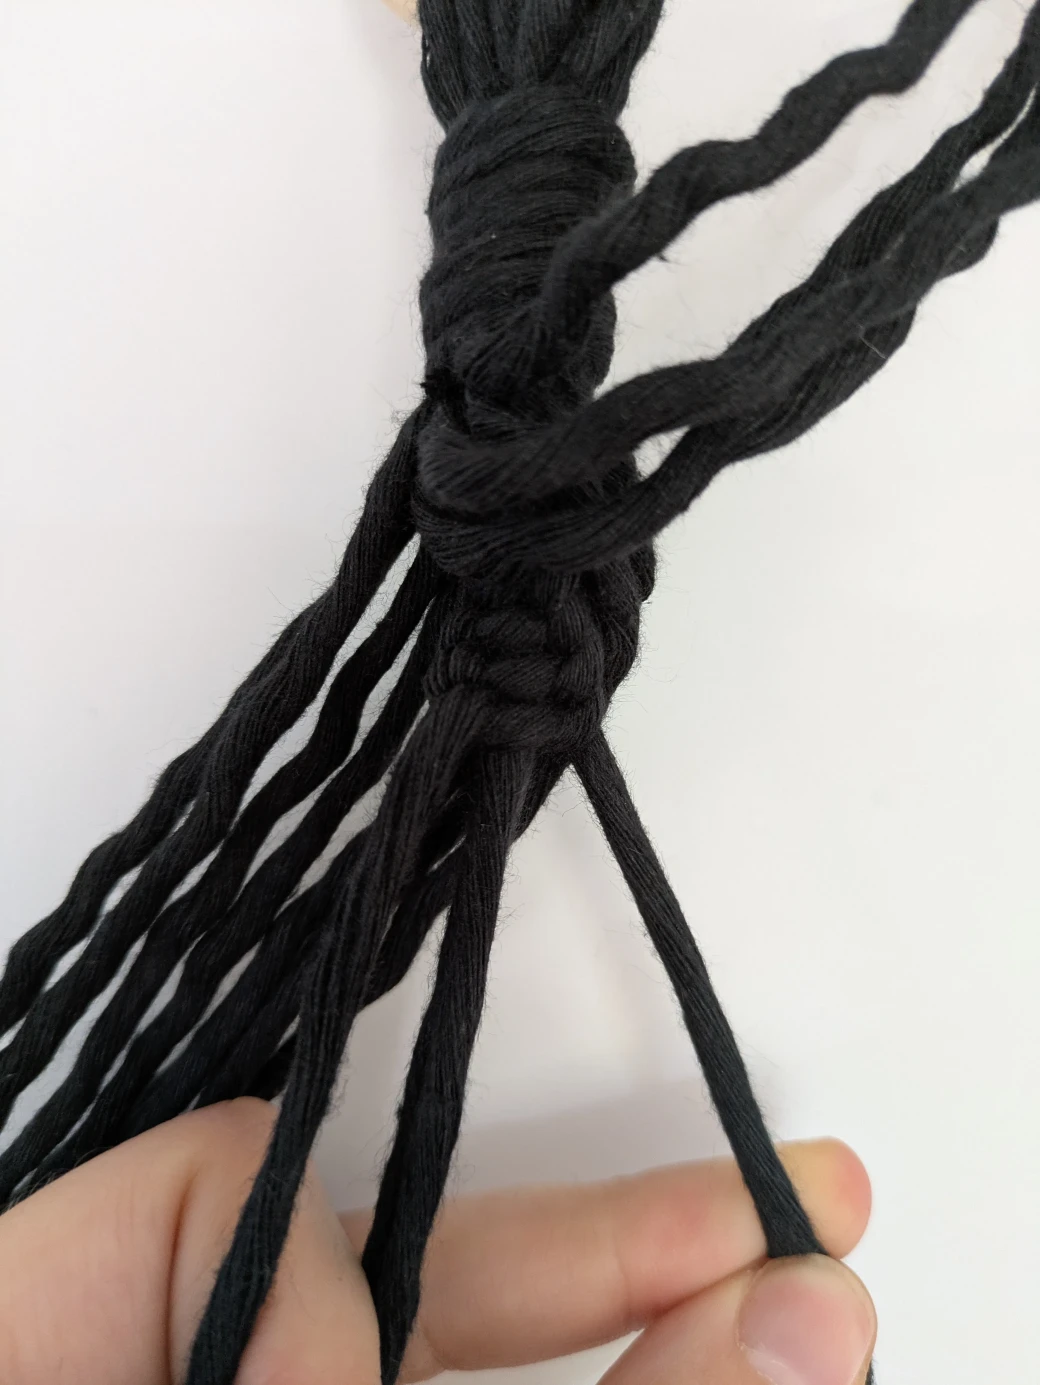
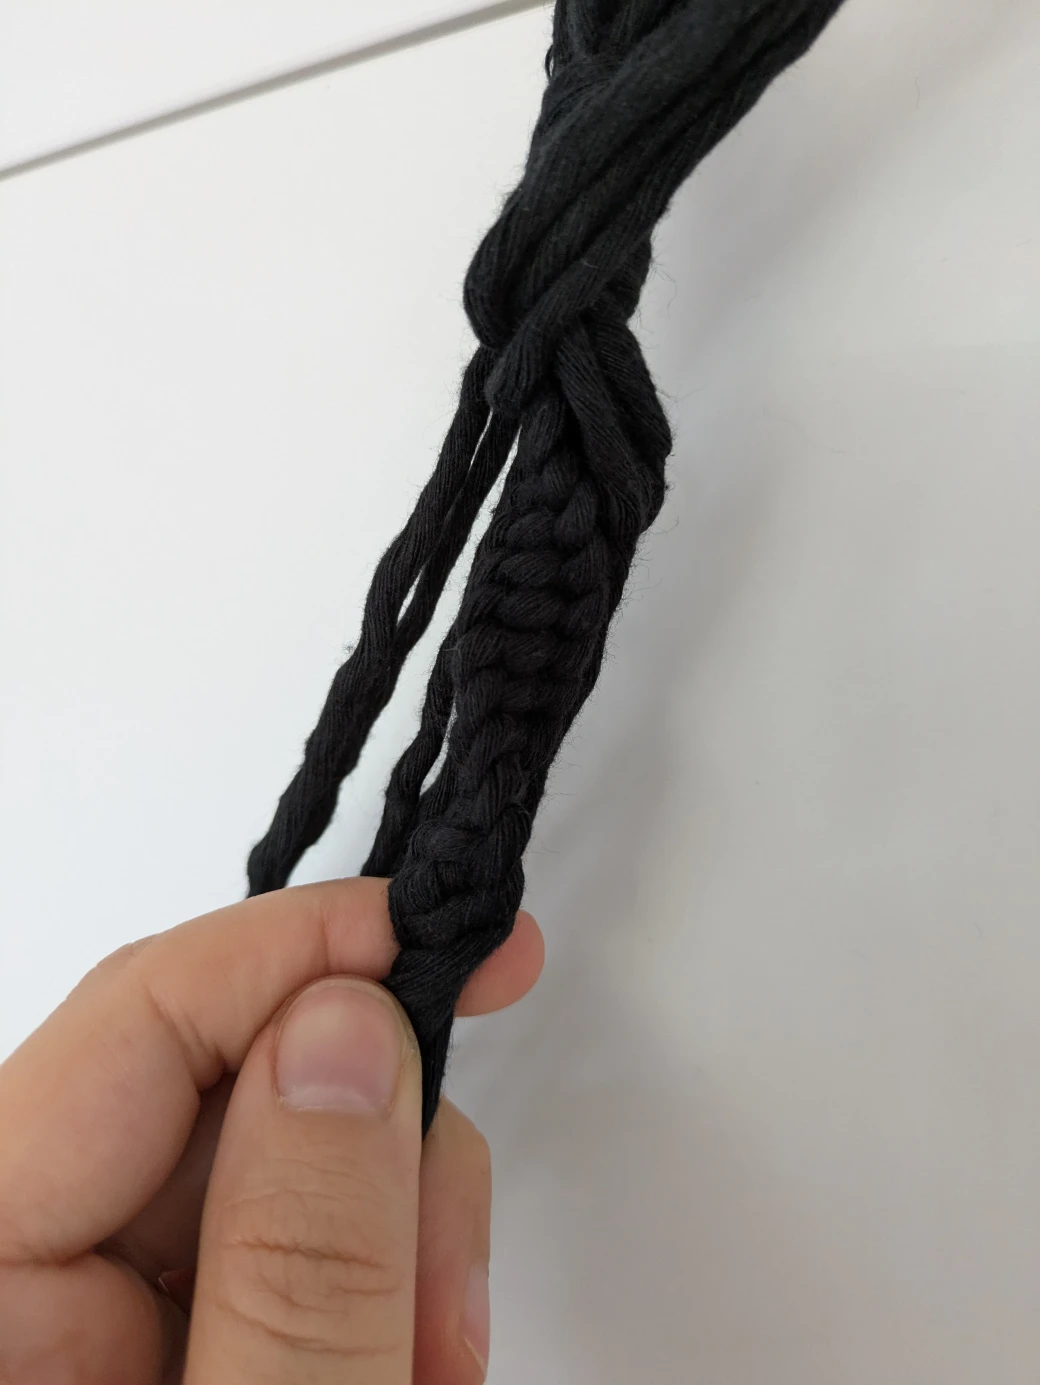
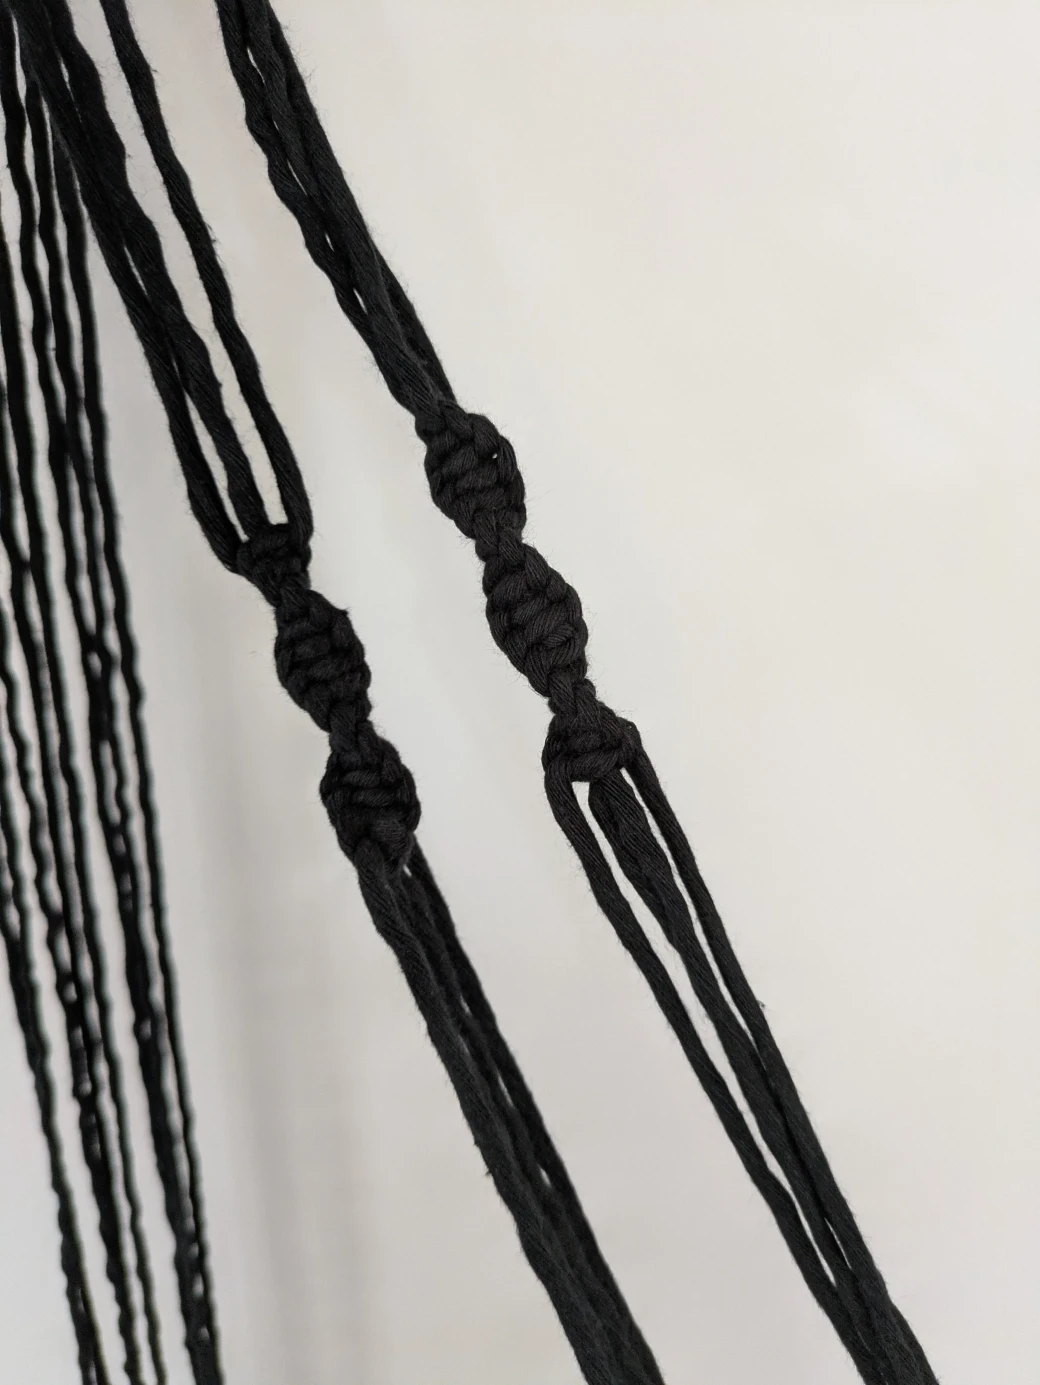
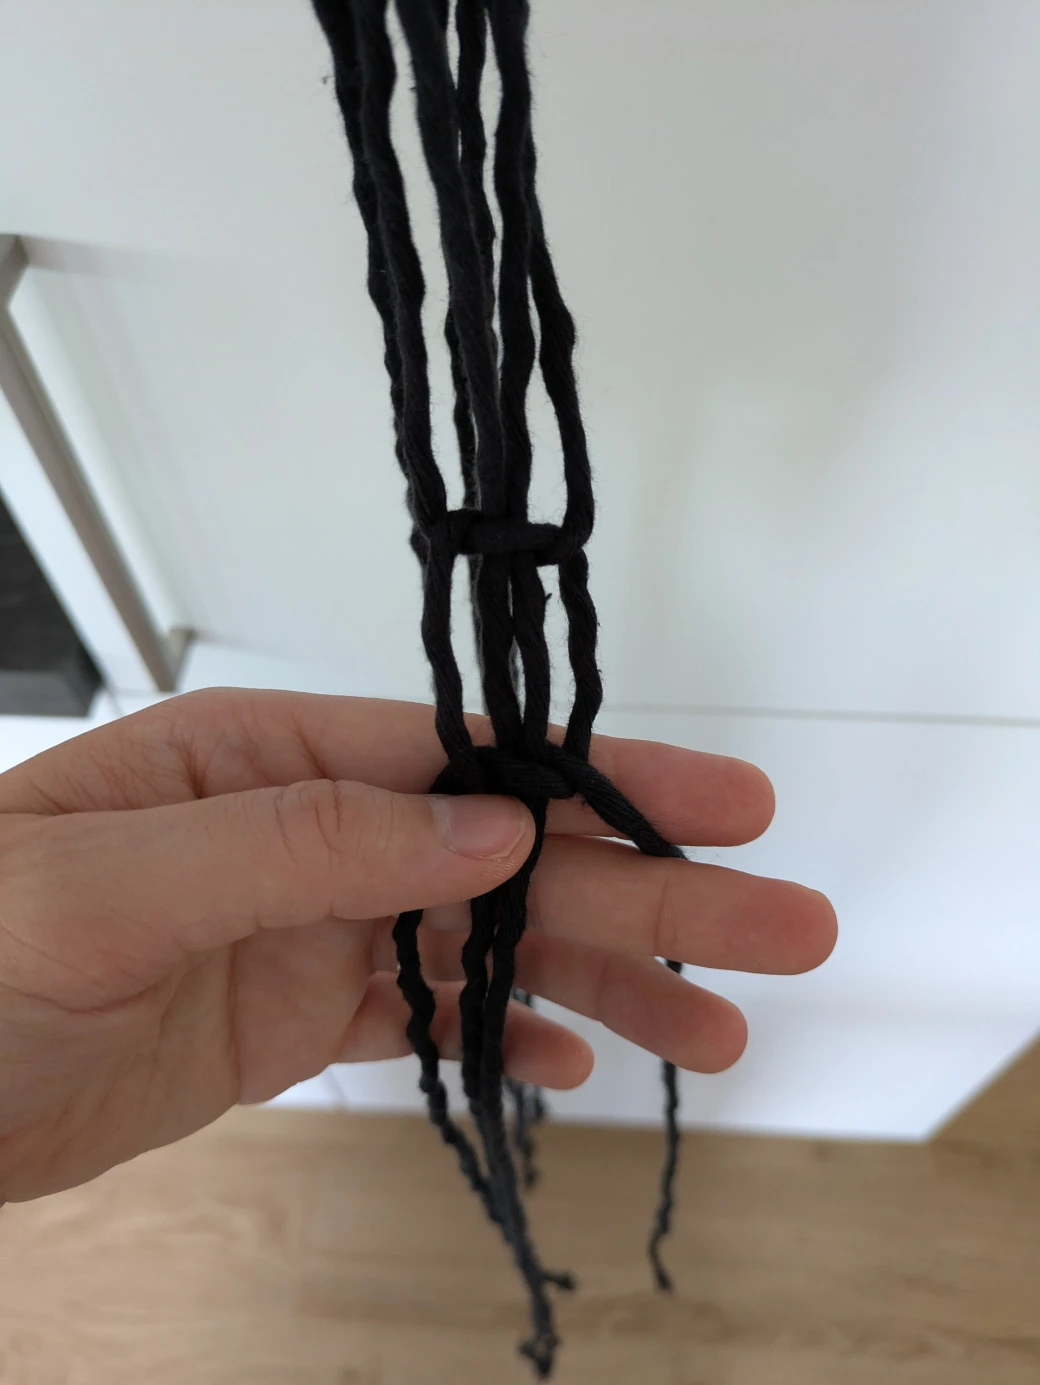
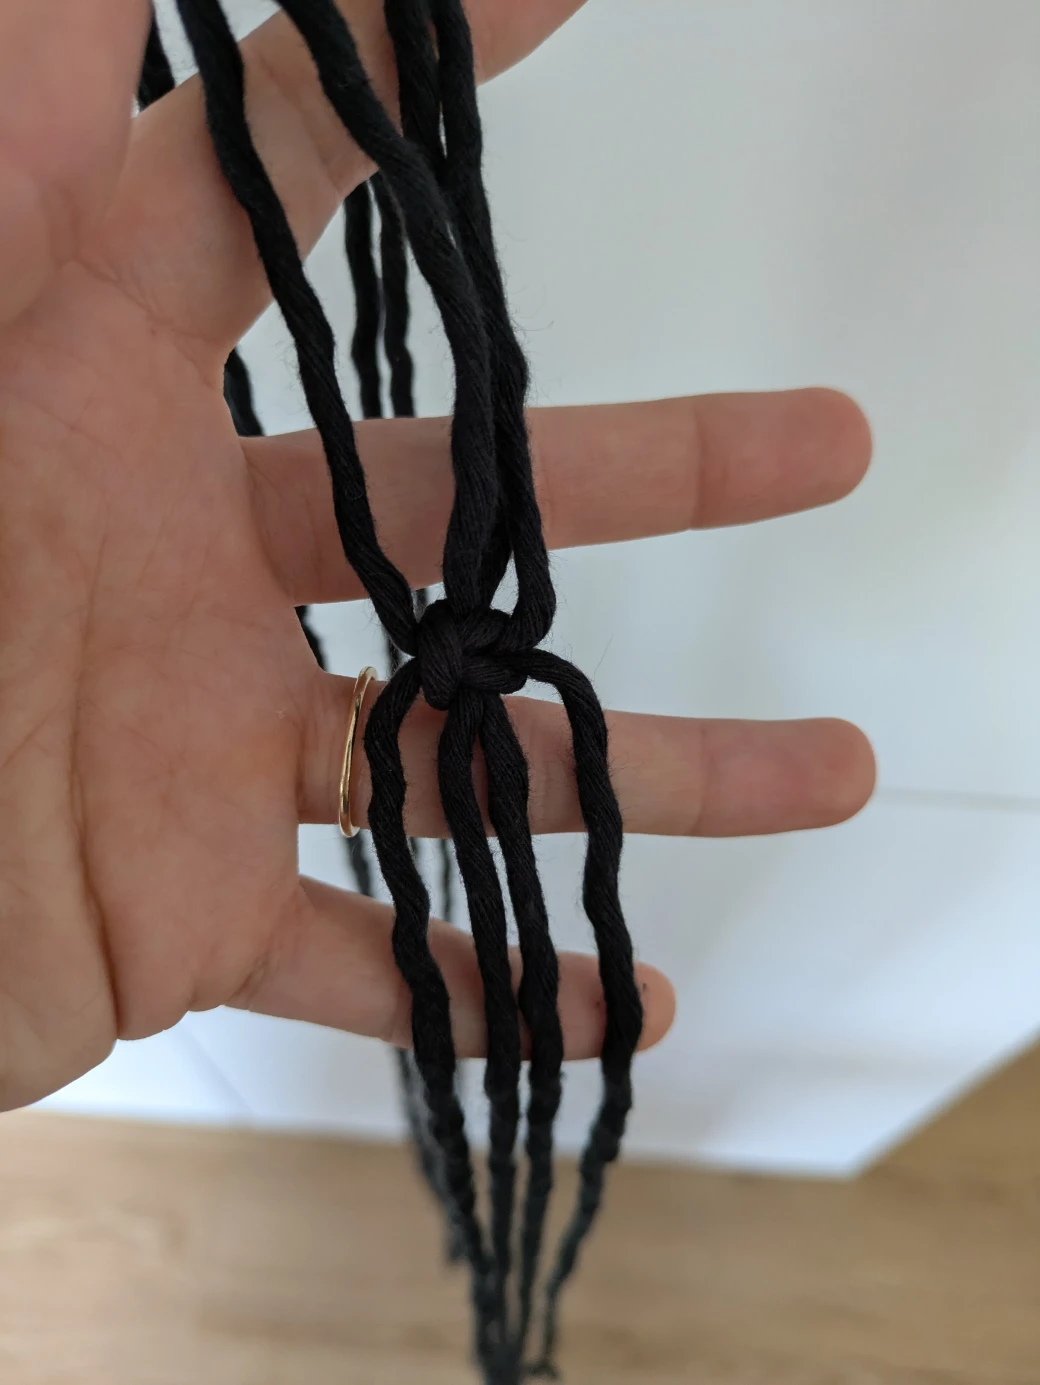
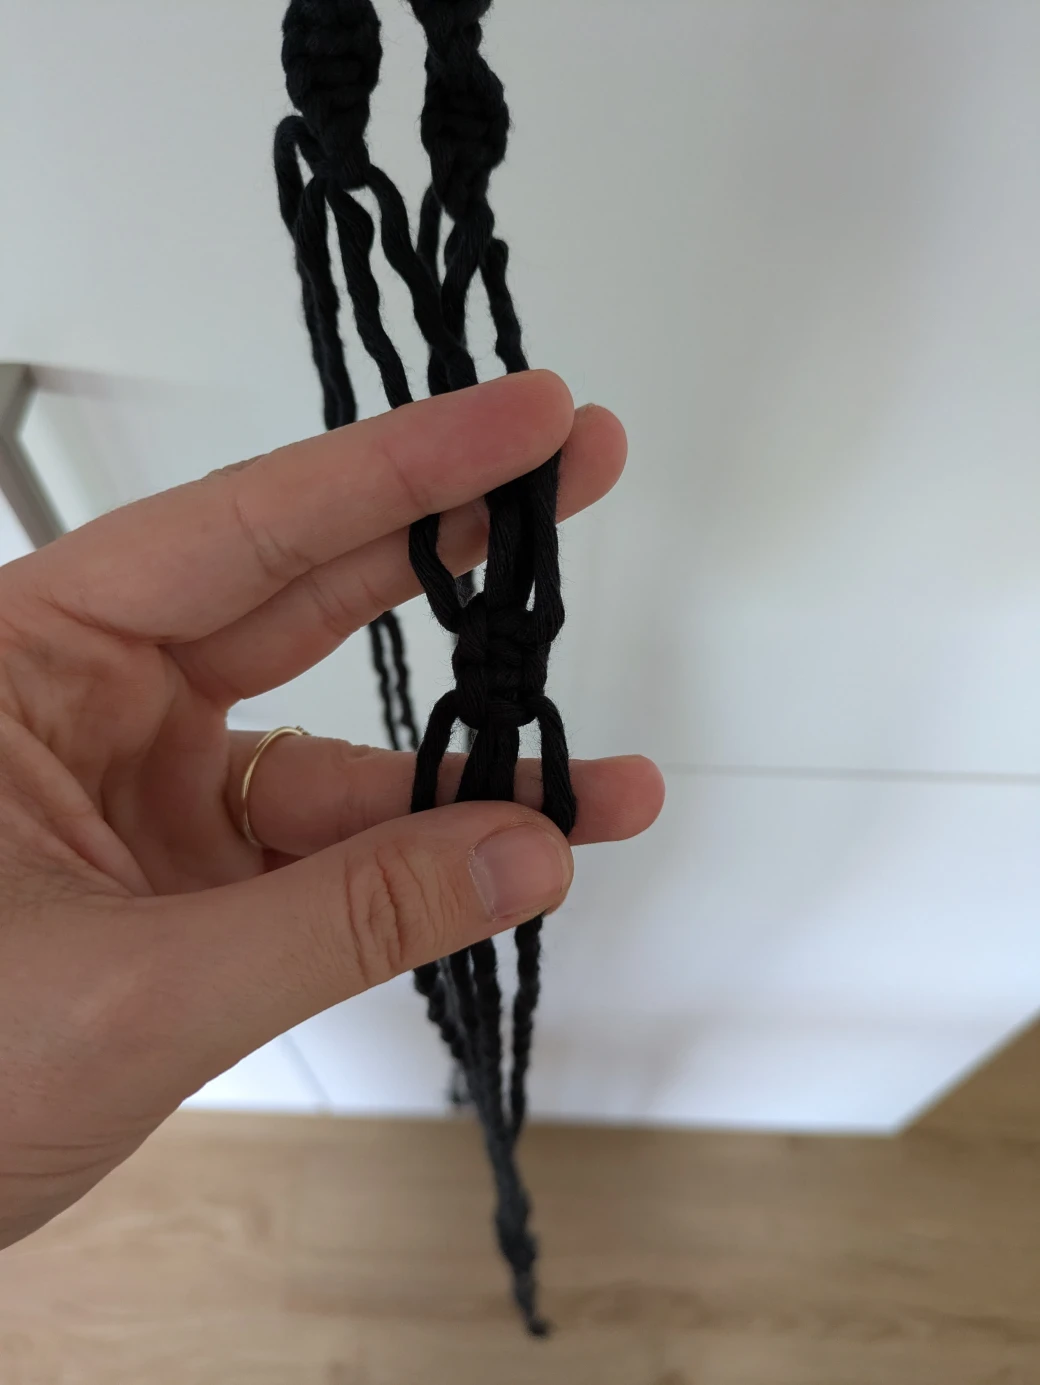
For the right-twisting spiral knot, the left working thread is placed over the remaining threads (image 1). Then, the right working thread is placed over the end of the left working thread (image 2) and then pulled behind the filler threads through the loop of the left working thread (image 3). The knot is then tightened all the way up to the top of the yarns. Make sure to hold the filler threads firmly so they don't accidentally slide up along the working threads.
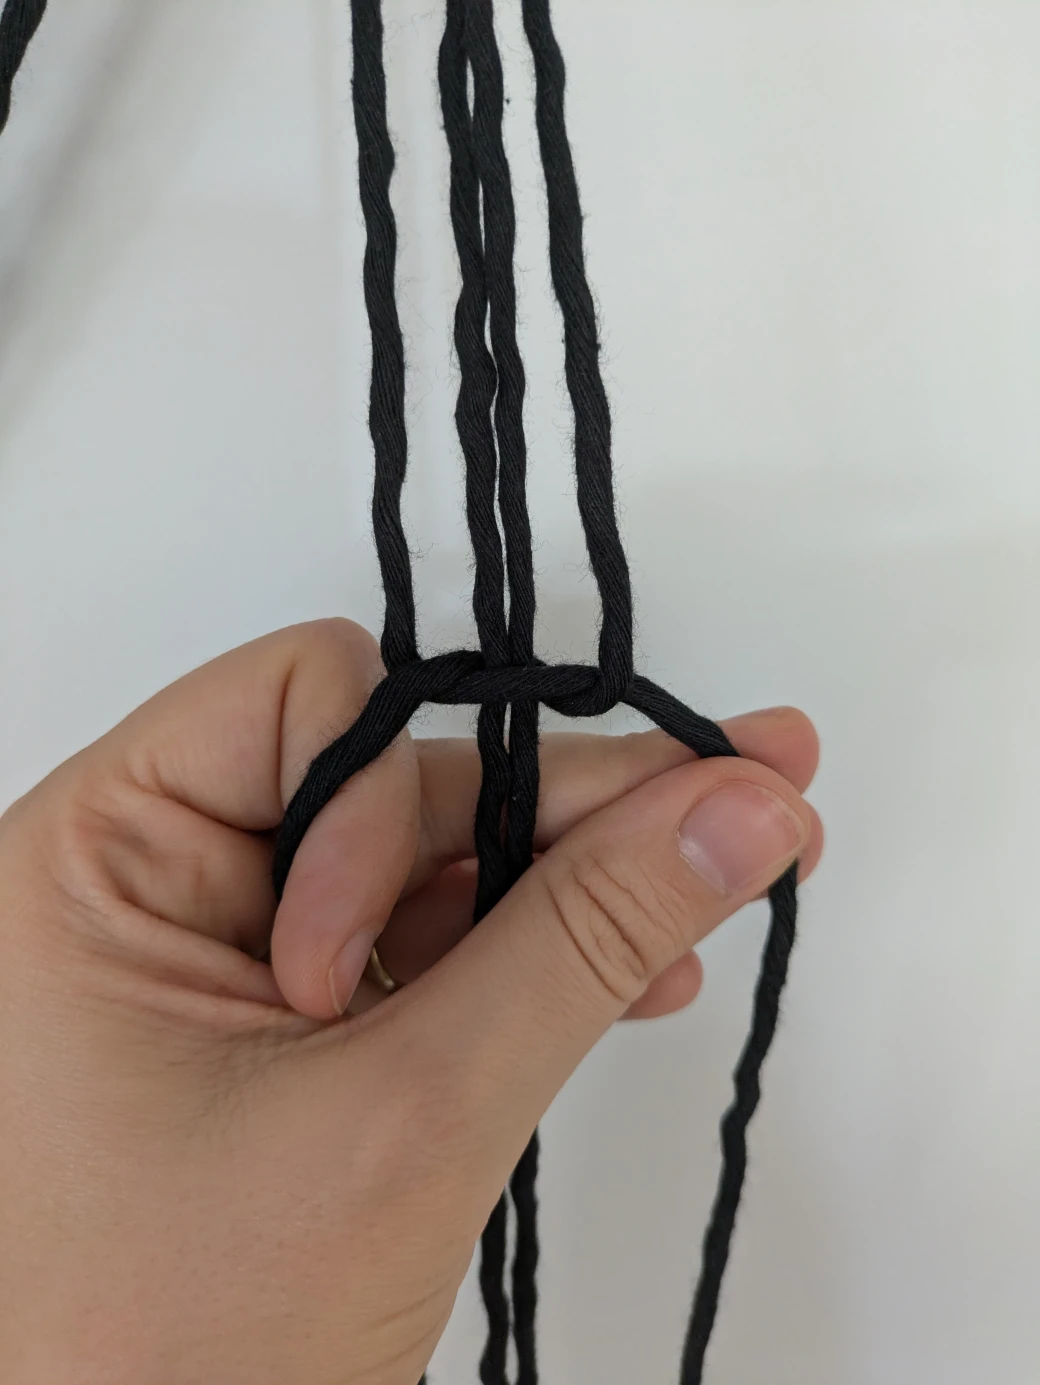
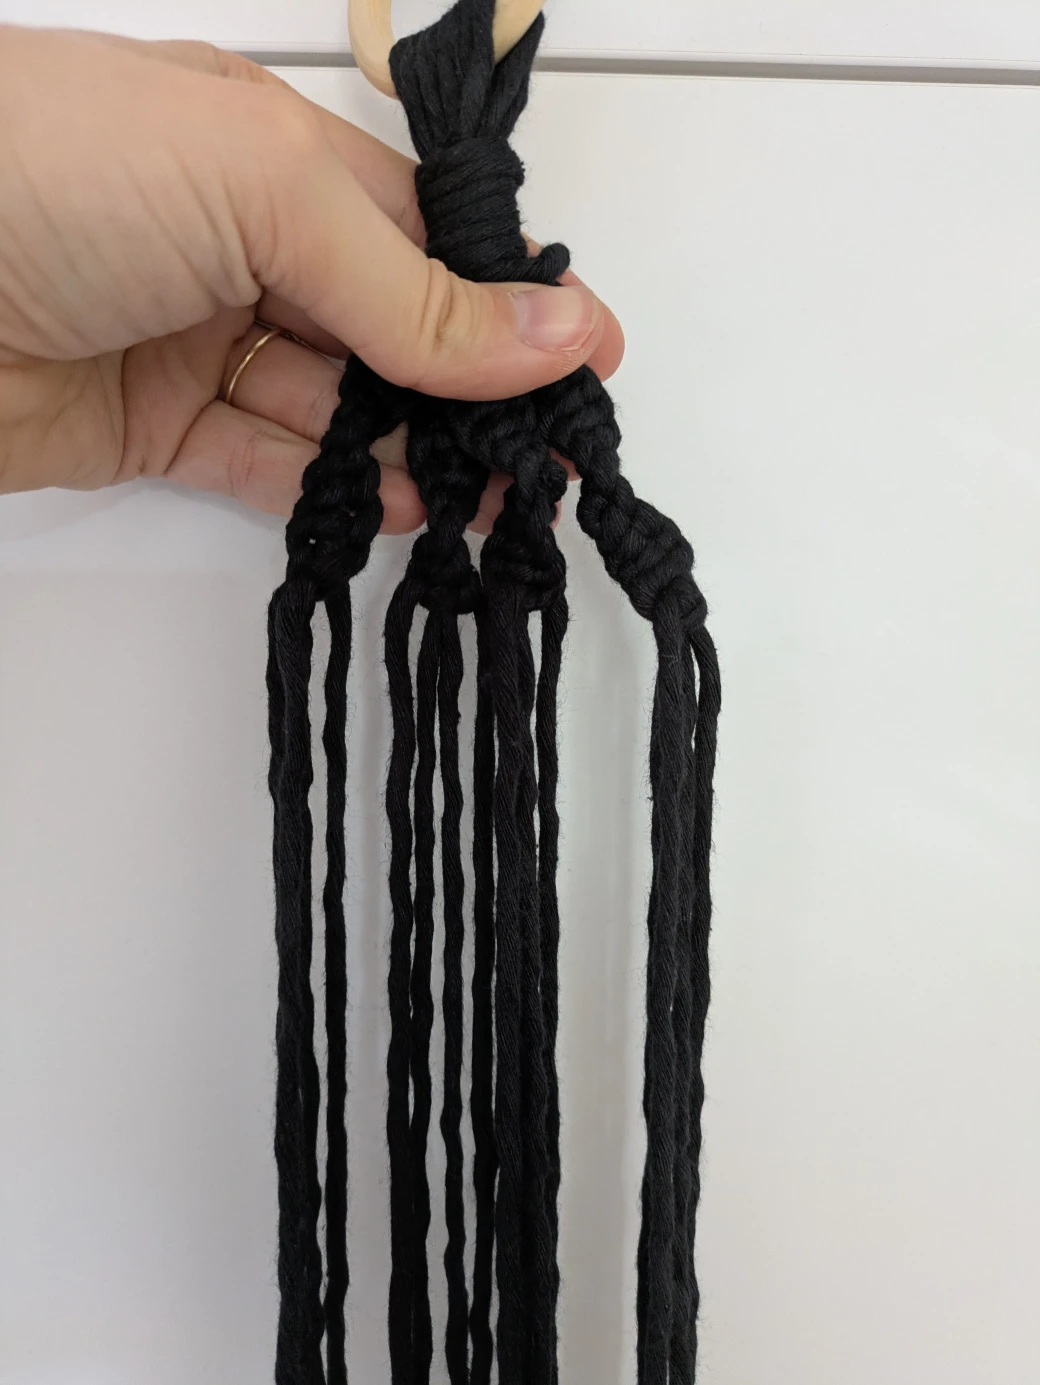
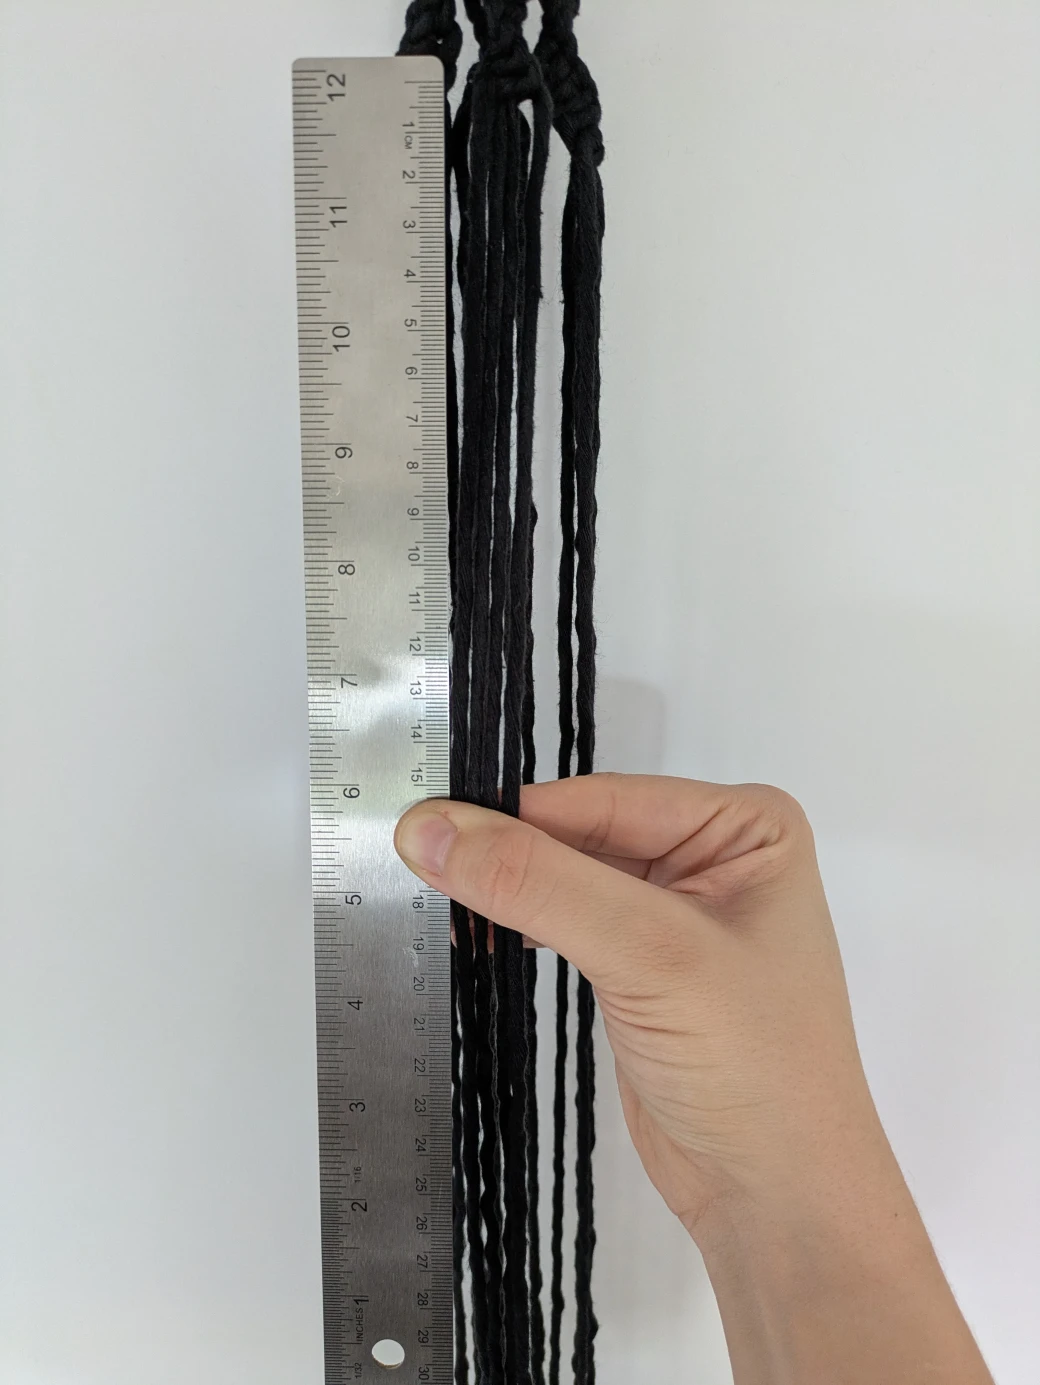
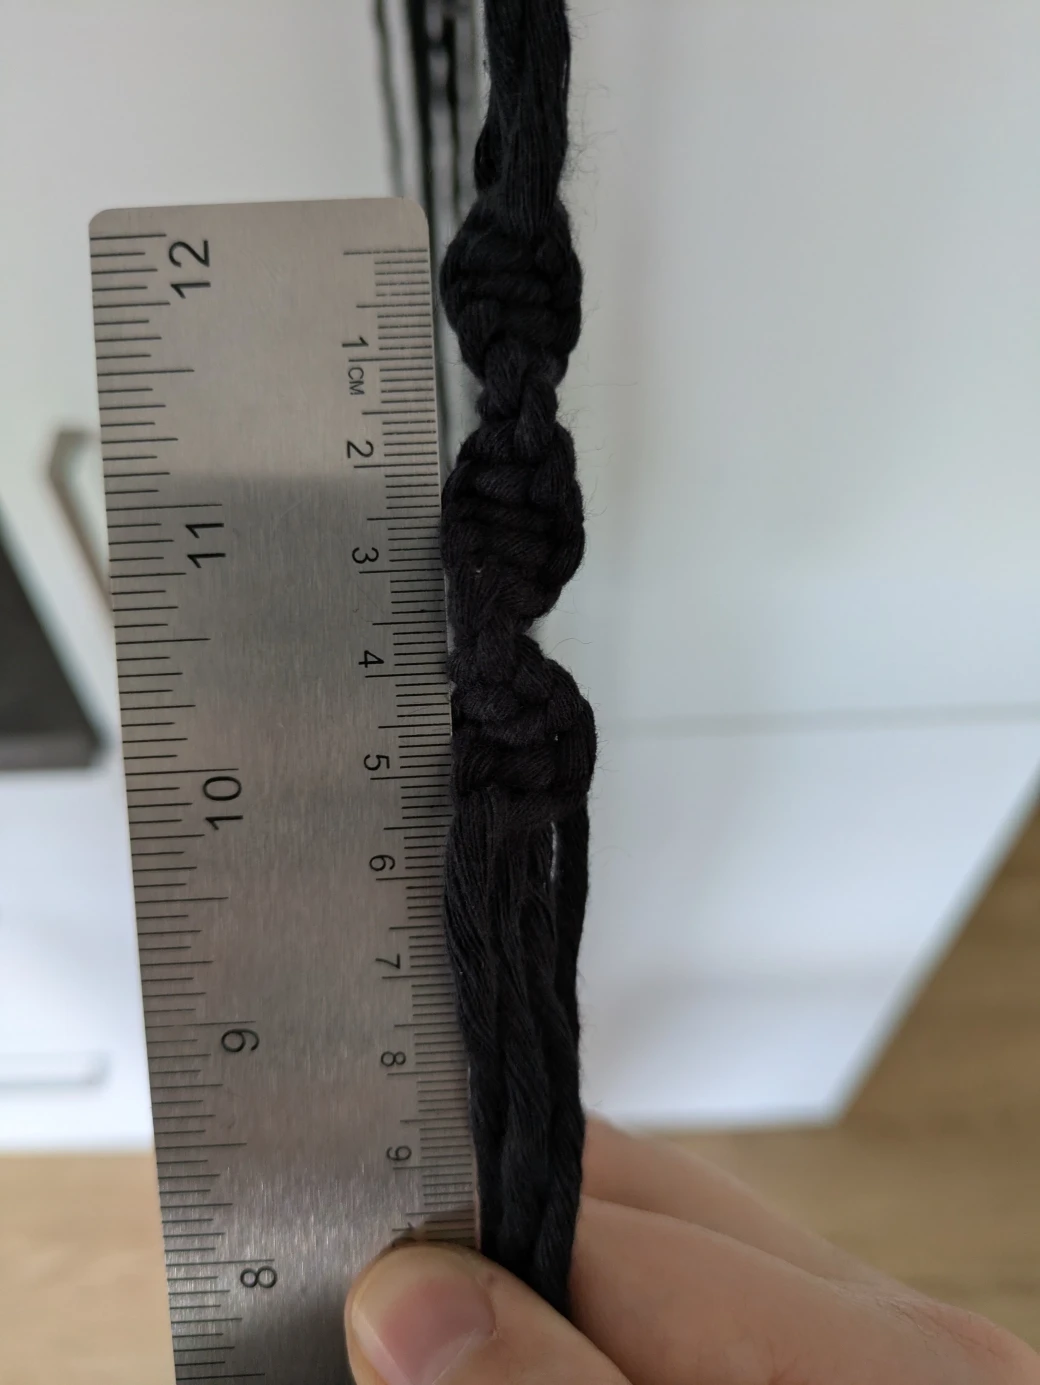
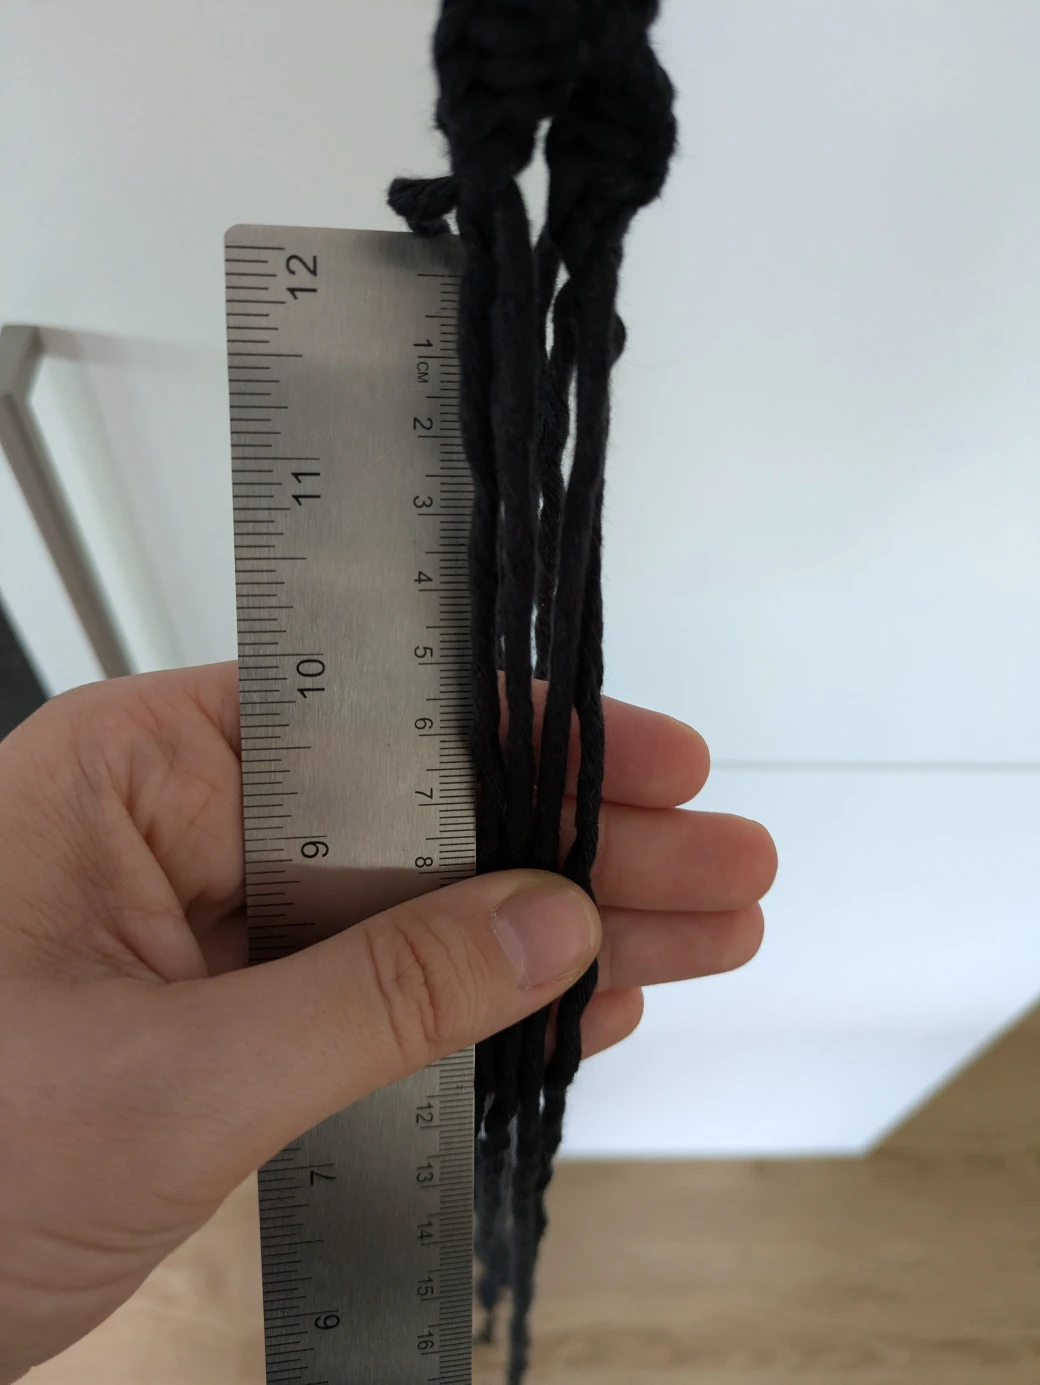
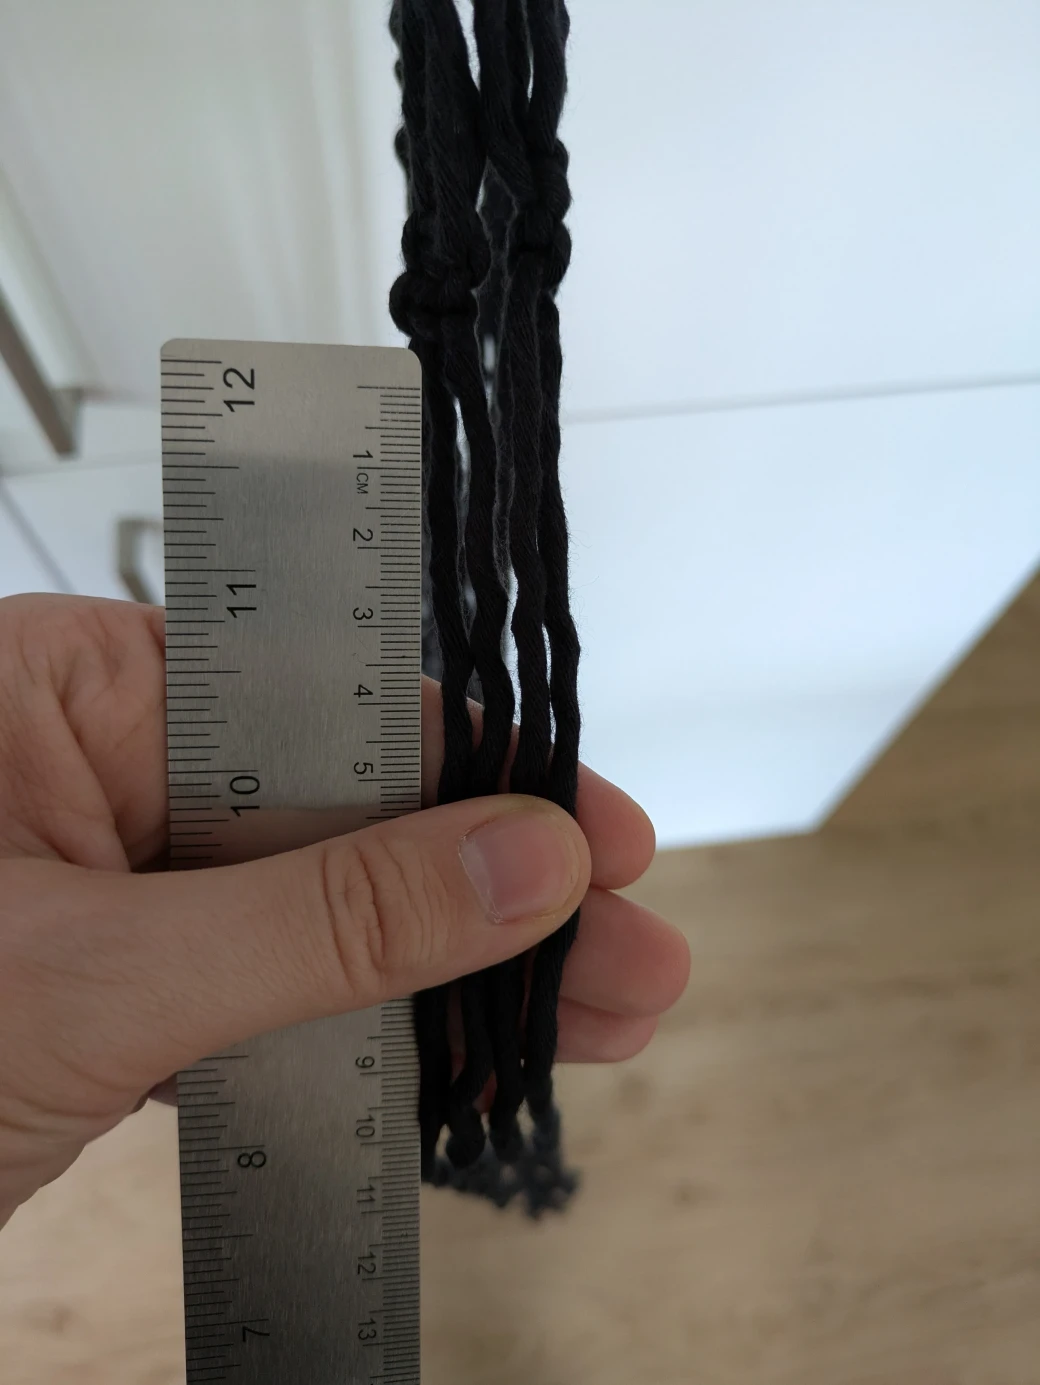
Now make as many of the right-handed spiral knots as you need until you have about 5 cm of length. Then continue with the other three groups in the same way.
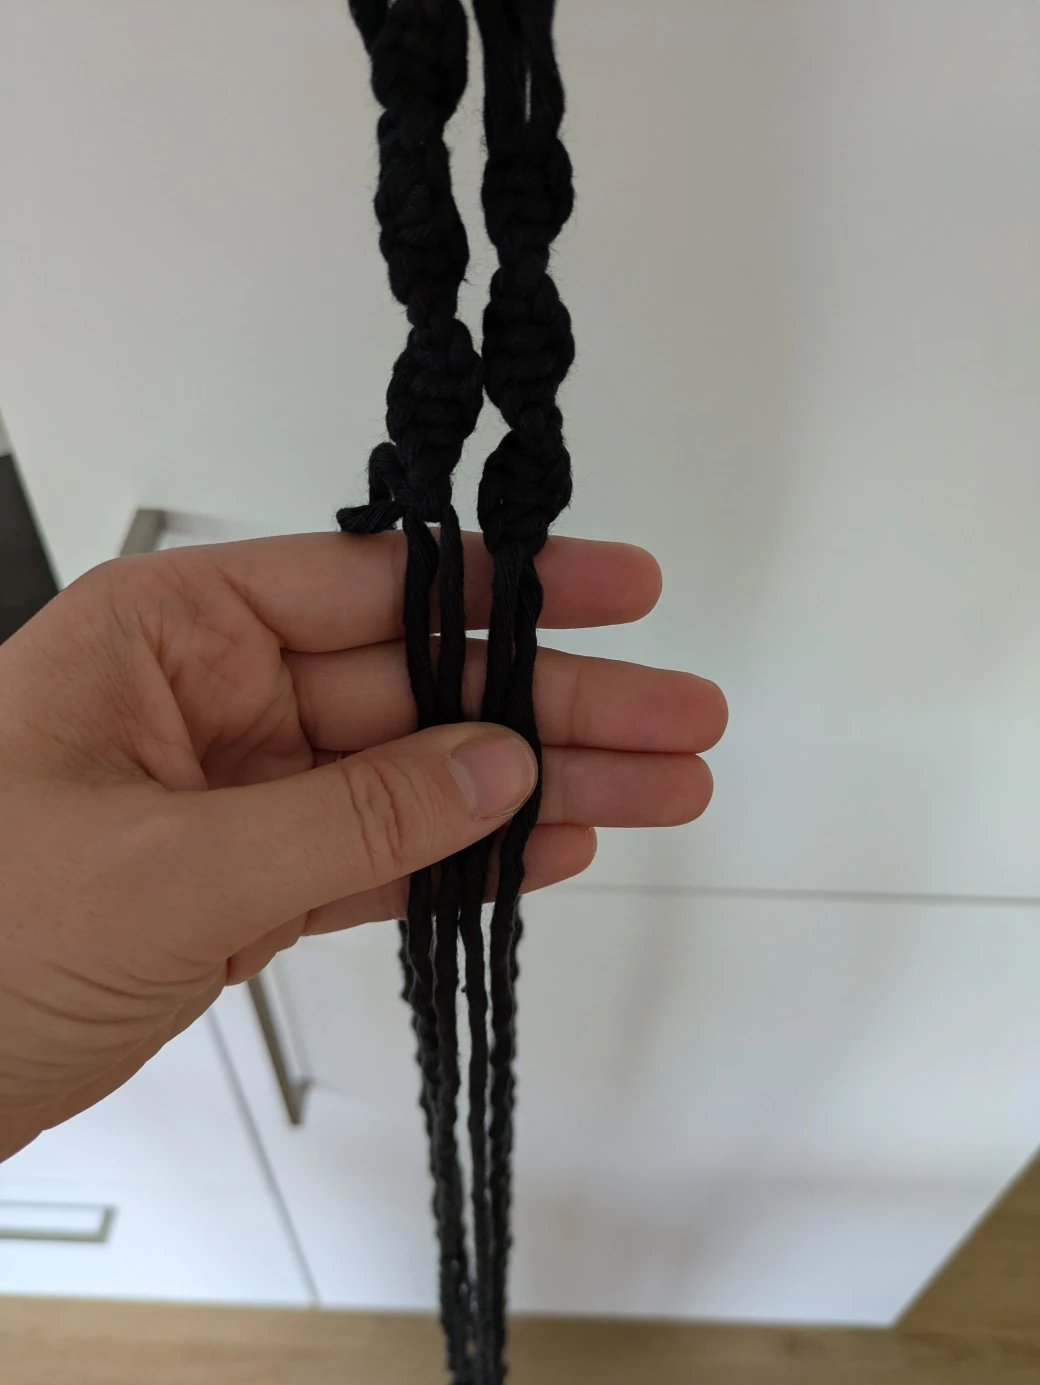
Step 5: The second & third Spiral Knots
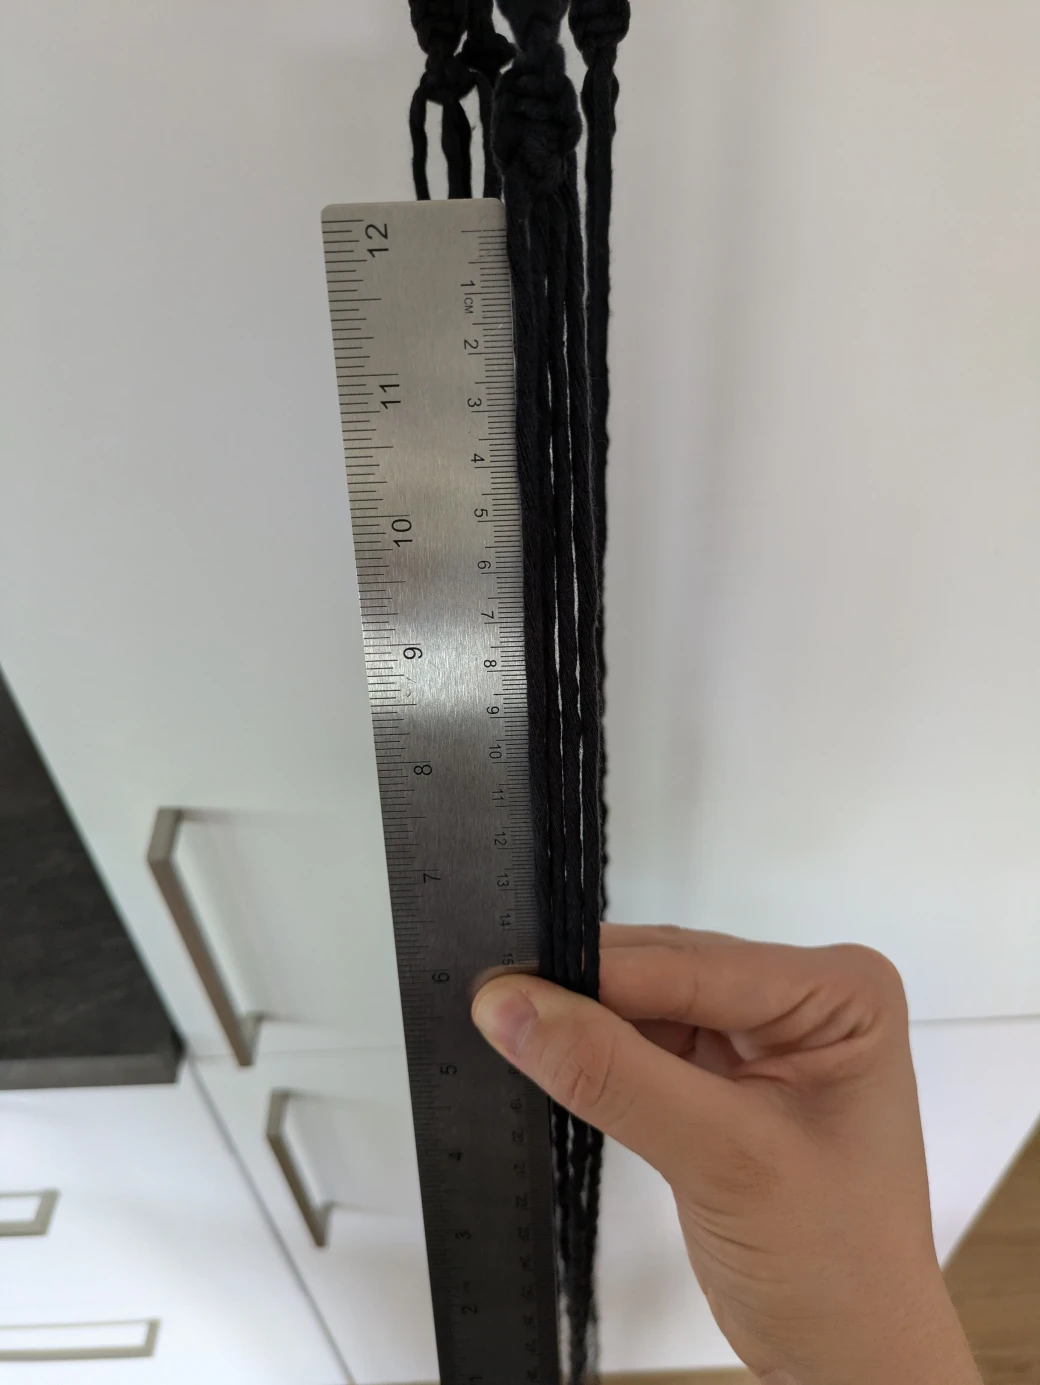
Next, measure a distance of approximately 15 cm and start again with the first group, tying right-handed spiral knots that should again be approximately 5 cm long.
Positioning the first knot on the "free" thread is a little more difficult, but with the second knot, it will quickly be secured. When tying the second knot, be careful not to push the first knot too far up the filler threads.
After the approximately 5cm spiral knots are tied on the first thread group, repeat this process for the remaining three thread groups. Make sure the knots all start at a similar height.
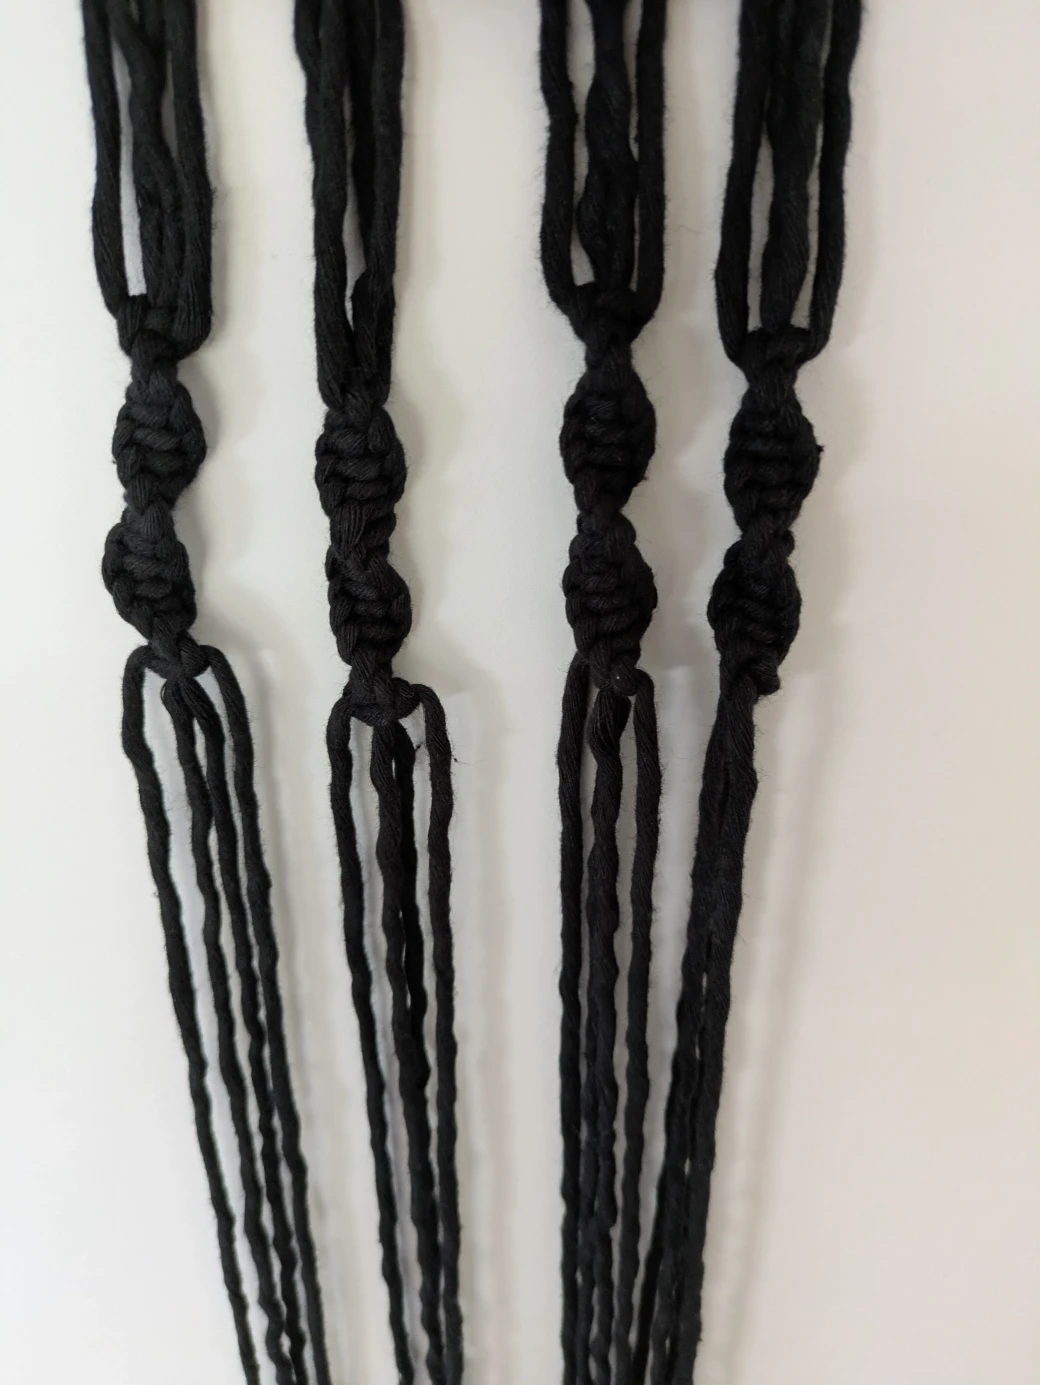
Then repeat this process again for all four thread groups, i.e. measure 15cm again and tie about 5cm right-handed spiral knots for each thread group.
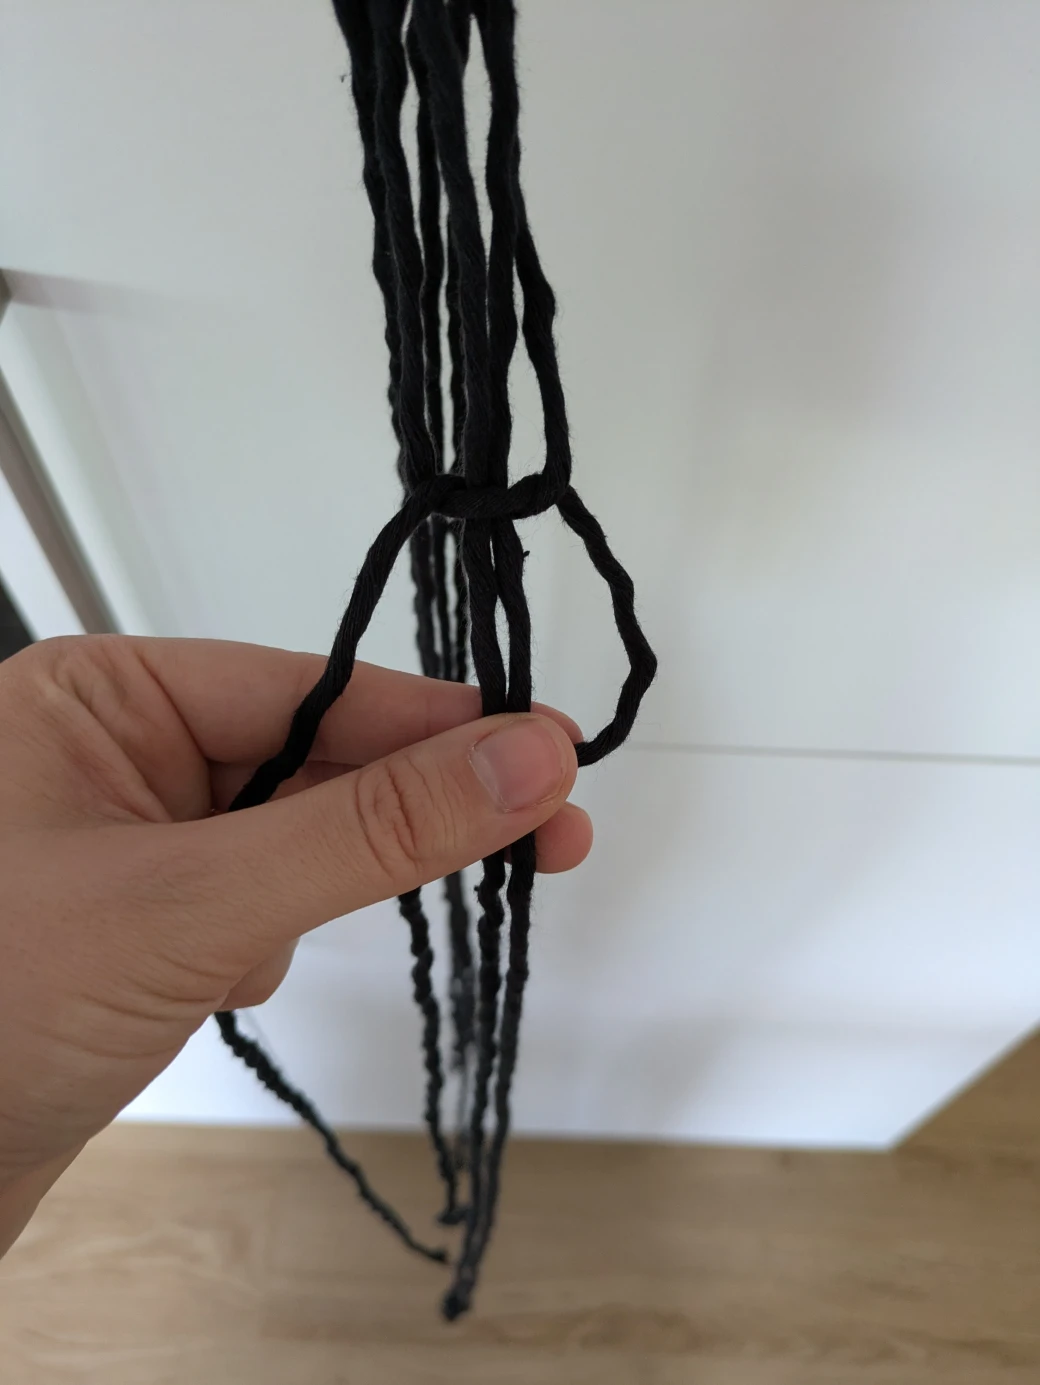
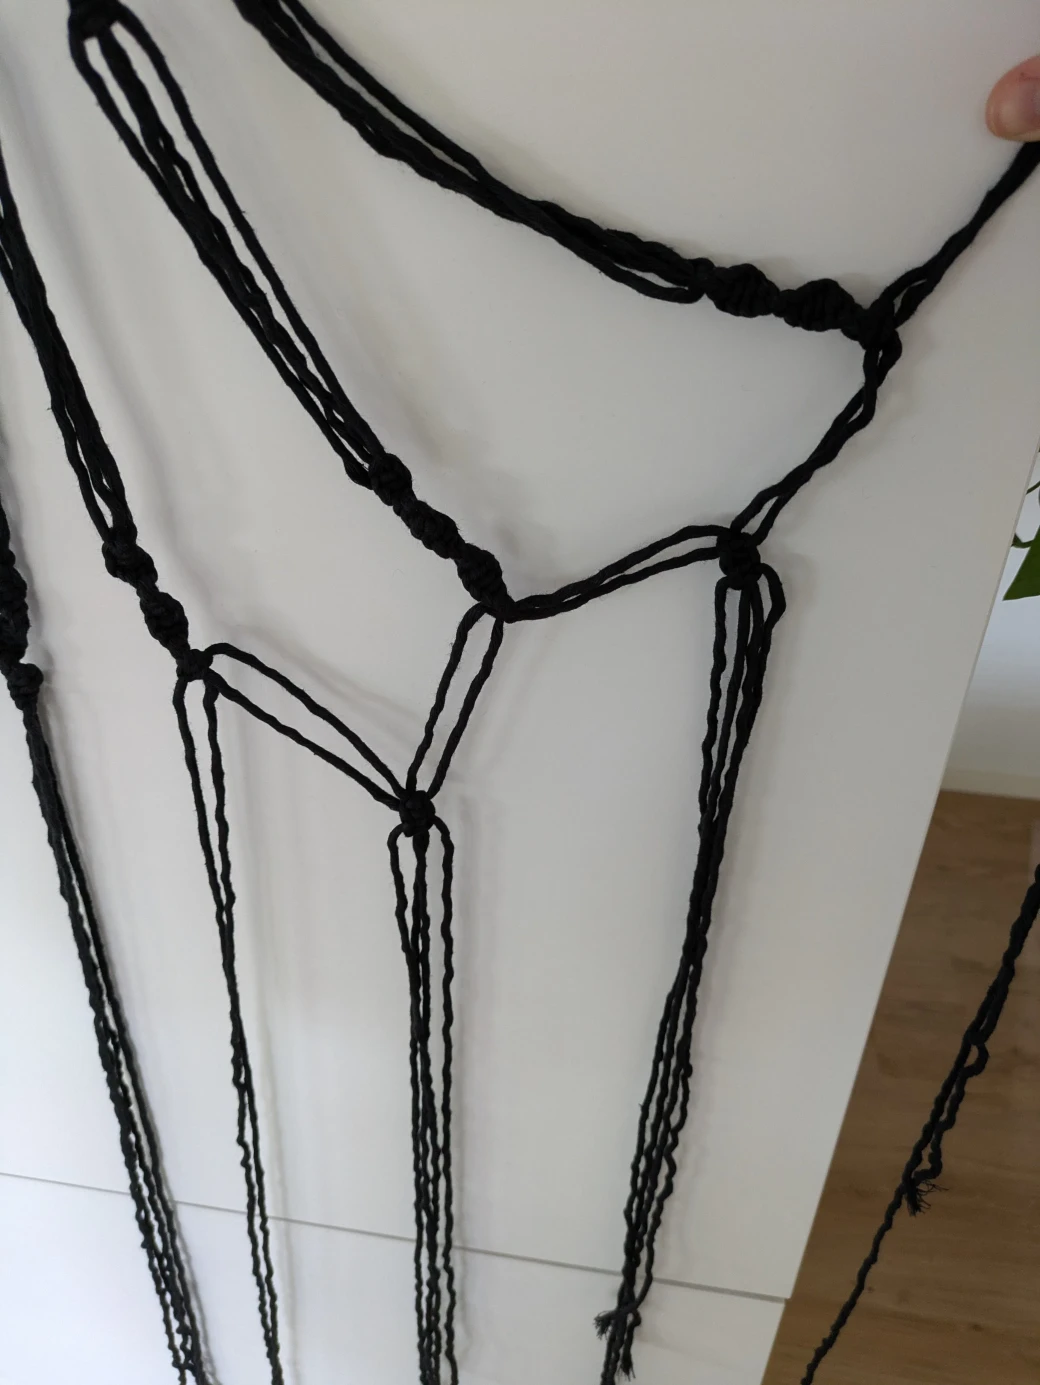
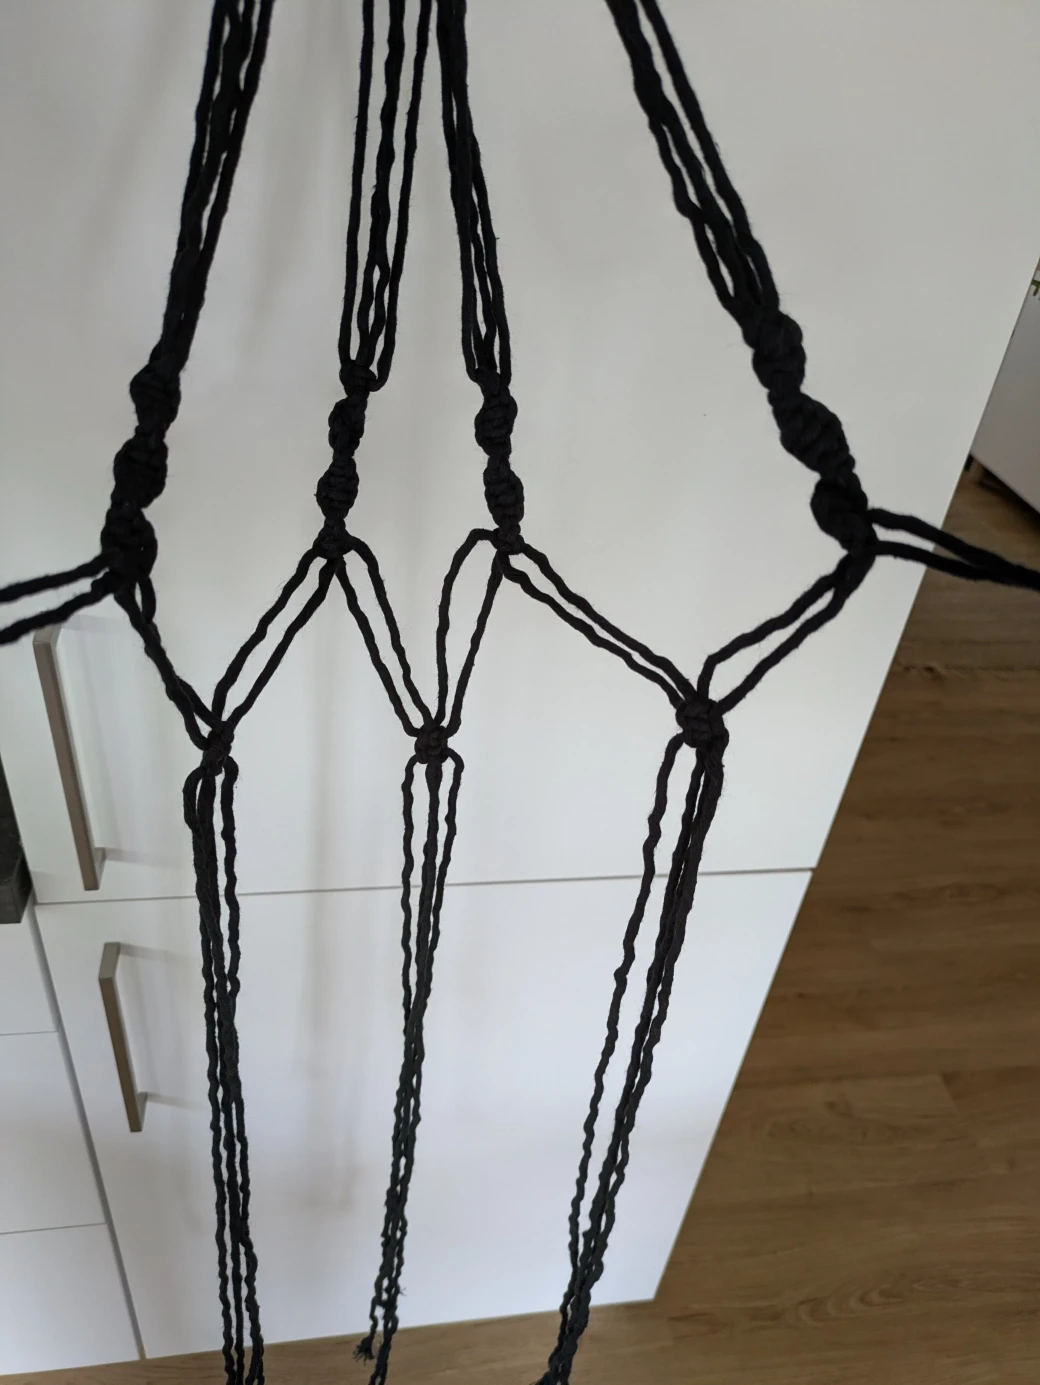
Step 6: Tying the Basket with Square Knots
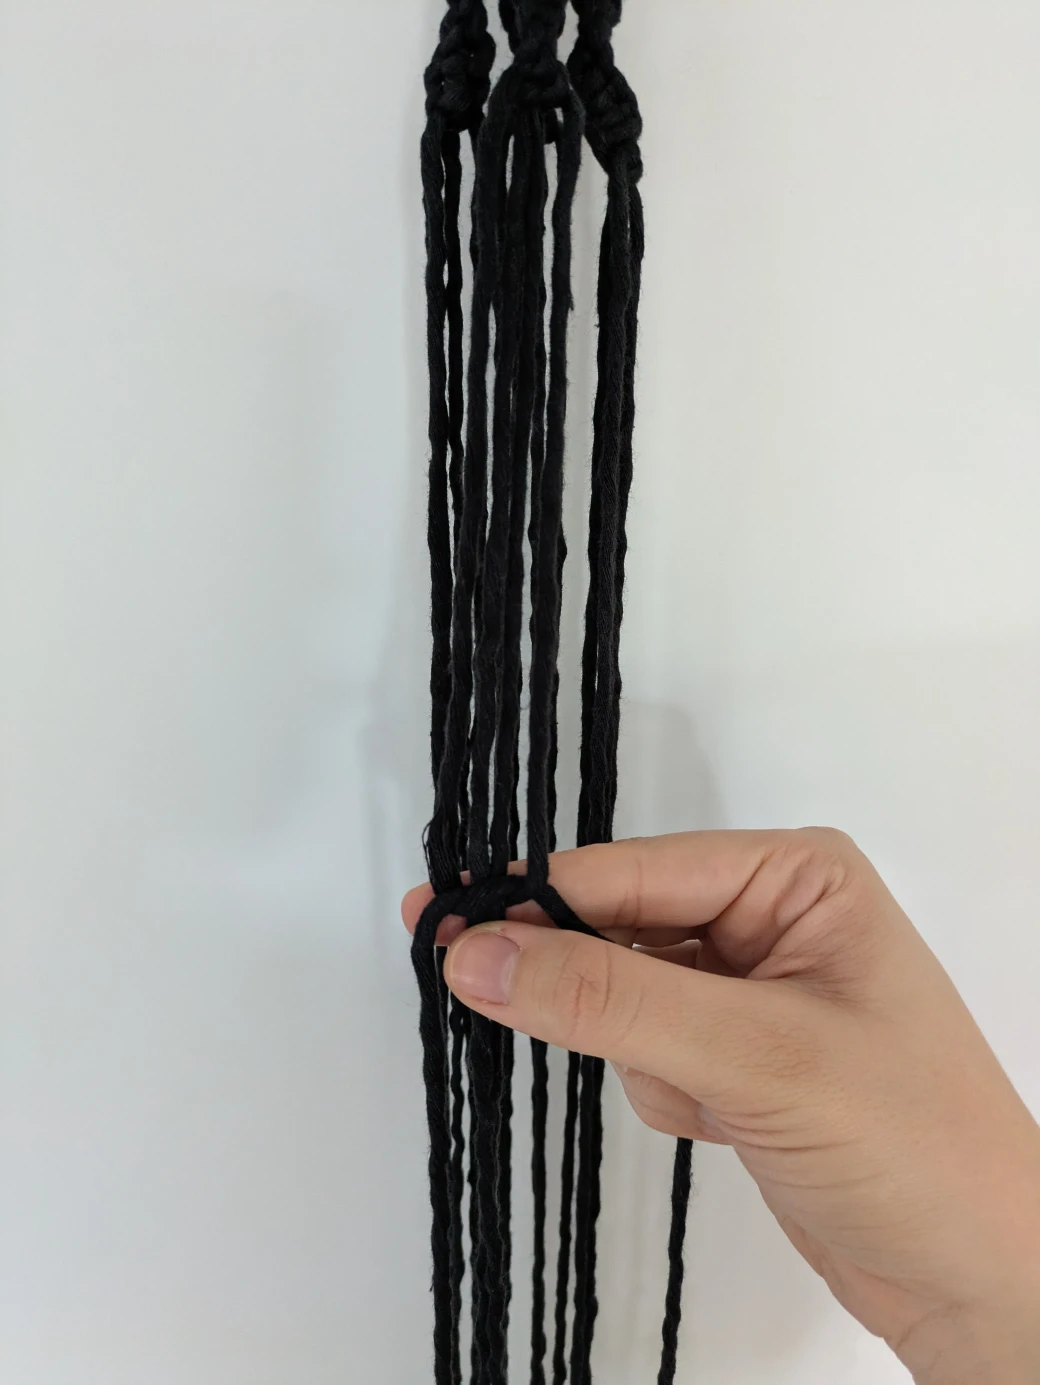
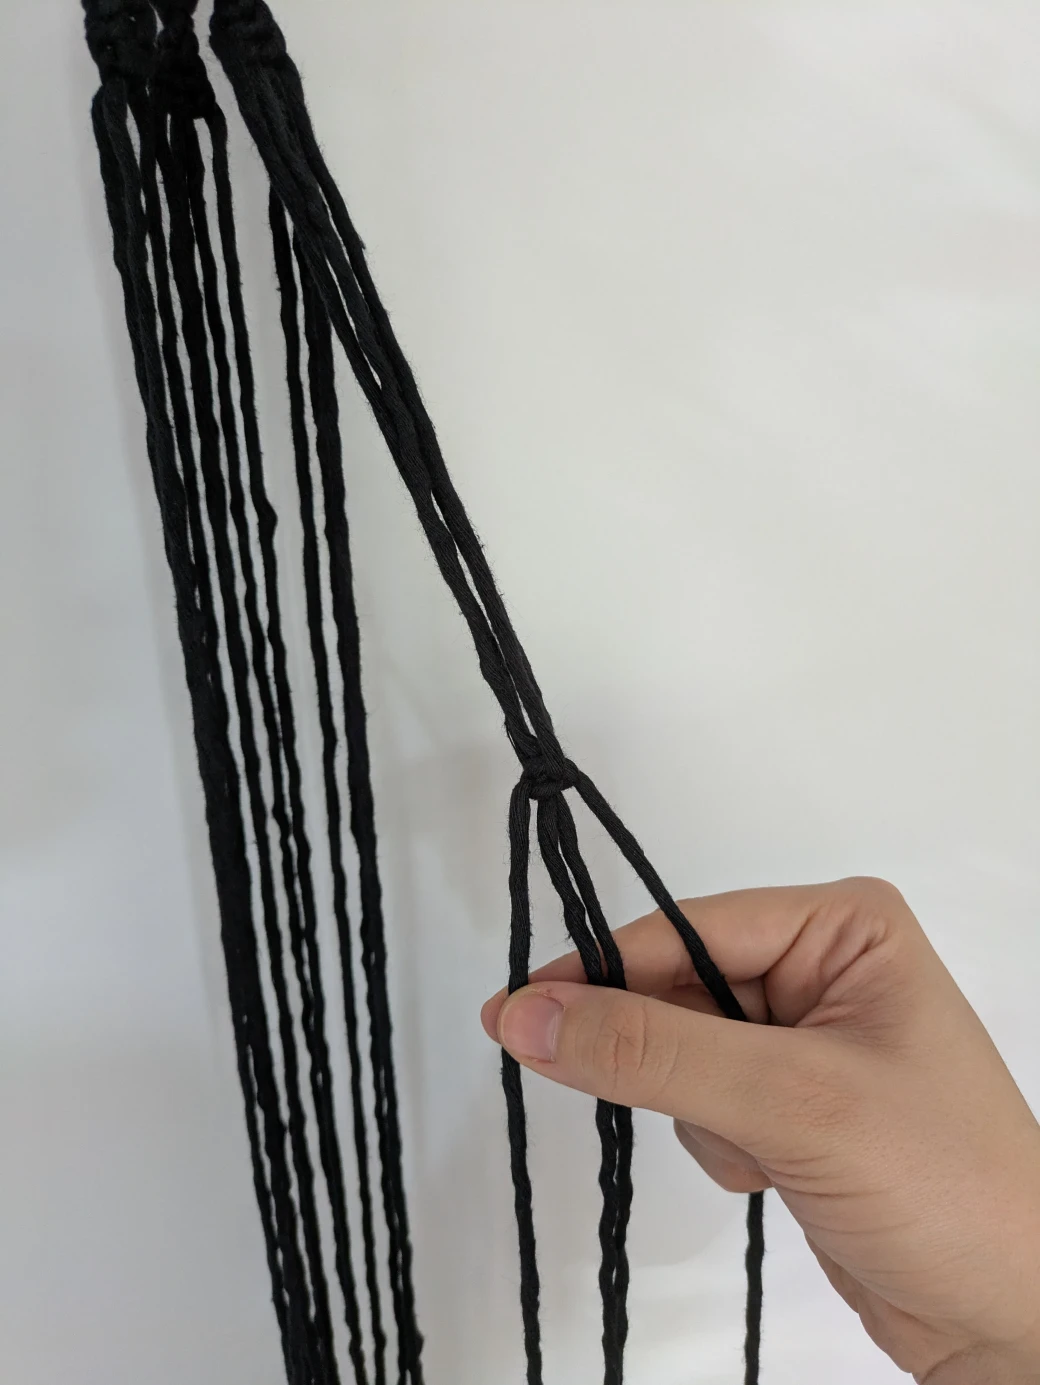
Now the actual net is knotted. This net will later hold the flowerpot. To form the net, the thread groups must now be connected with one another. To do this, take two thread groups and each of the four threads that are now centered: the two right-hand threads from the left thread group and the two left-hand threads from the right thread group.
Four threads from two thread groups
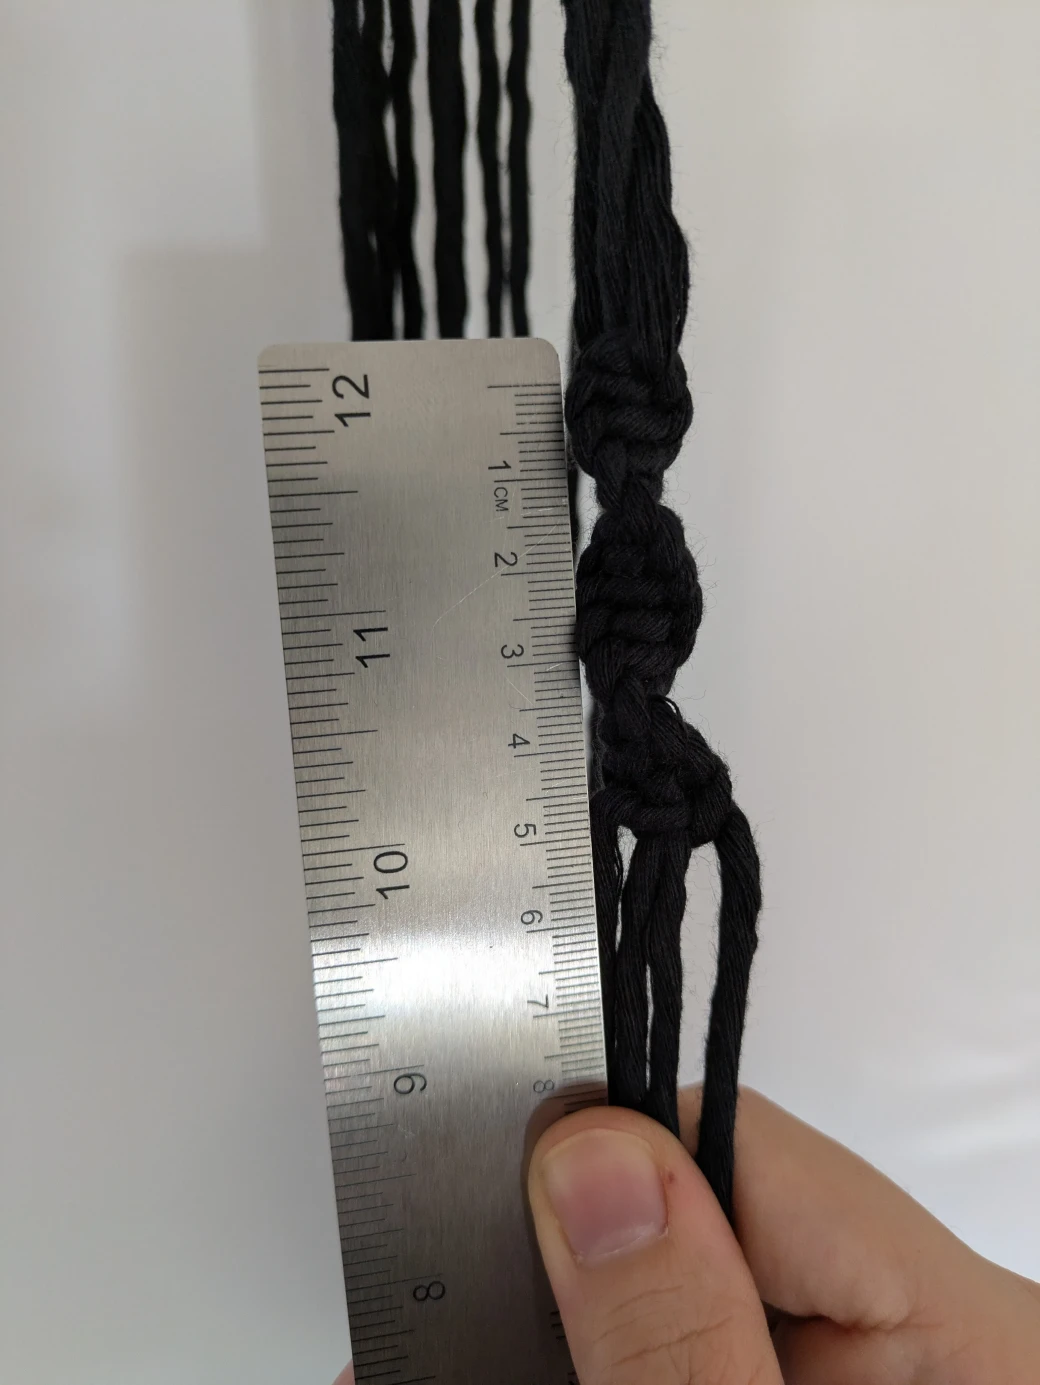
Now measure a distance of approximately 8cm from the last spiral knots. After these 8cm, tie two square knots. The first part of the square knot is identical to the right-turning spiral knot. For the second part, tie the spiral knot in the other direction: the right outer thread is placed to the left over the other threads, then the left outer thread is placed over the right and pulled behind the inner threads through the loop of the right thread.
Then repeat the process so that two square knots are now tied below each other.
Now repeat this process of tying two square knots with the remaining thread groups, i.e., take the "remaining" two threads from one thread group and add two more from a new thread group, then tie two square knots approximately 8cm after the last spiral knots. This connects the thread groups together.
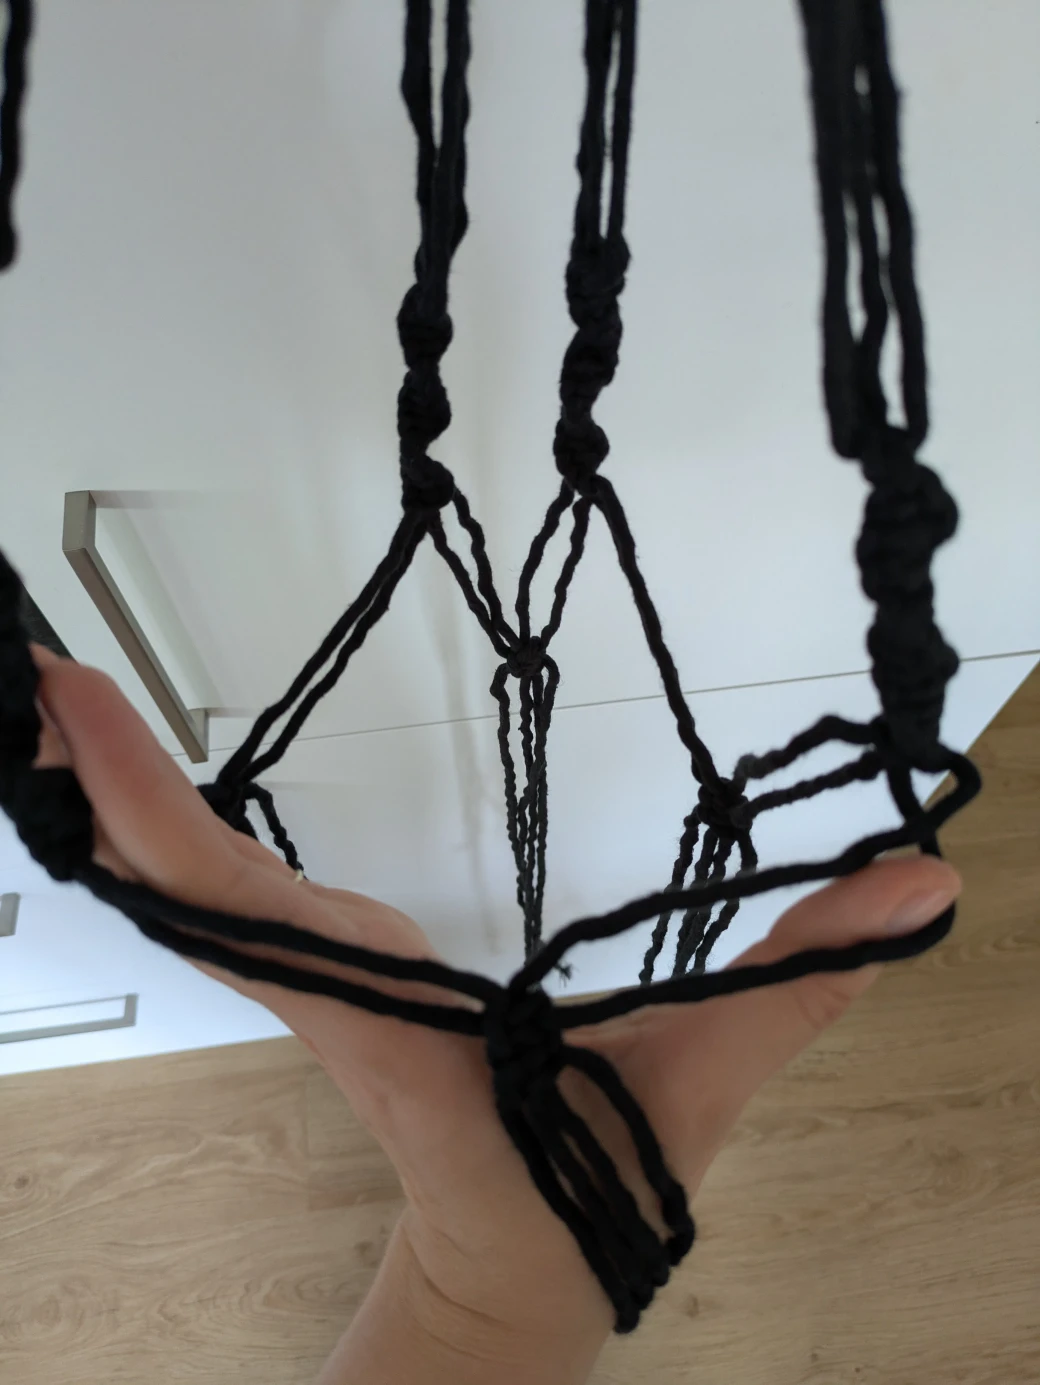
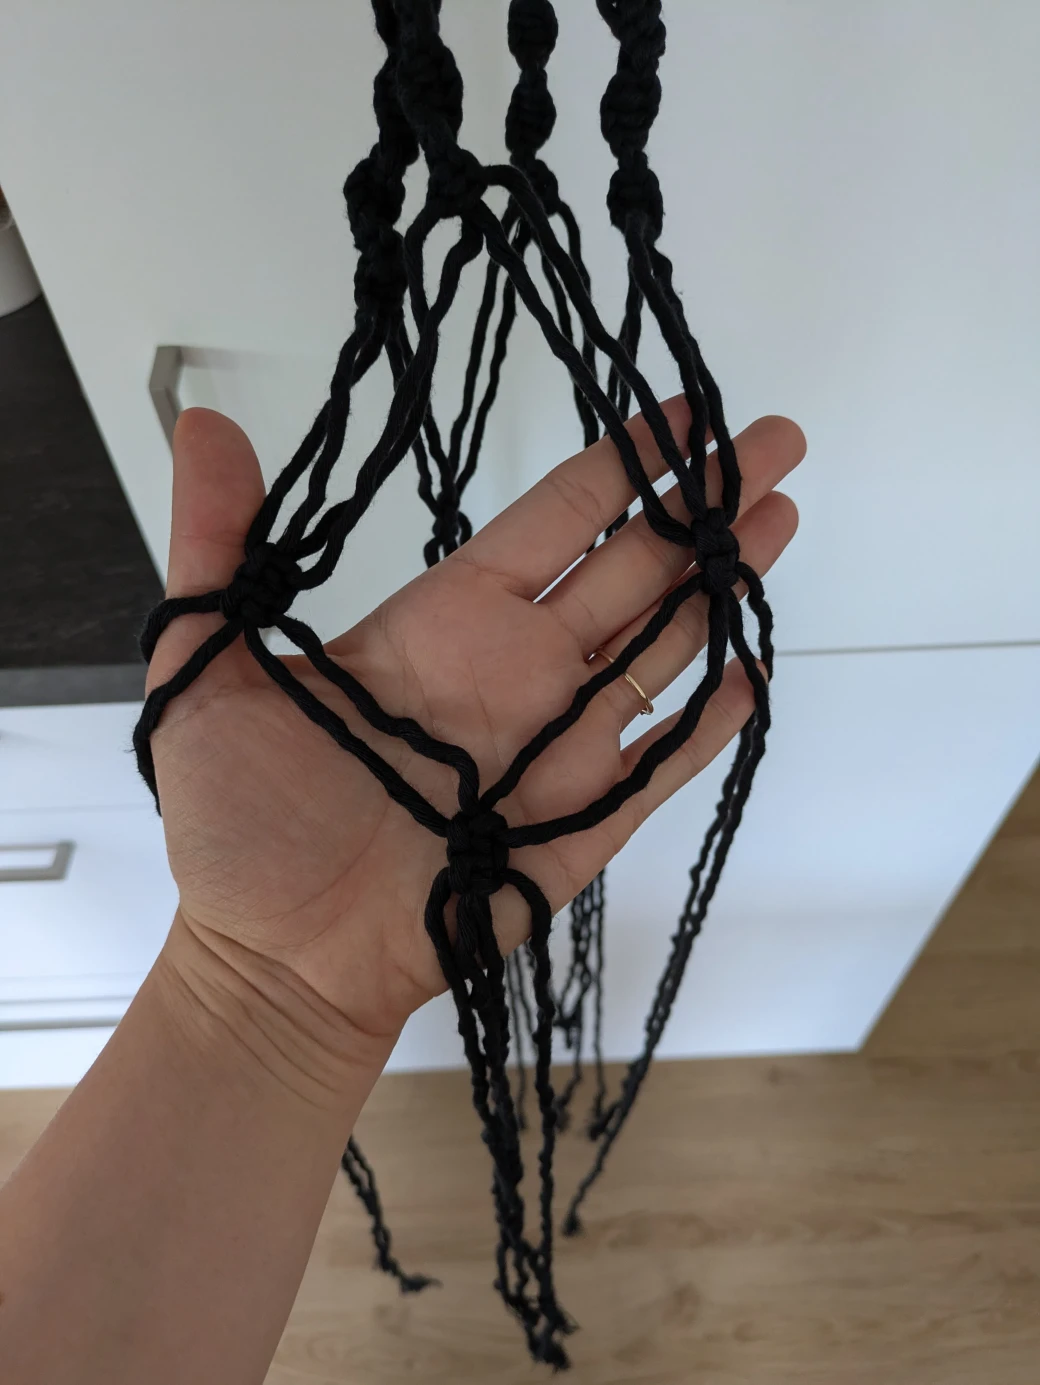
Now it's time to continue with the next level of square knots for the net. To do this, take the threads from adjacent groups of threads and tie two more square knots, approximately 5cm further down from the first row of square knots.
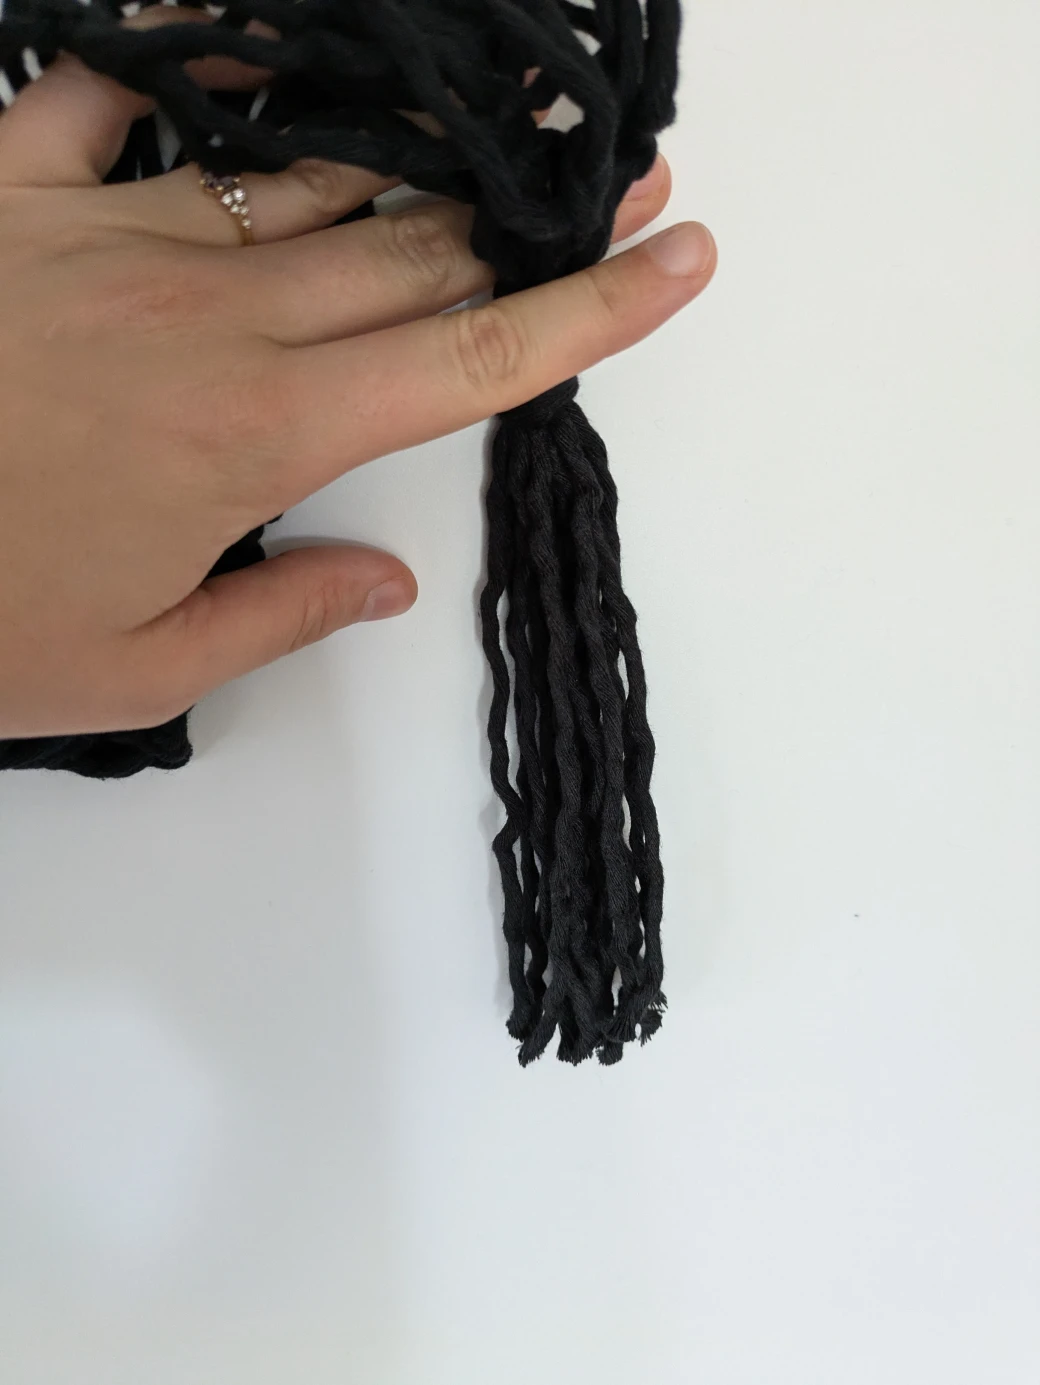
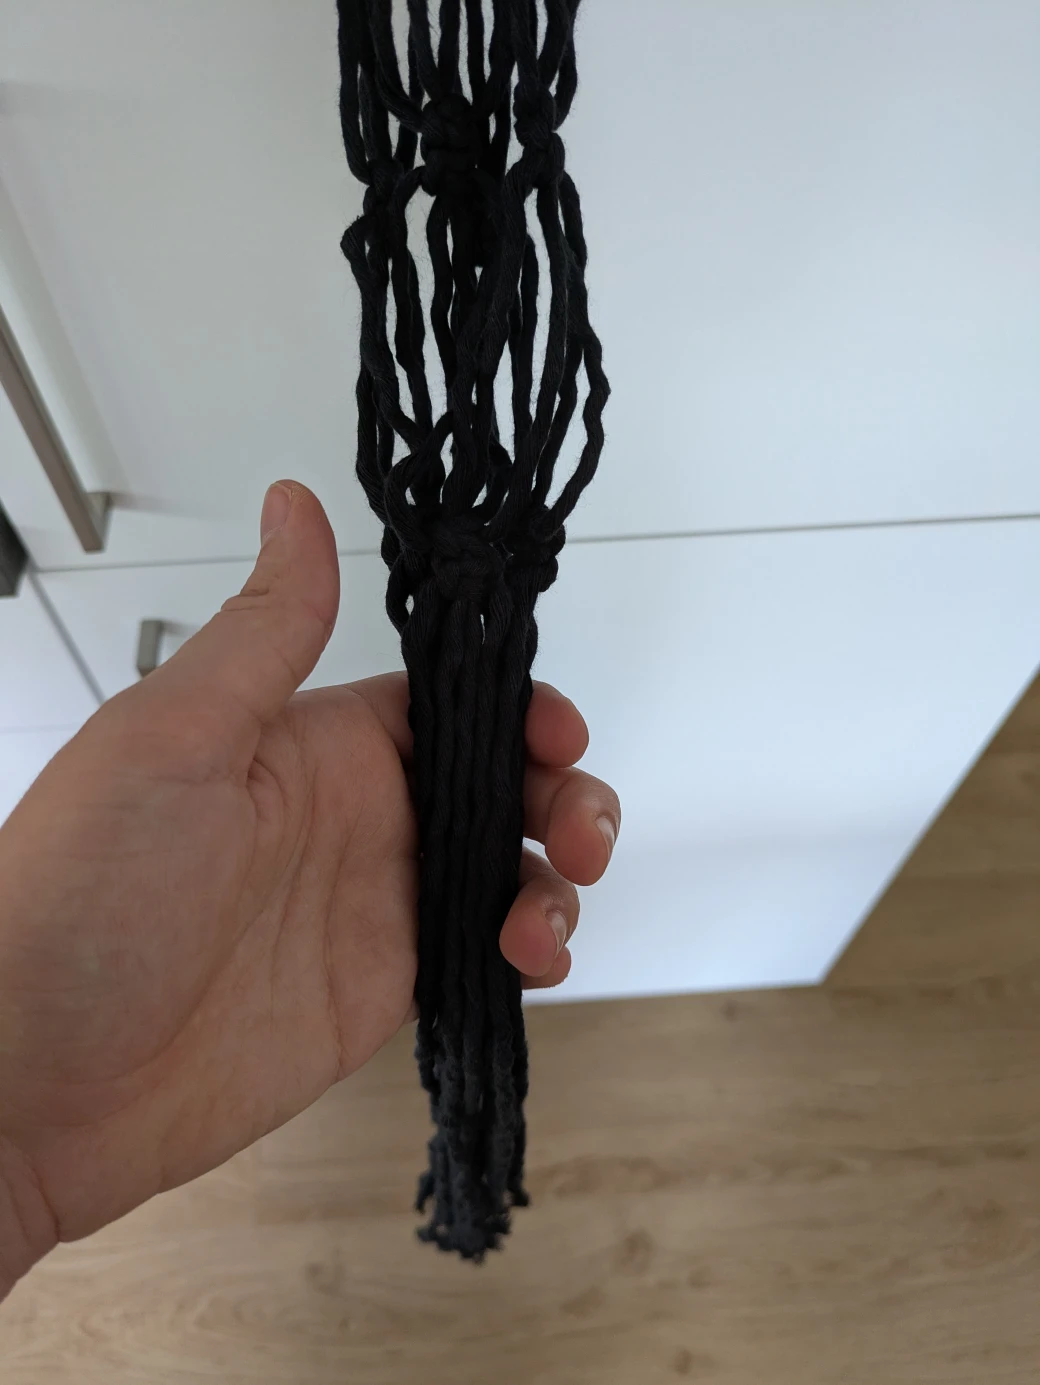
Step 7: Wrapping Knot to close the Hanging Basket
In the final step, gather all the threads together again and tie another wrapping knot, just like in step 3. To do this, take the second 60cm thread, loop over the threads again, wrap the thread around all the other threads, pull the end of the wrapping thread through the loop, and pull the loop under the wrapping knot with the top end of the thread.

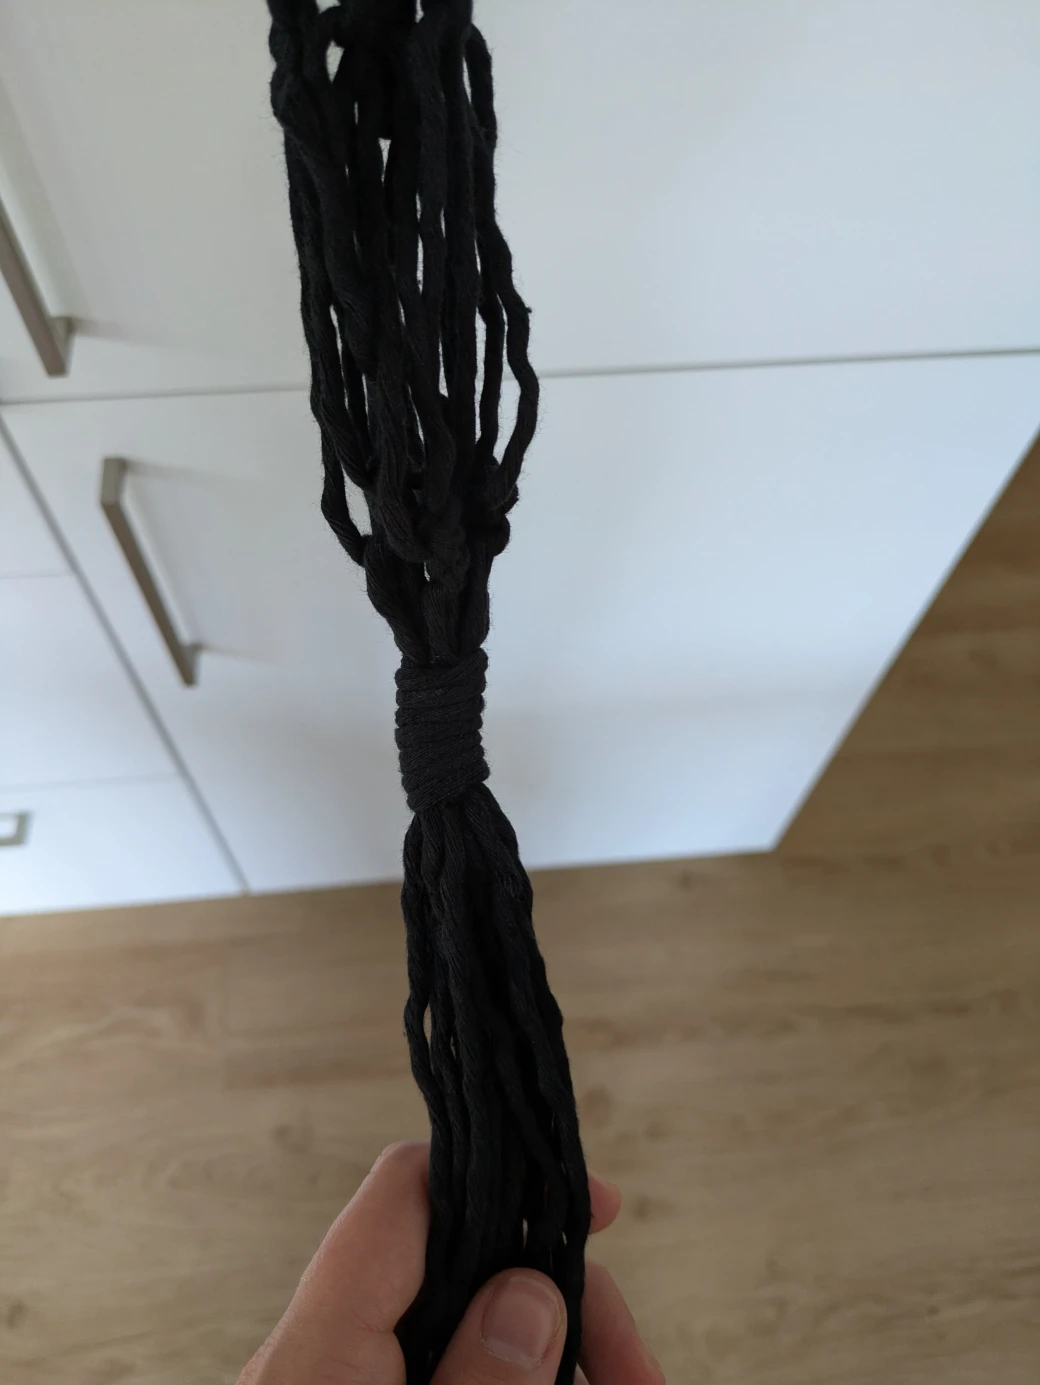
Finished Hanging Basket
Now you can cut all the threads of the hanging basket to the desired length and, if preferred, comb them out. Your first hand-knotted hanging basket is complete.