Book Binding 101
Lately I've fallen into a new favorite rabbit hole: Rebinding my favorite books! If you're interested to see how you can quite easily rebind your own books, here's everything you need to know in one comprehensive blogpost.
FYI: For now I focus on rebinding paperbacks into hardbacks, so I'm not creating my own text blocks.
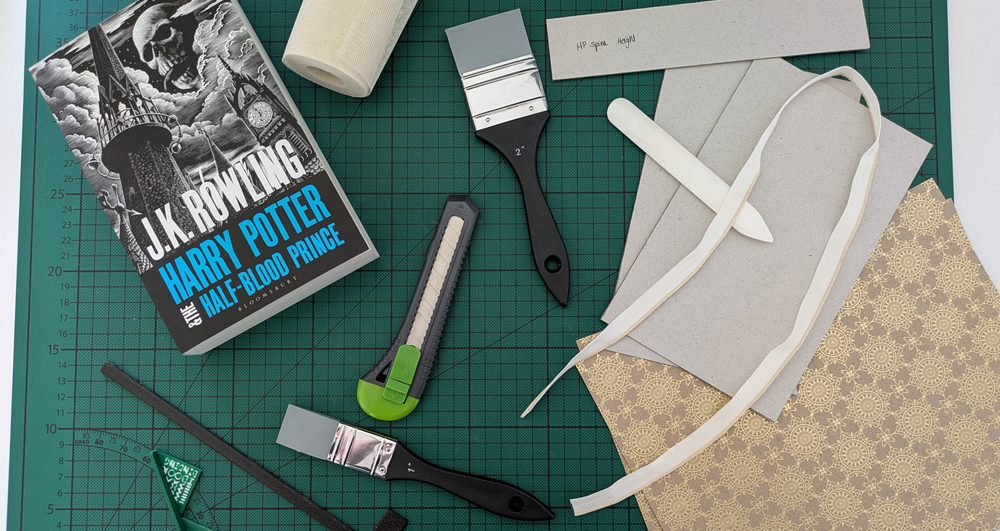
Step 1: Preparing your Book (i.e. how to get your text block)
Pick out the book you want to rebind. If you try this out for the first time I highly suggest using test books. I did three test rebinds before being brave enough to tackle my first project of rebinding the entire Harry Potter series. For trying out the rebinding process I used books from a swap-bookshelf in my local village, but thrifted books are also a great alternative.
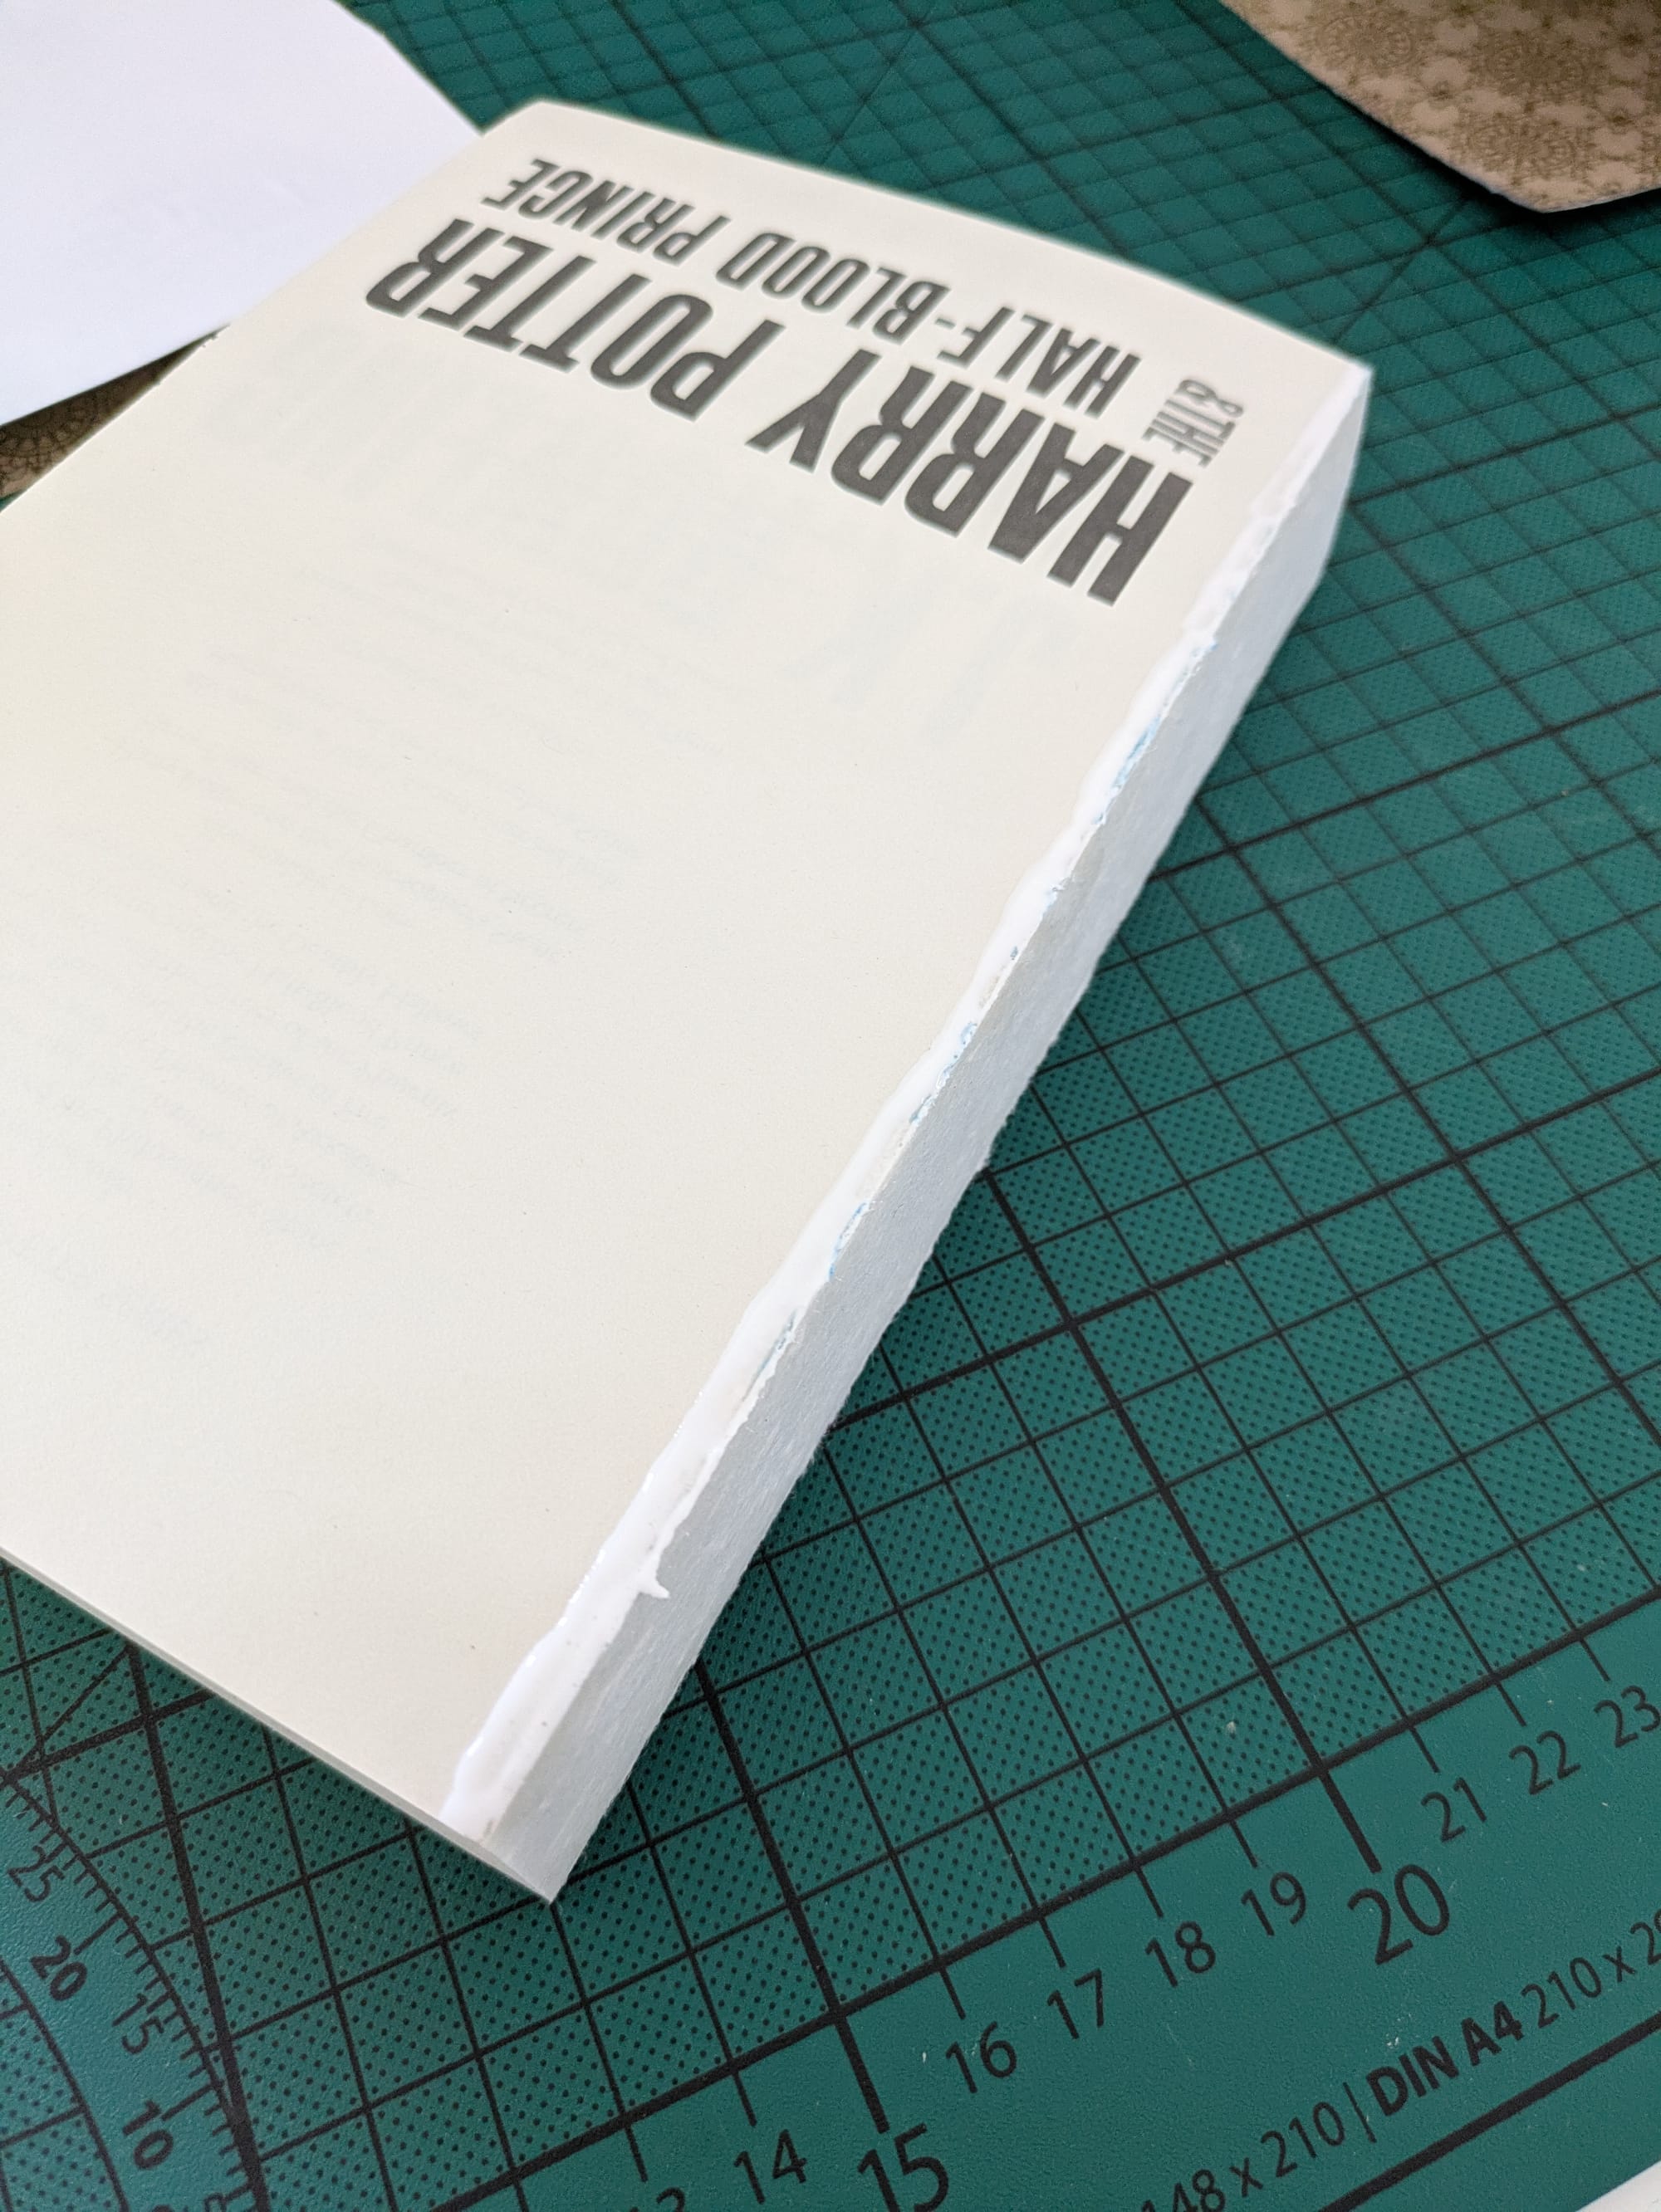
Once you have your book, start by peeling away the cover. I found that you need a little more force than you would expect.
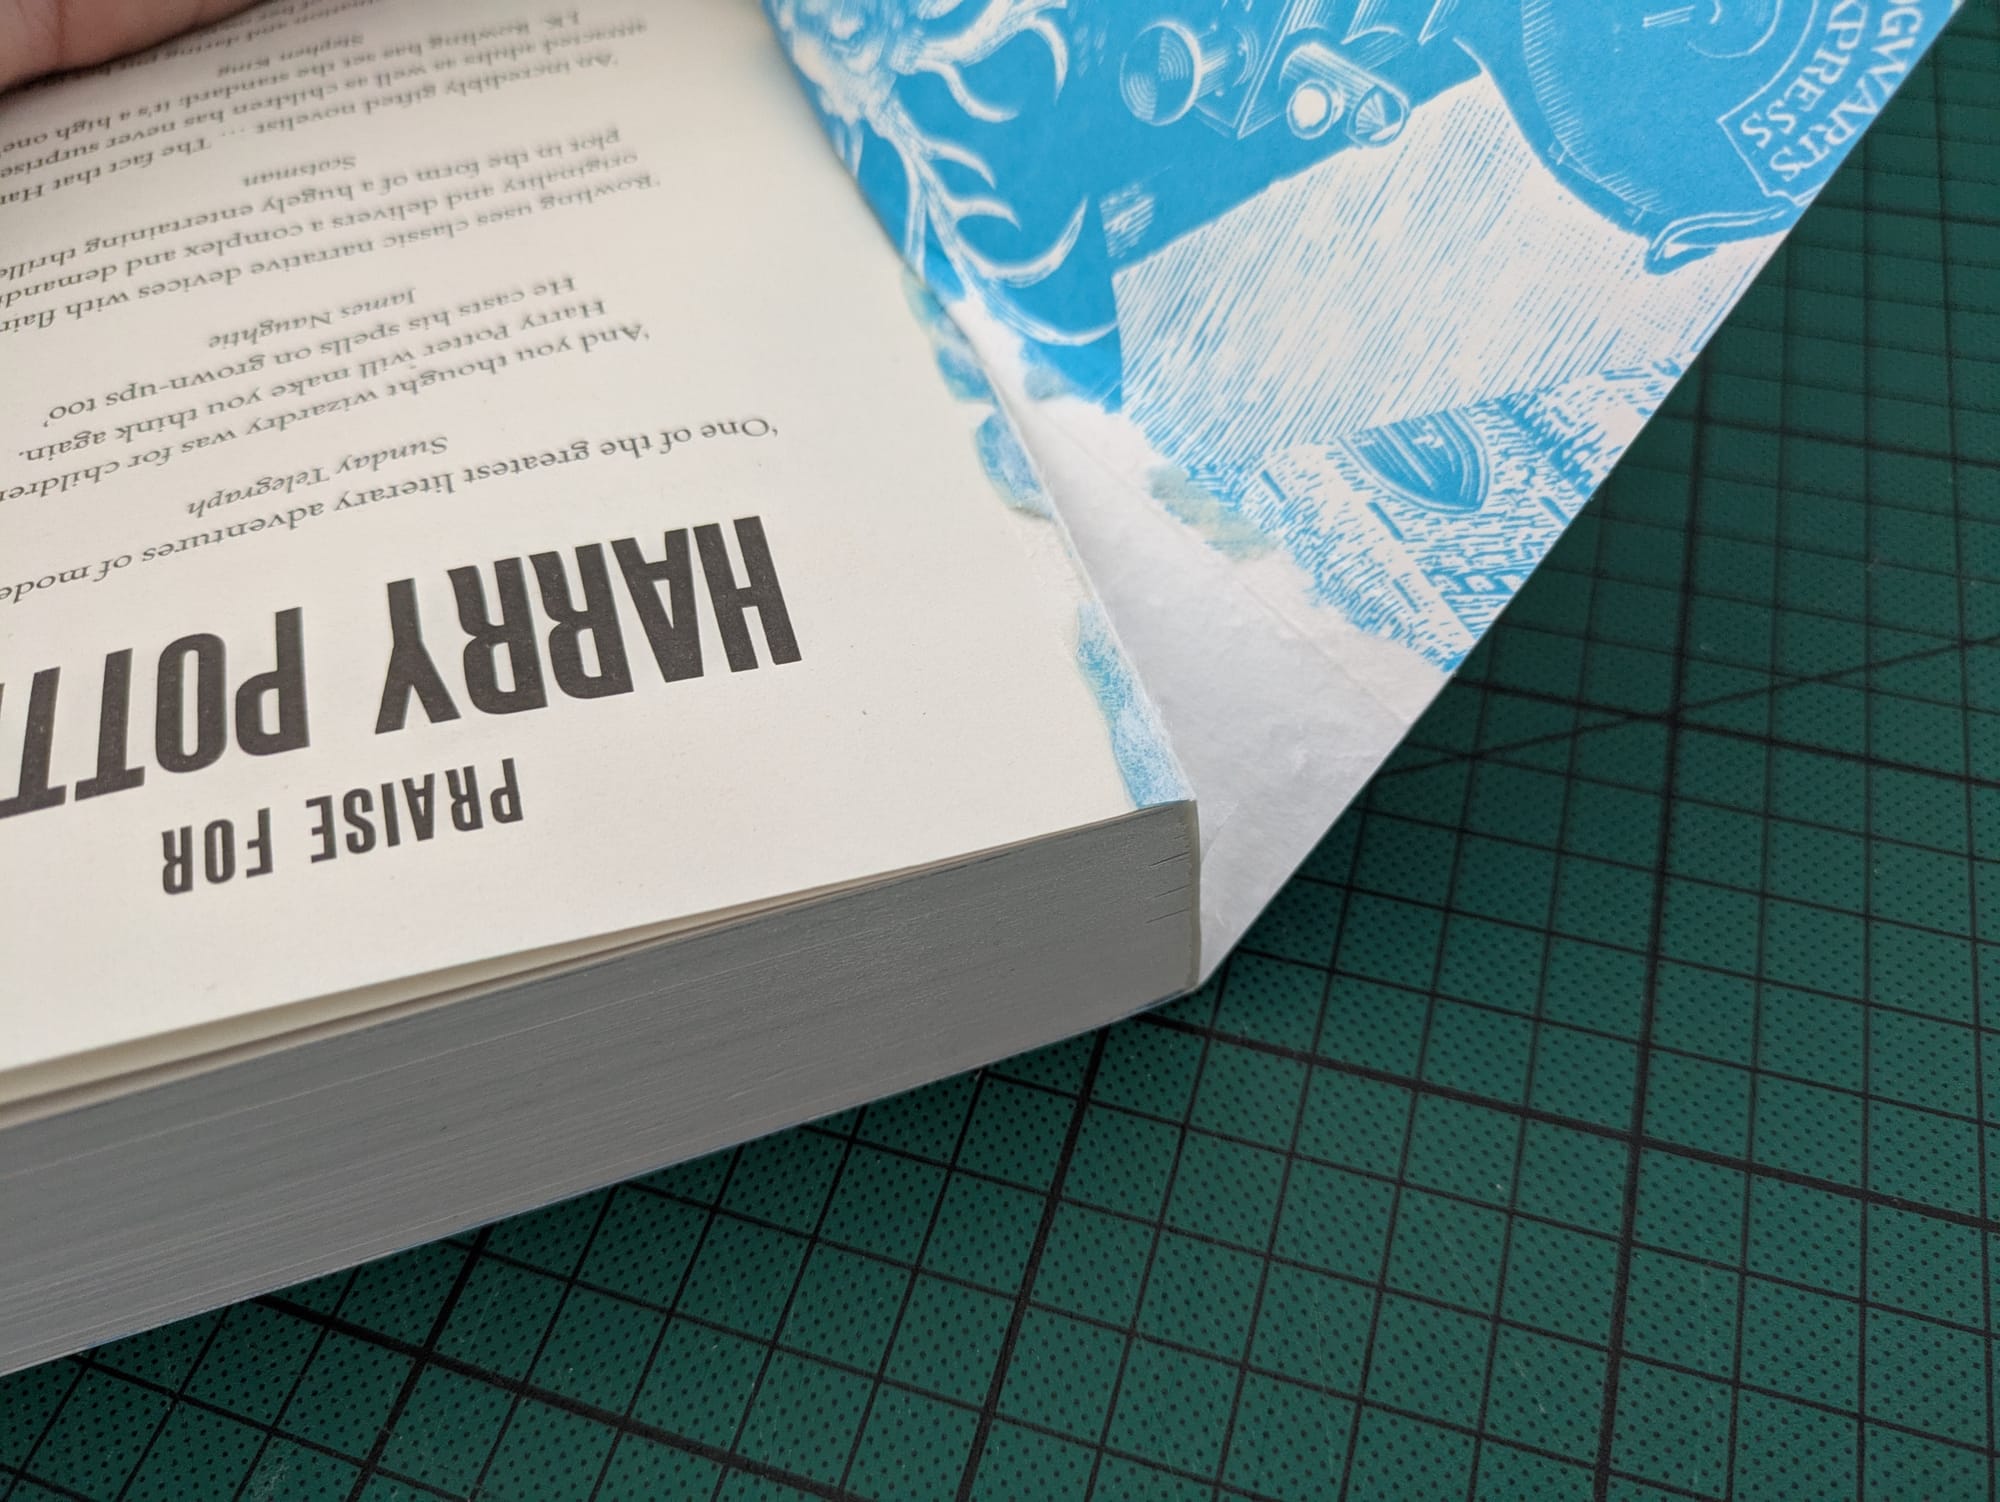
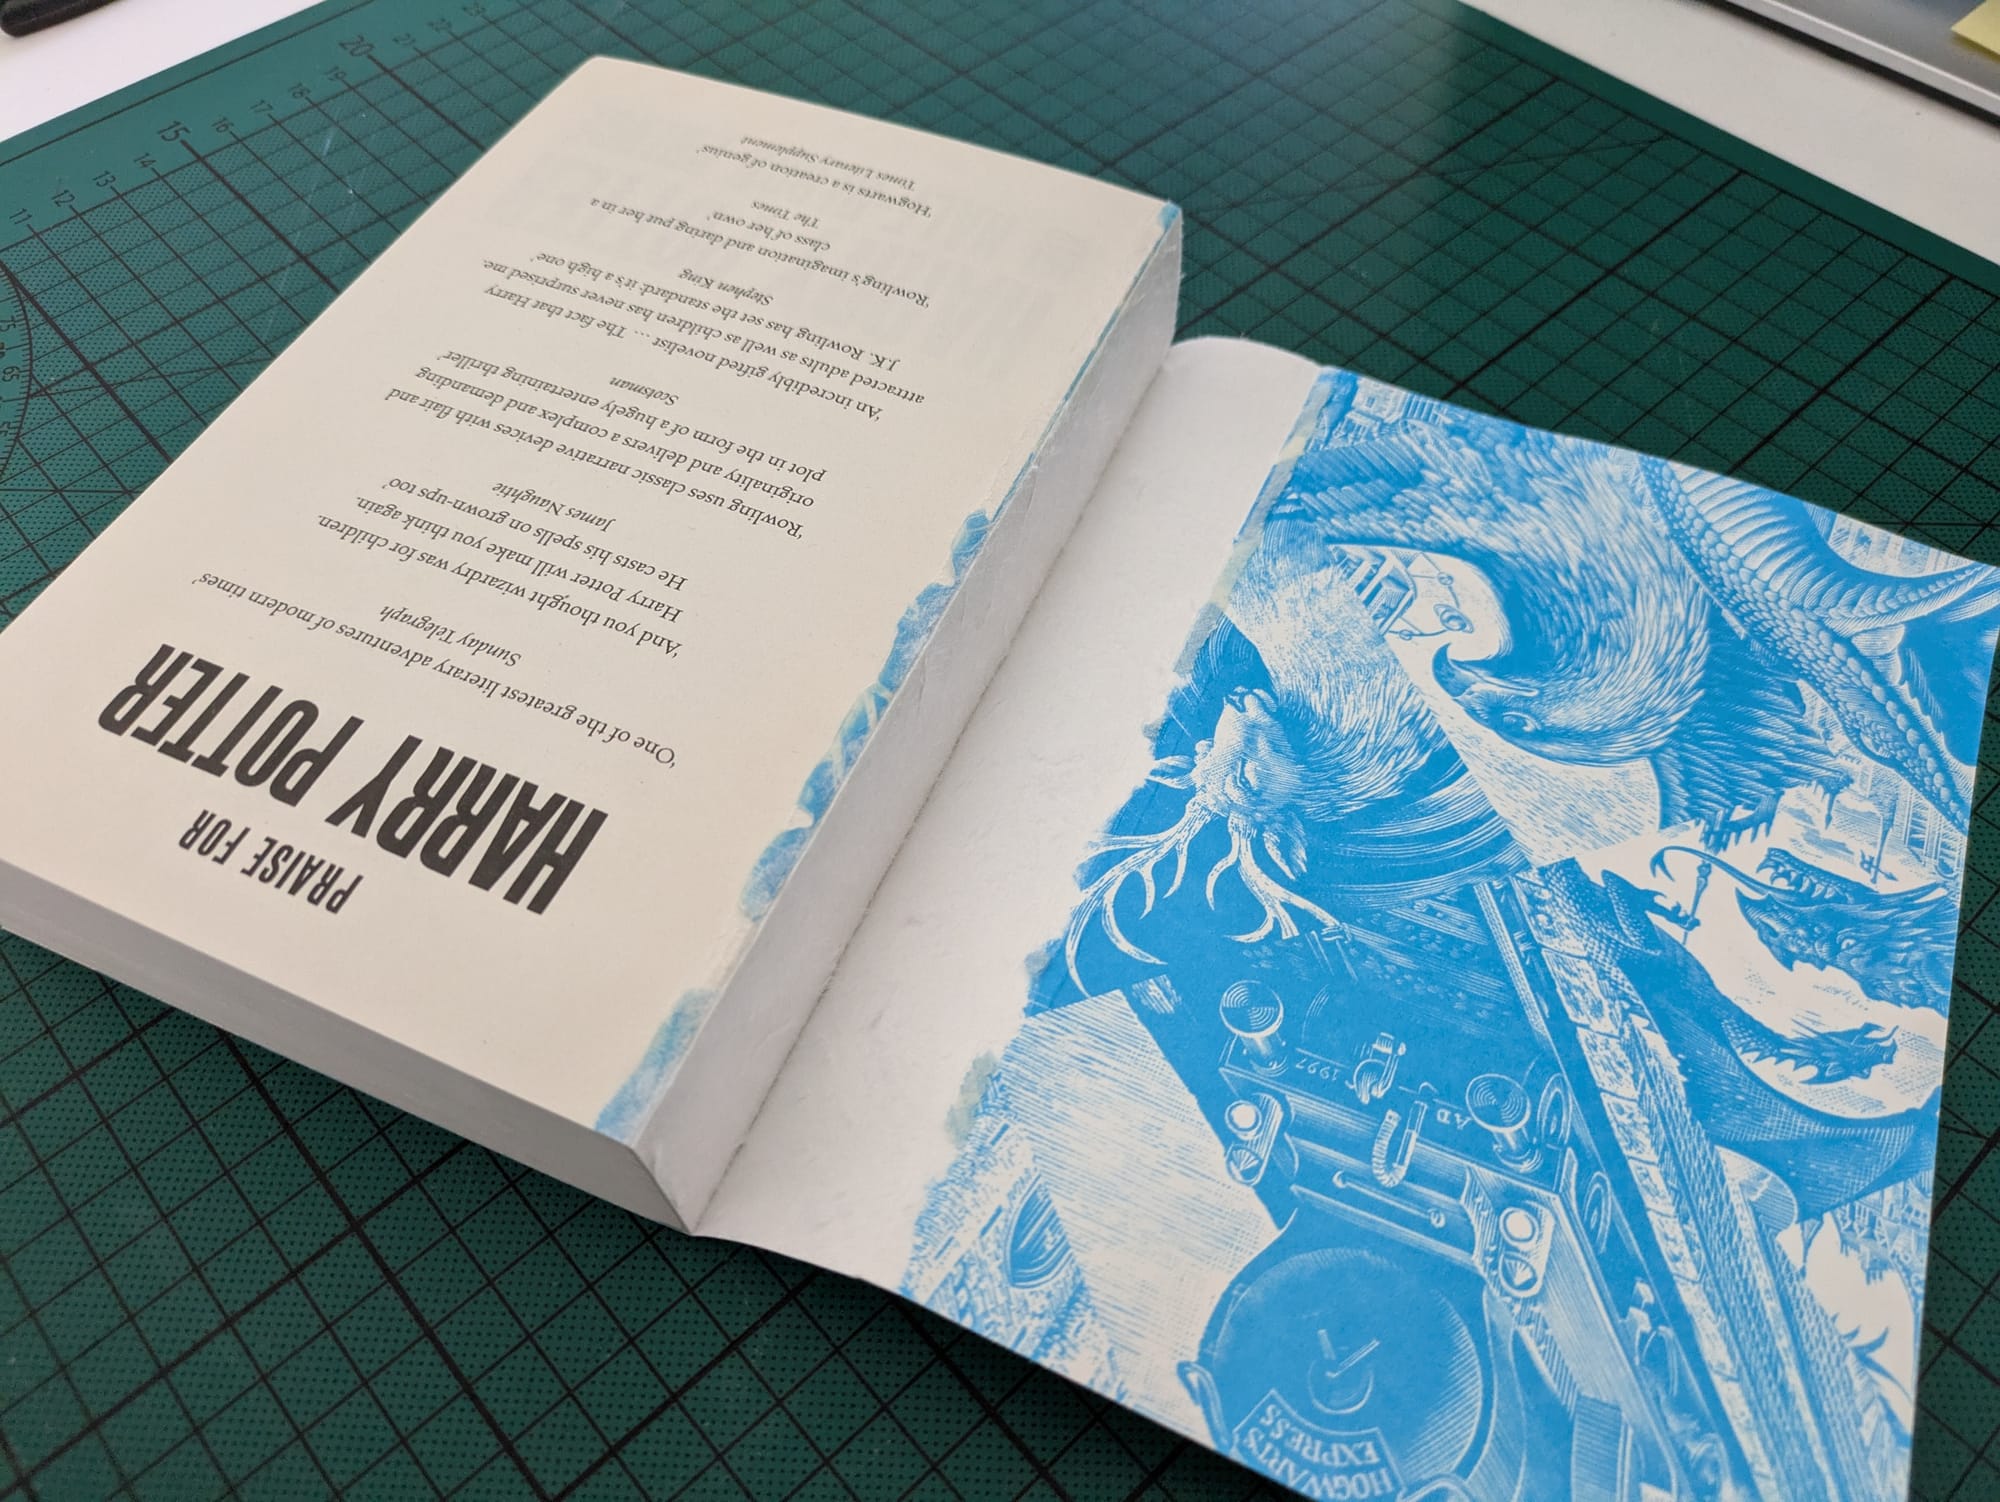
Removing the book cover from your paperback book.
Step 2: Measuring & Cutting Bookboards and Endpapers
Next, you'll need to do quite a bit of measuring and calculating. When I initially started with book binding I watched a lot of YouTube content on how to do this and thought it was much simpler than it actually is. The key to this step is to work as exactly as you can - this will end up giving you the cleanest results in your final rebound book.
You want to start by measuring the width and height of your book. For the height of your bookboards, I like to use +7mm to give the text block enough room on top and bottom. For the width, you also need to calculate how big your hinge is going to be. I use a hinge of 8mm and create my bookboards with -3mm width, which is a nice fit for my personal preference.

For the bookboard of your spine you'll use the same height as for the front and back bookboards, and add twice the depth of your bookboards. I'm usually using 2mm thick bookboards, so I'd add +4mm to the width of my spine.
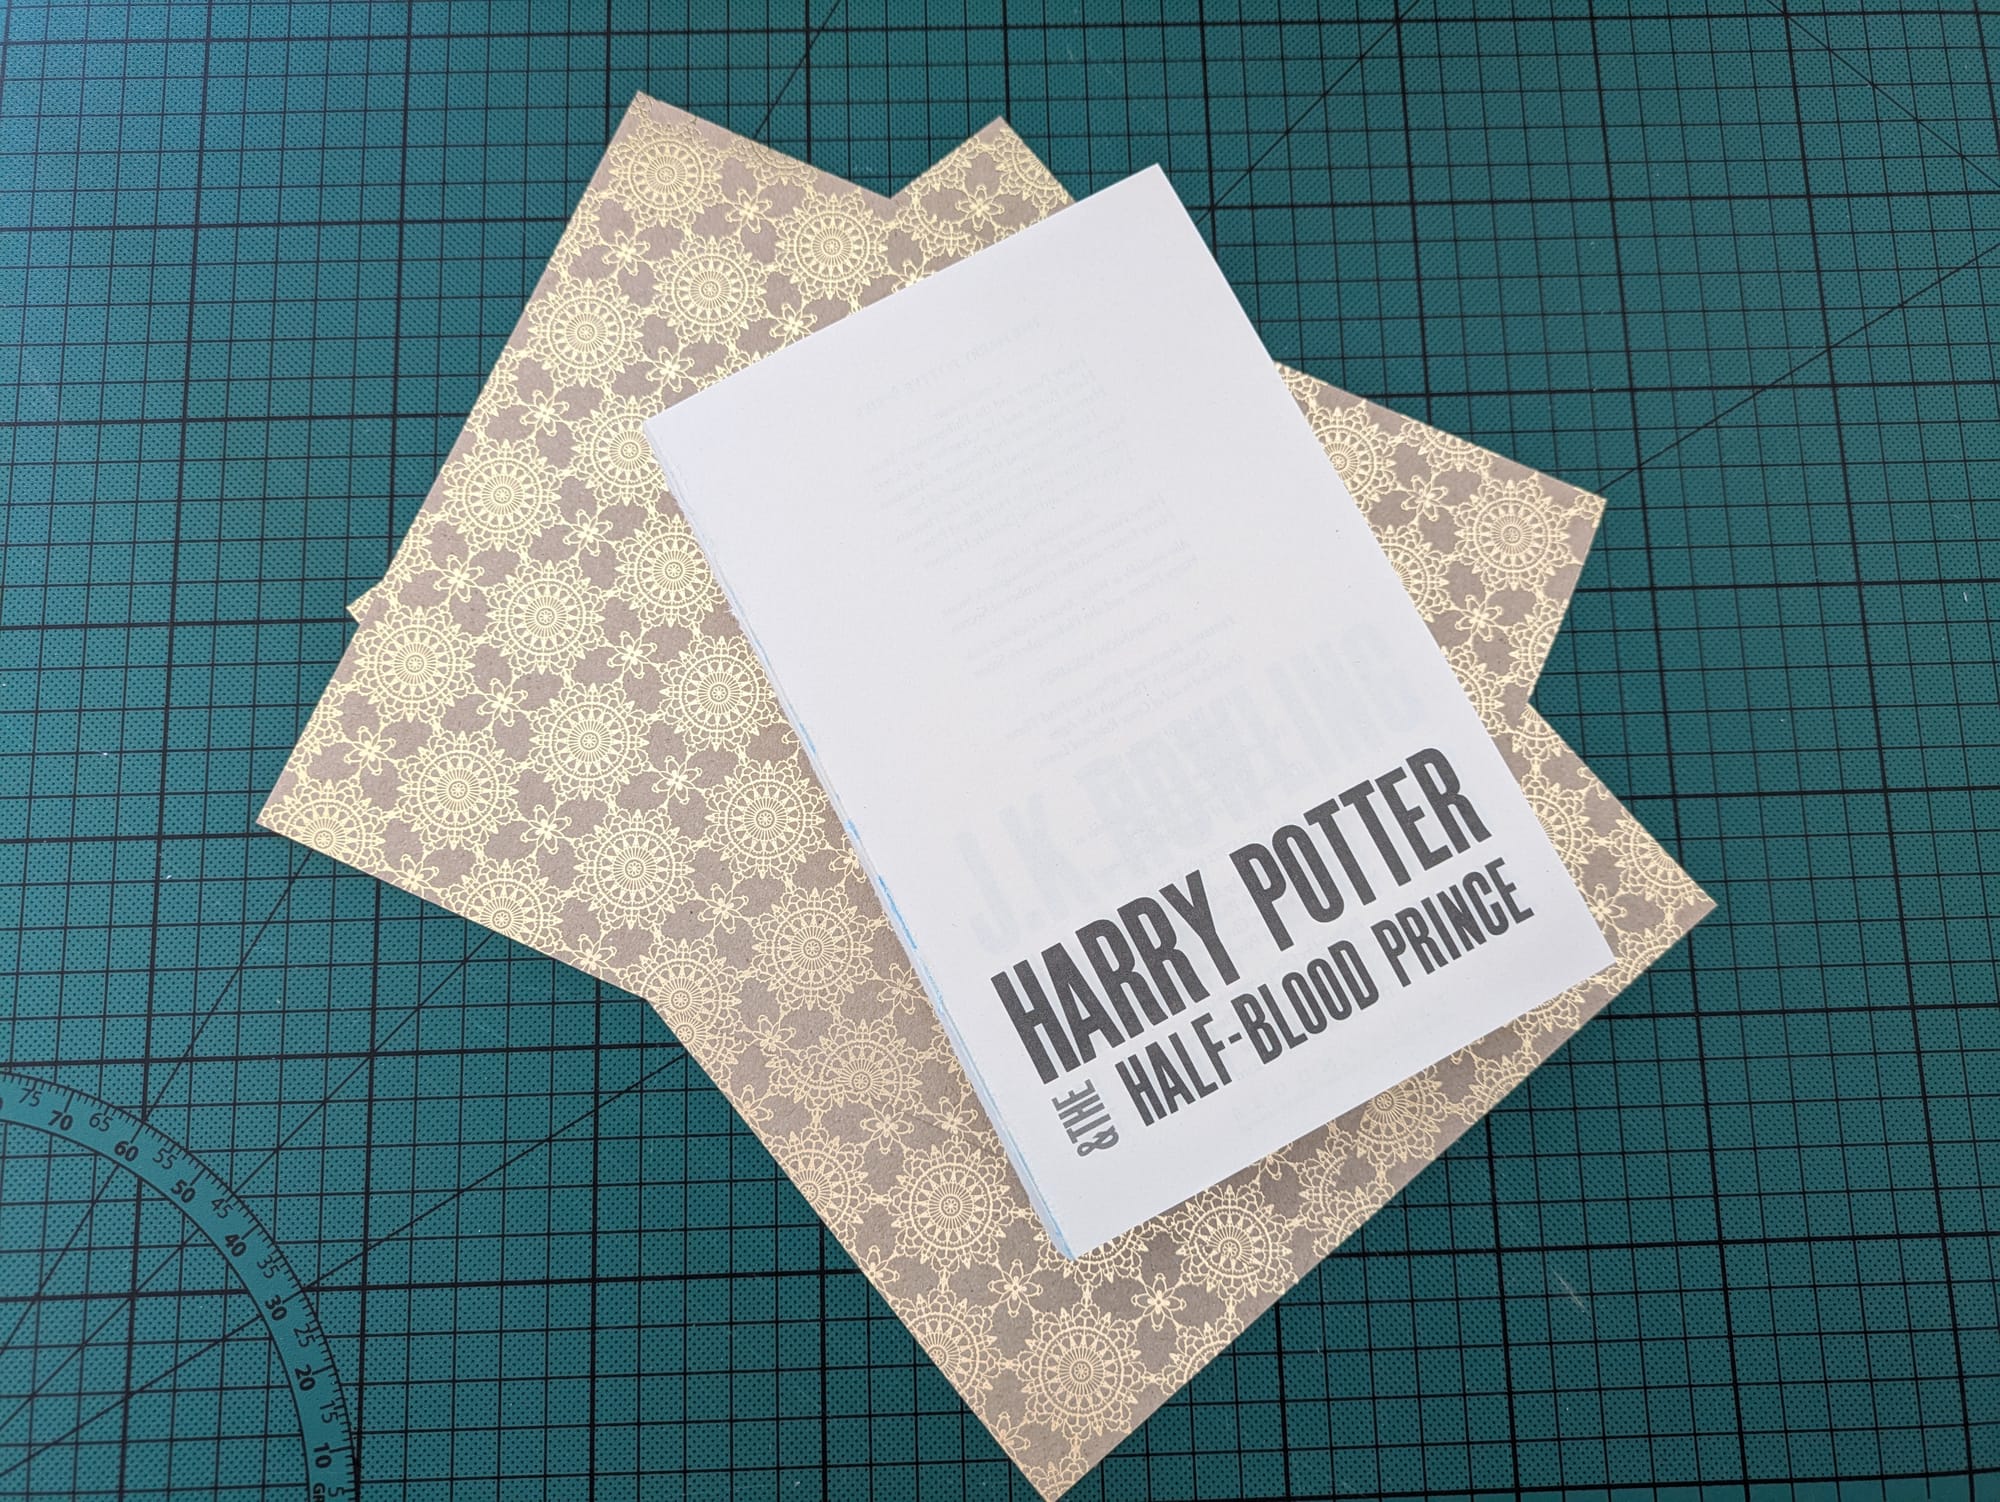
For the endpapers, which are the papers connecting your text block to your new casing, you'll use the exact measurements of your text block and double the width. The endpapers will be folded in half and glued to your text block in the first step, then afterwards glued to your casing.
Step 3: Finalizing your Text Block
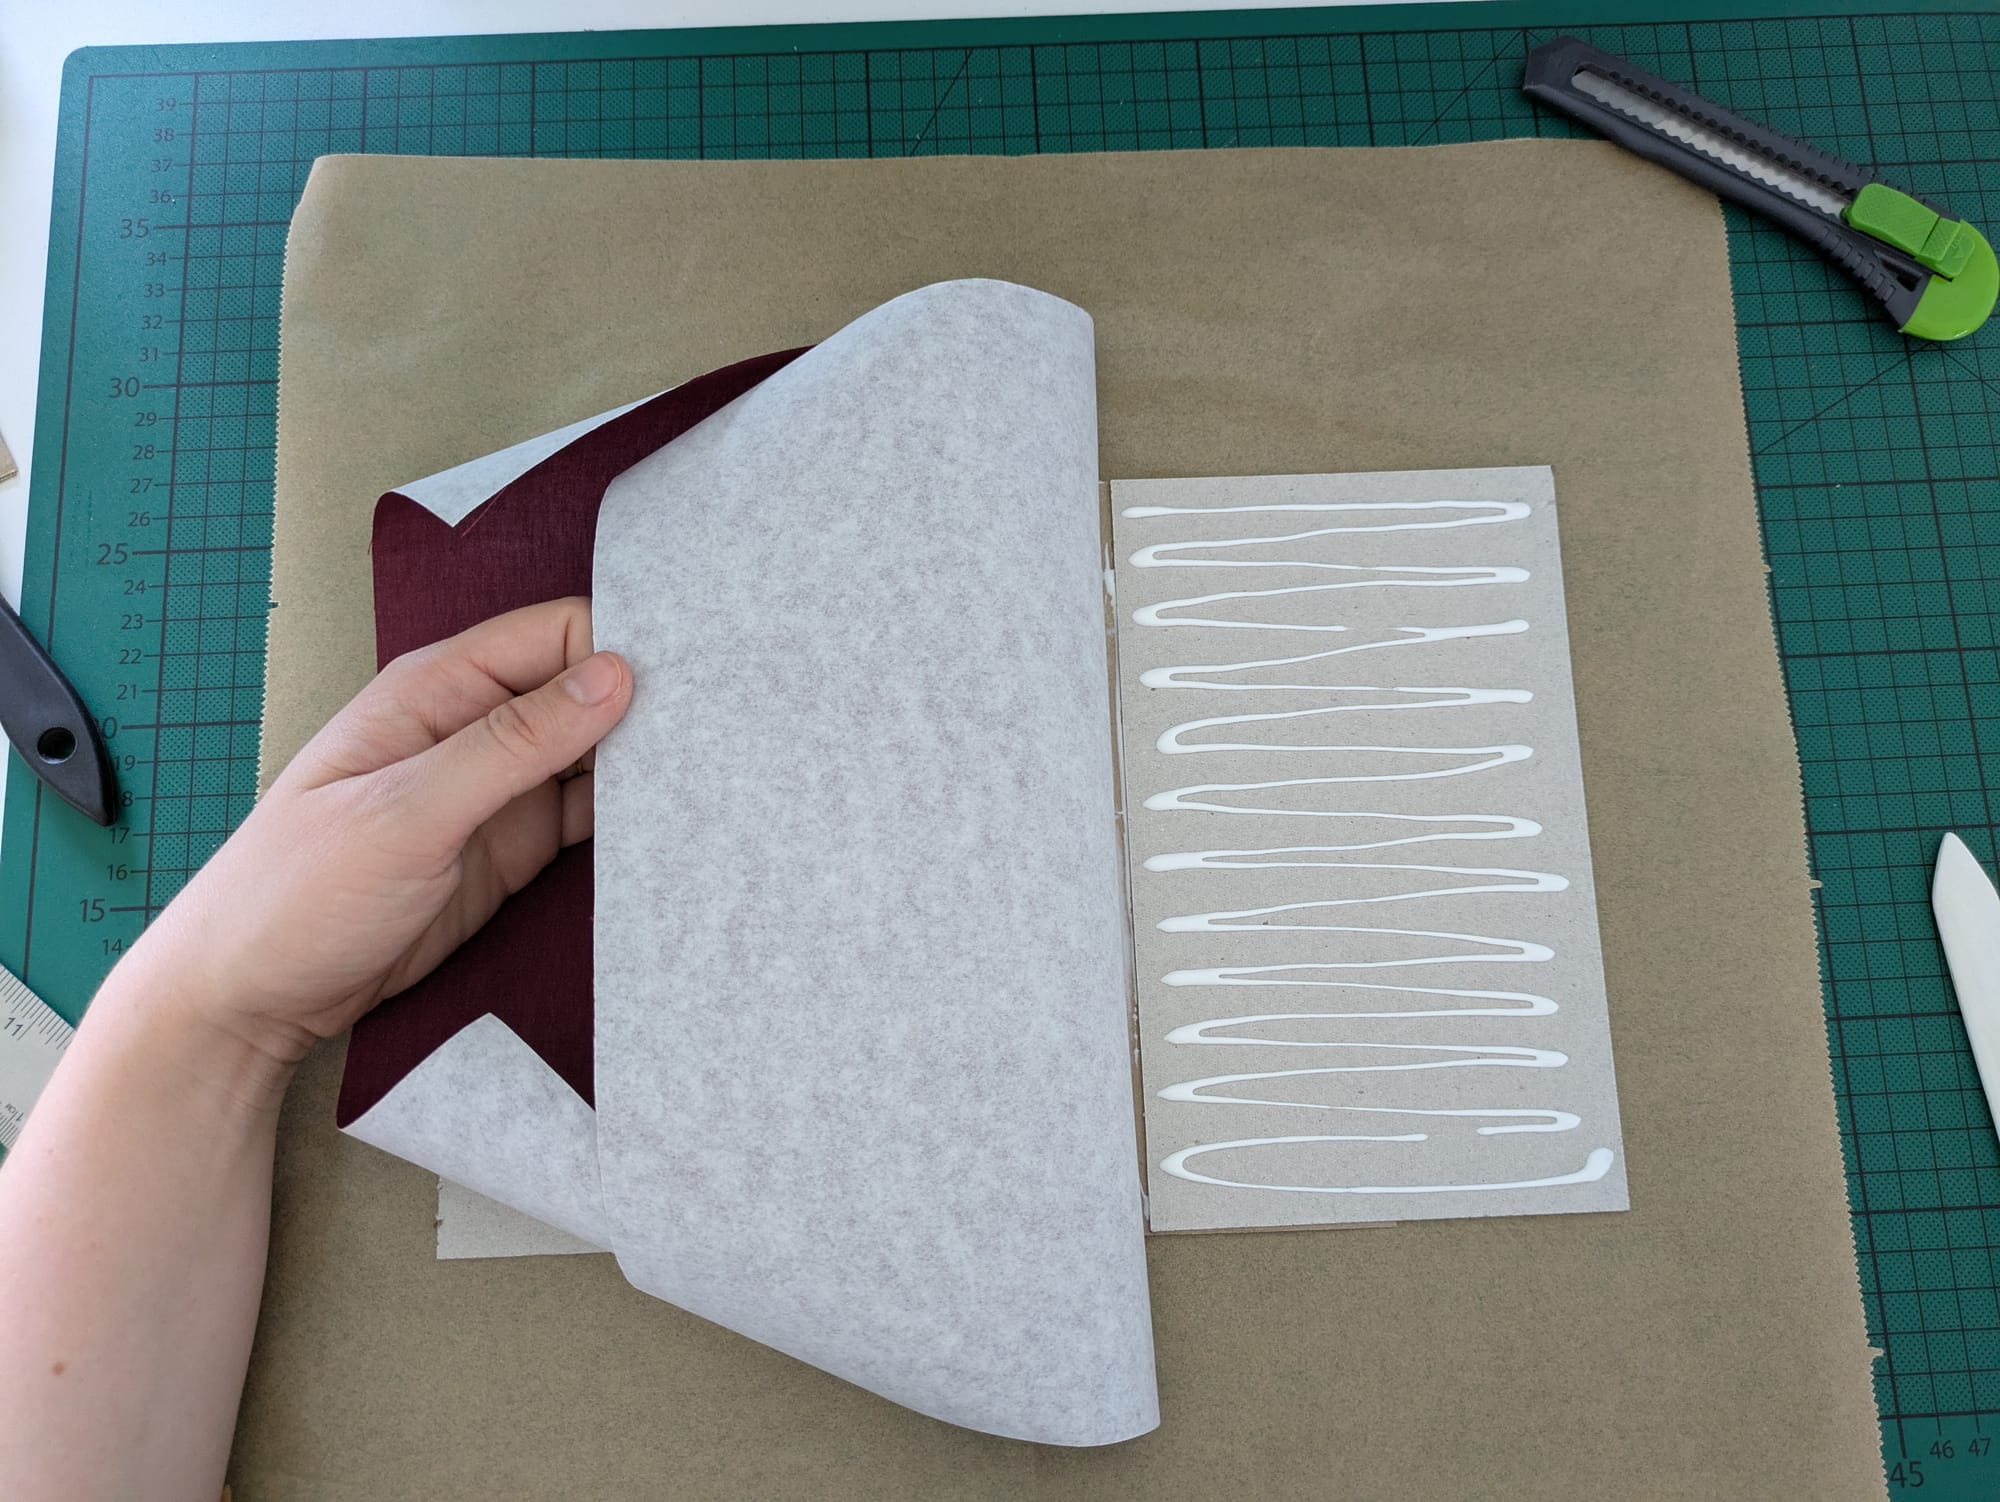
To finalize your text block for the rebind, you firstly want to glue on the endpapers that you measured in the previous step. To do this, add a small line of glue close to the spine of your text block and attach the endpapers. You don't want the line of glue to be too thick in order to be able to open up your book easily once everything has dried.
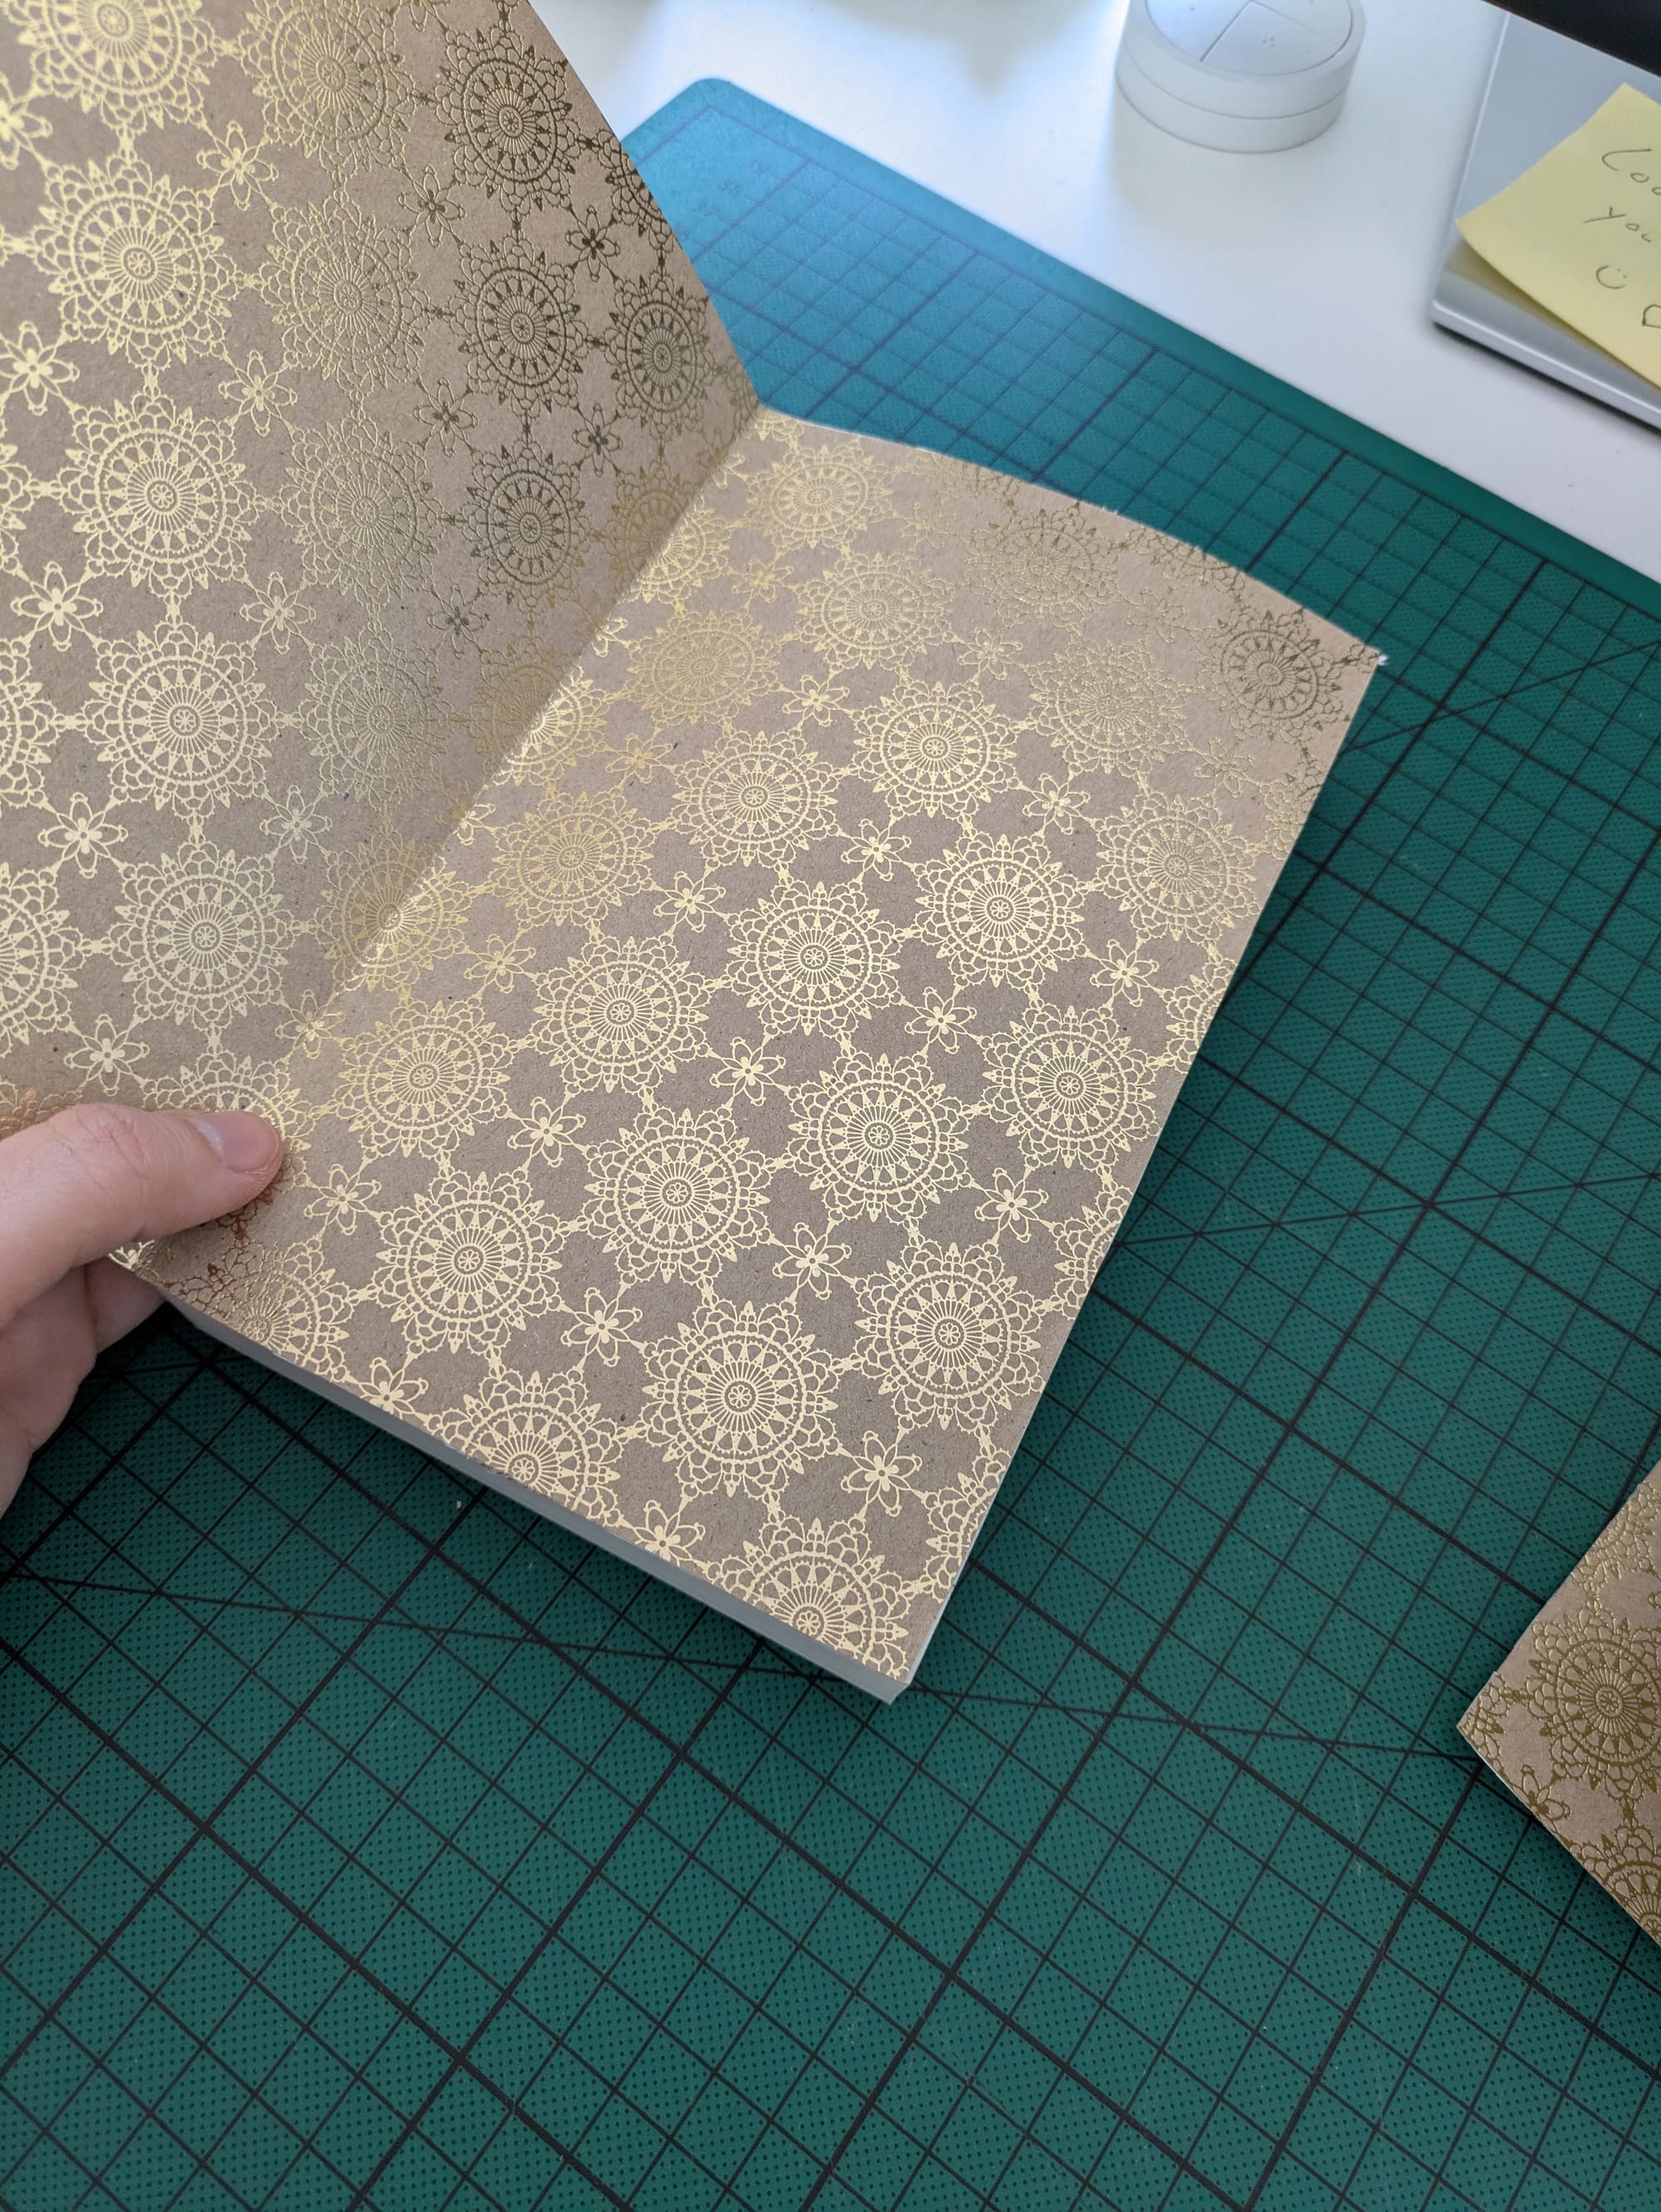
Gluing endpapers to the text block.
Afterwards, you're going to press your text block in a book press and also start preparing the spine for the rebinding process. In this step you can also add a book mark if you like (which I haven't done).
For this step I like to leave about 1cm of my book showing above the book press so that I can easily work on it without getting any glue on my book press.
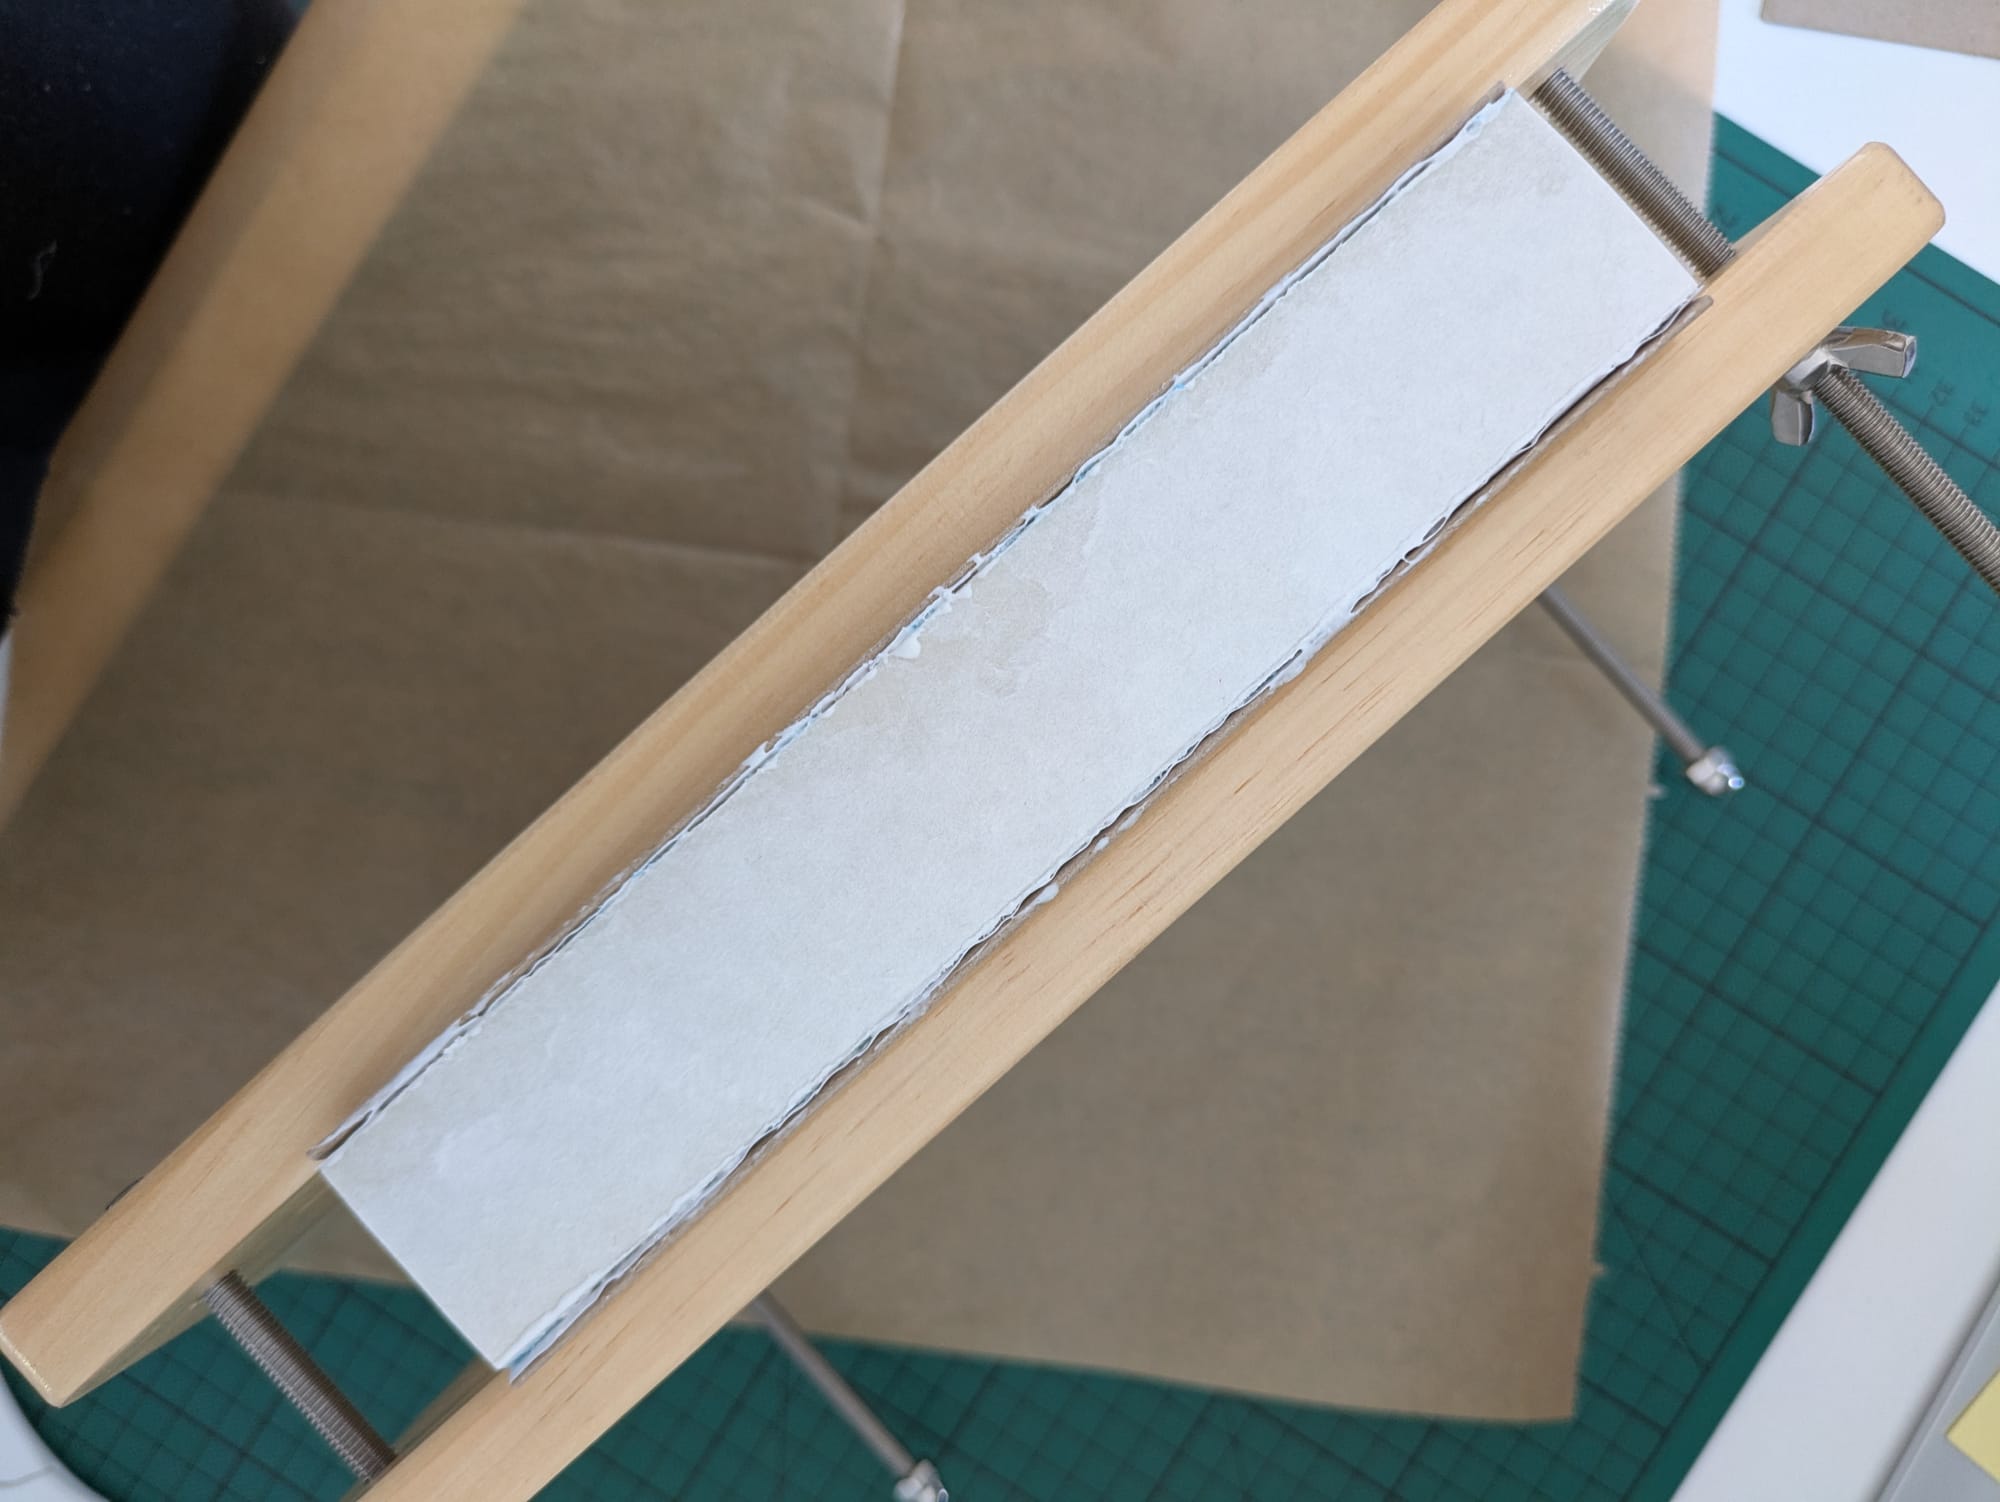
First, you're going to add glue on the spine and then add your gauze. Afterwards, you're going to measure your headbands and glue those on as well. I like to add another layer of glue on top of the headbands and gauze to make it extra stable. Let everything dry for a couple of hours or overnight.
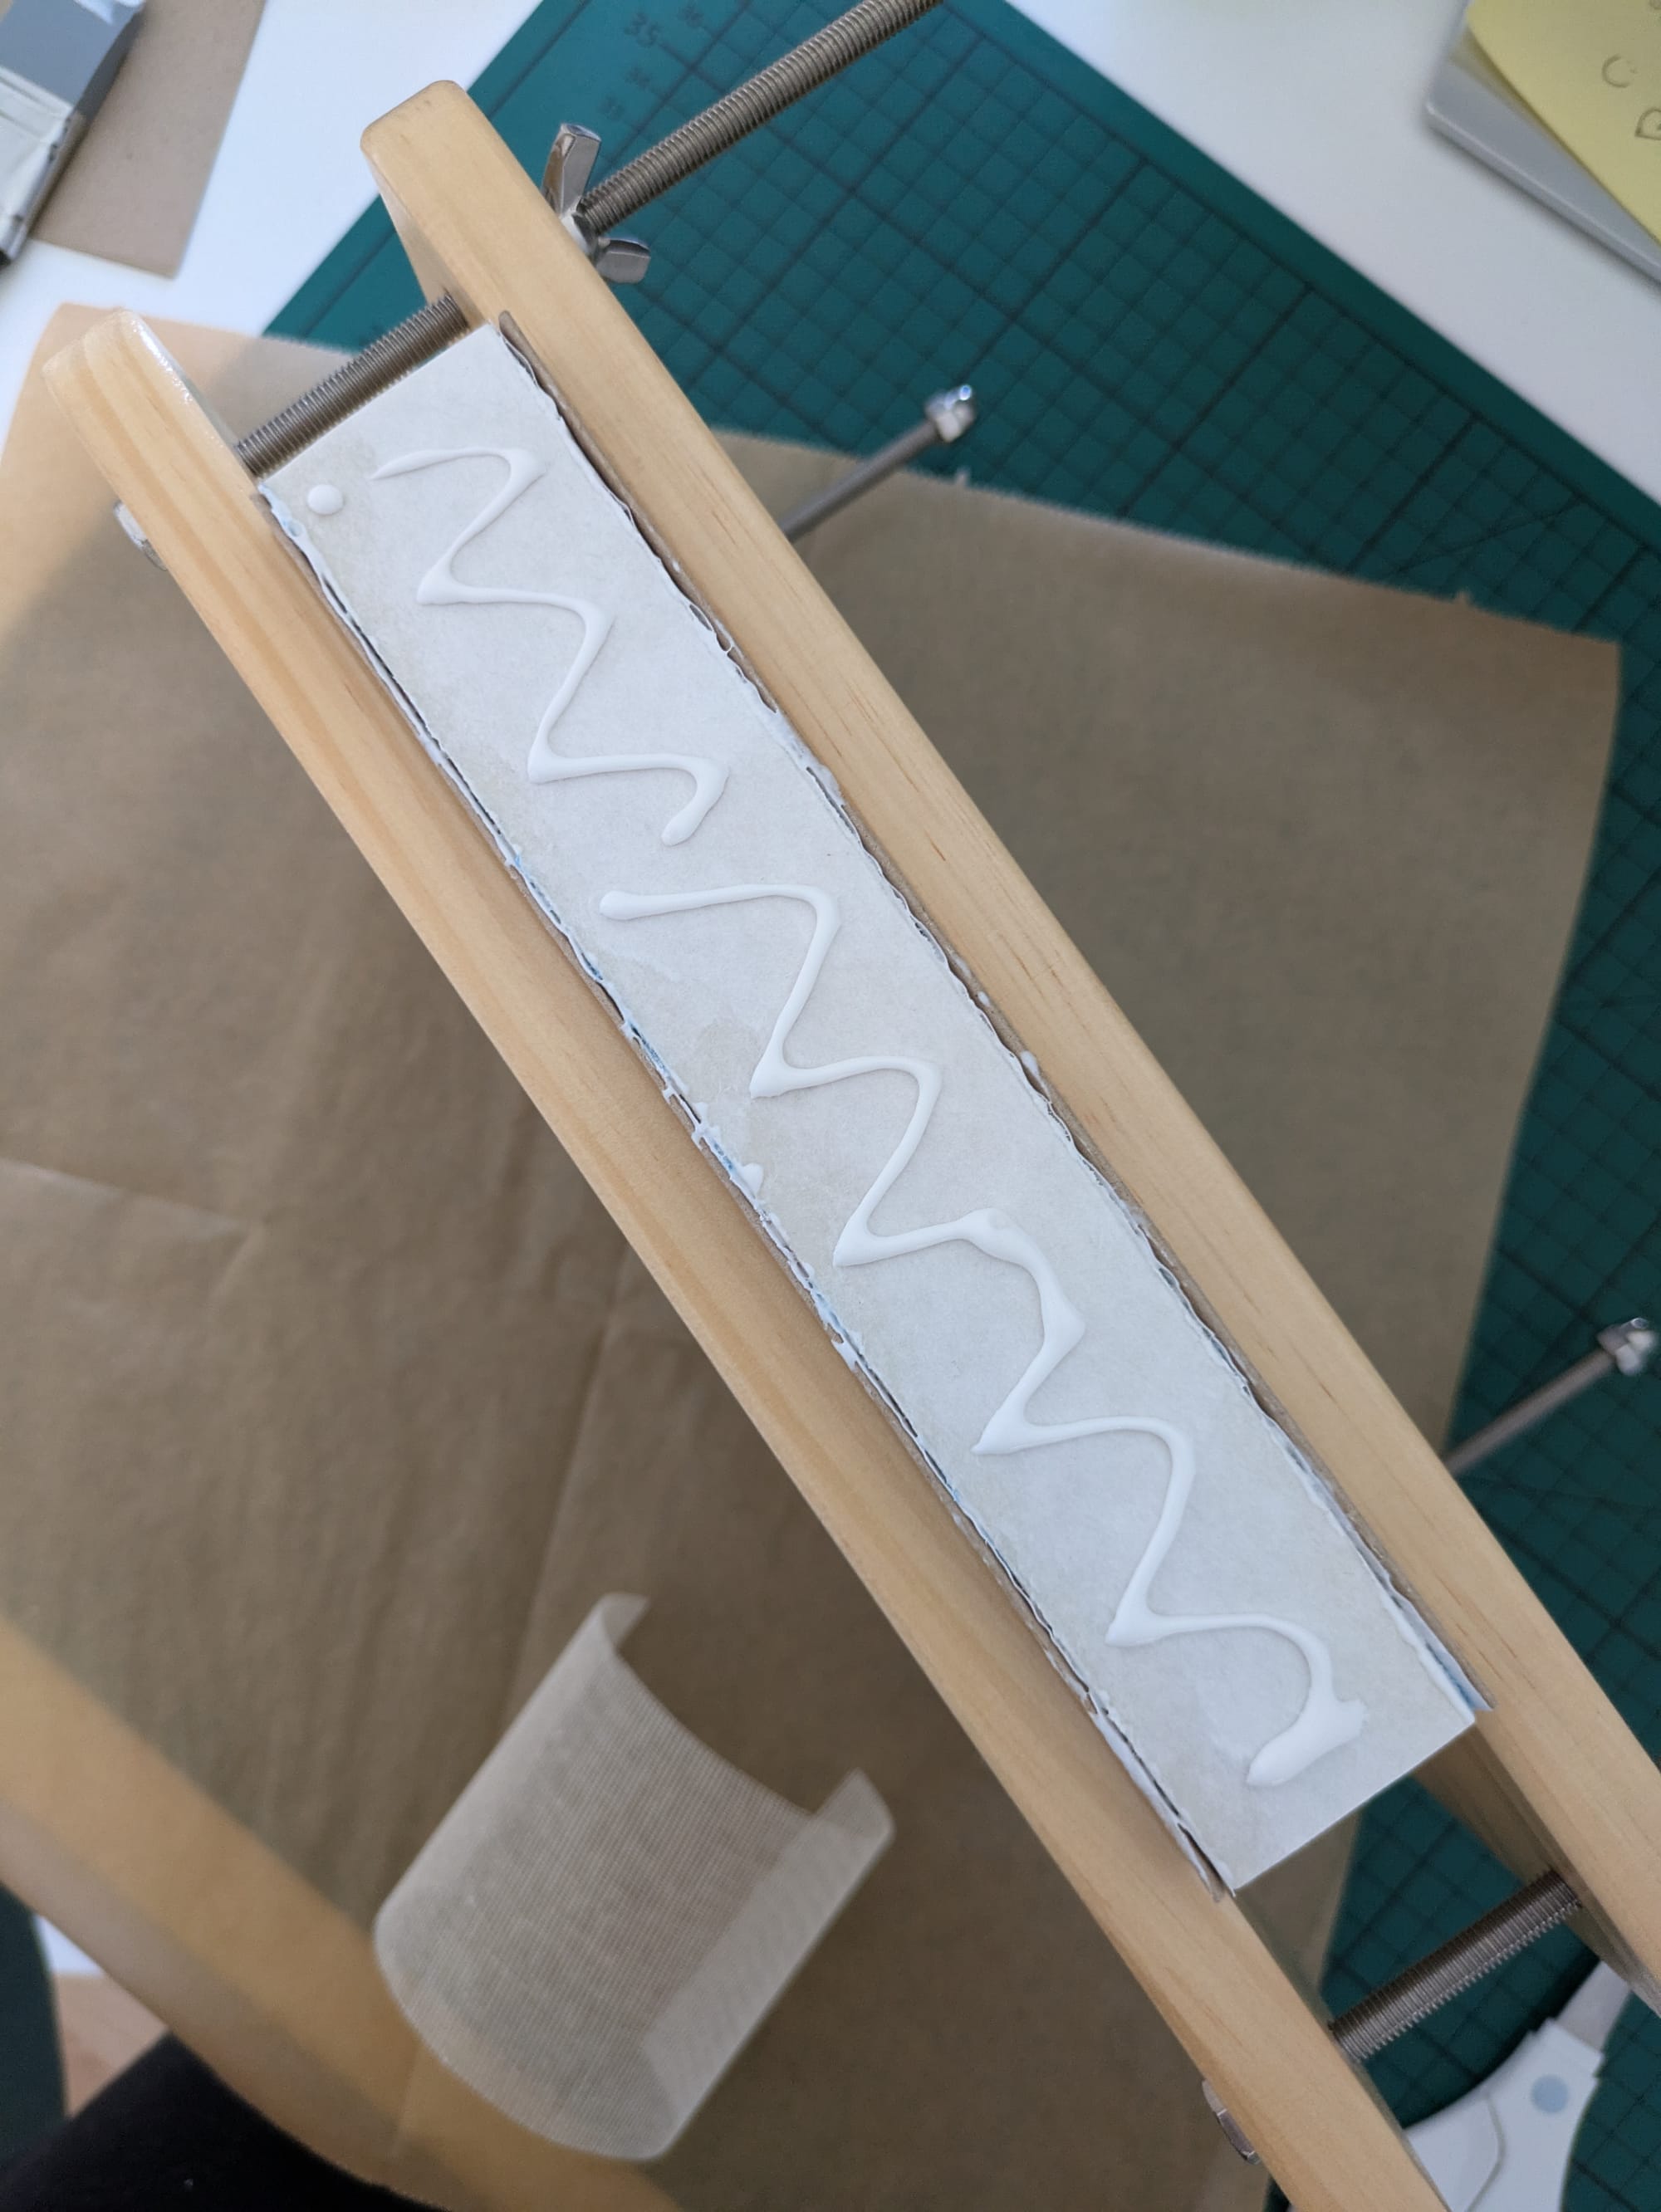
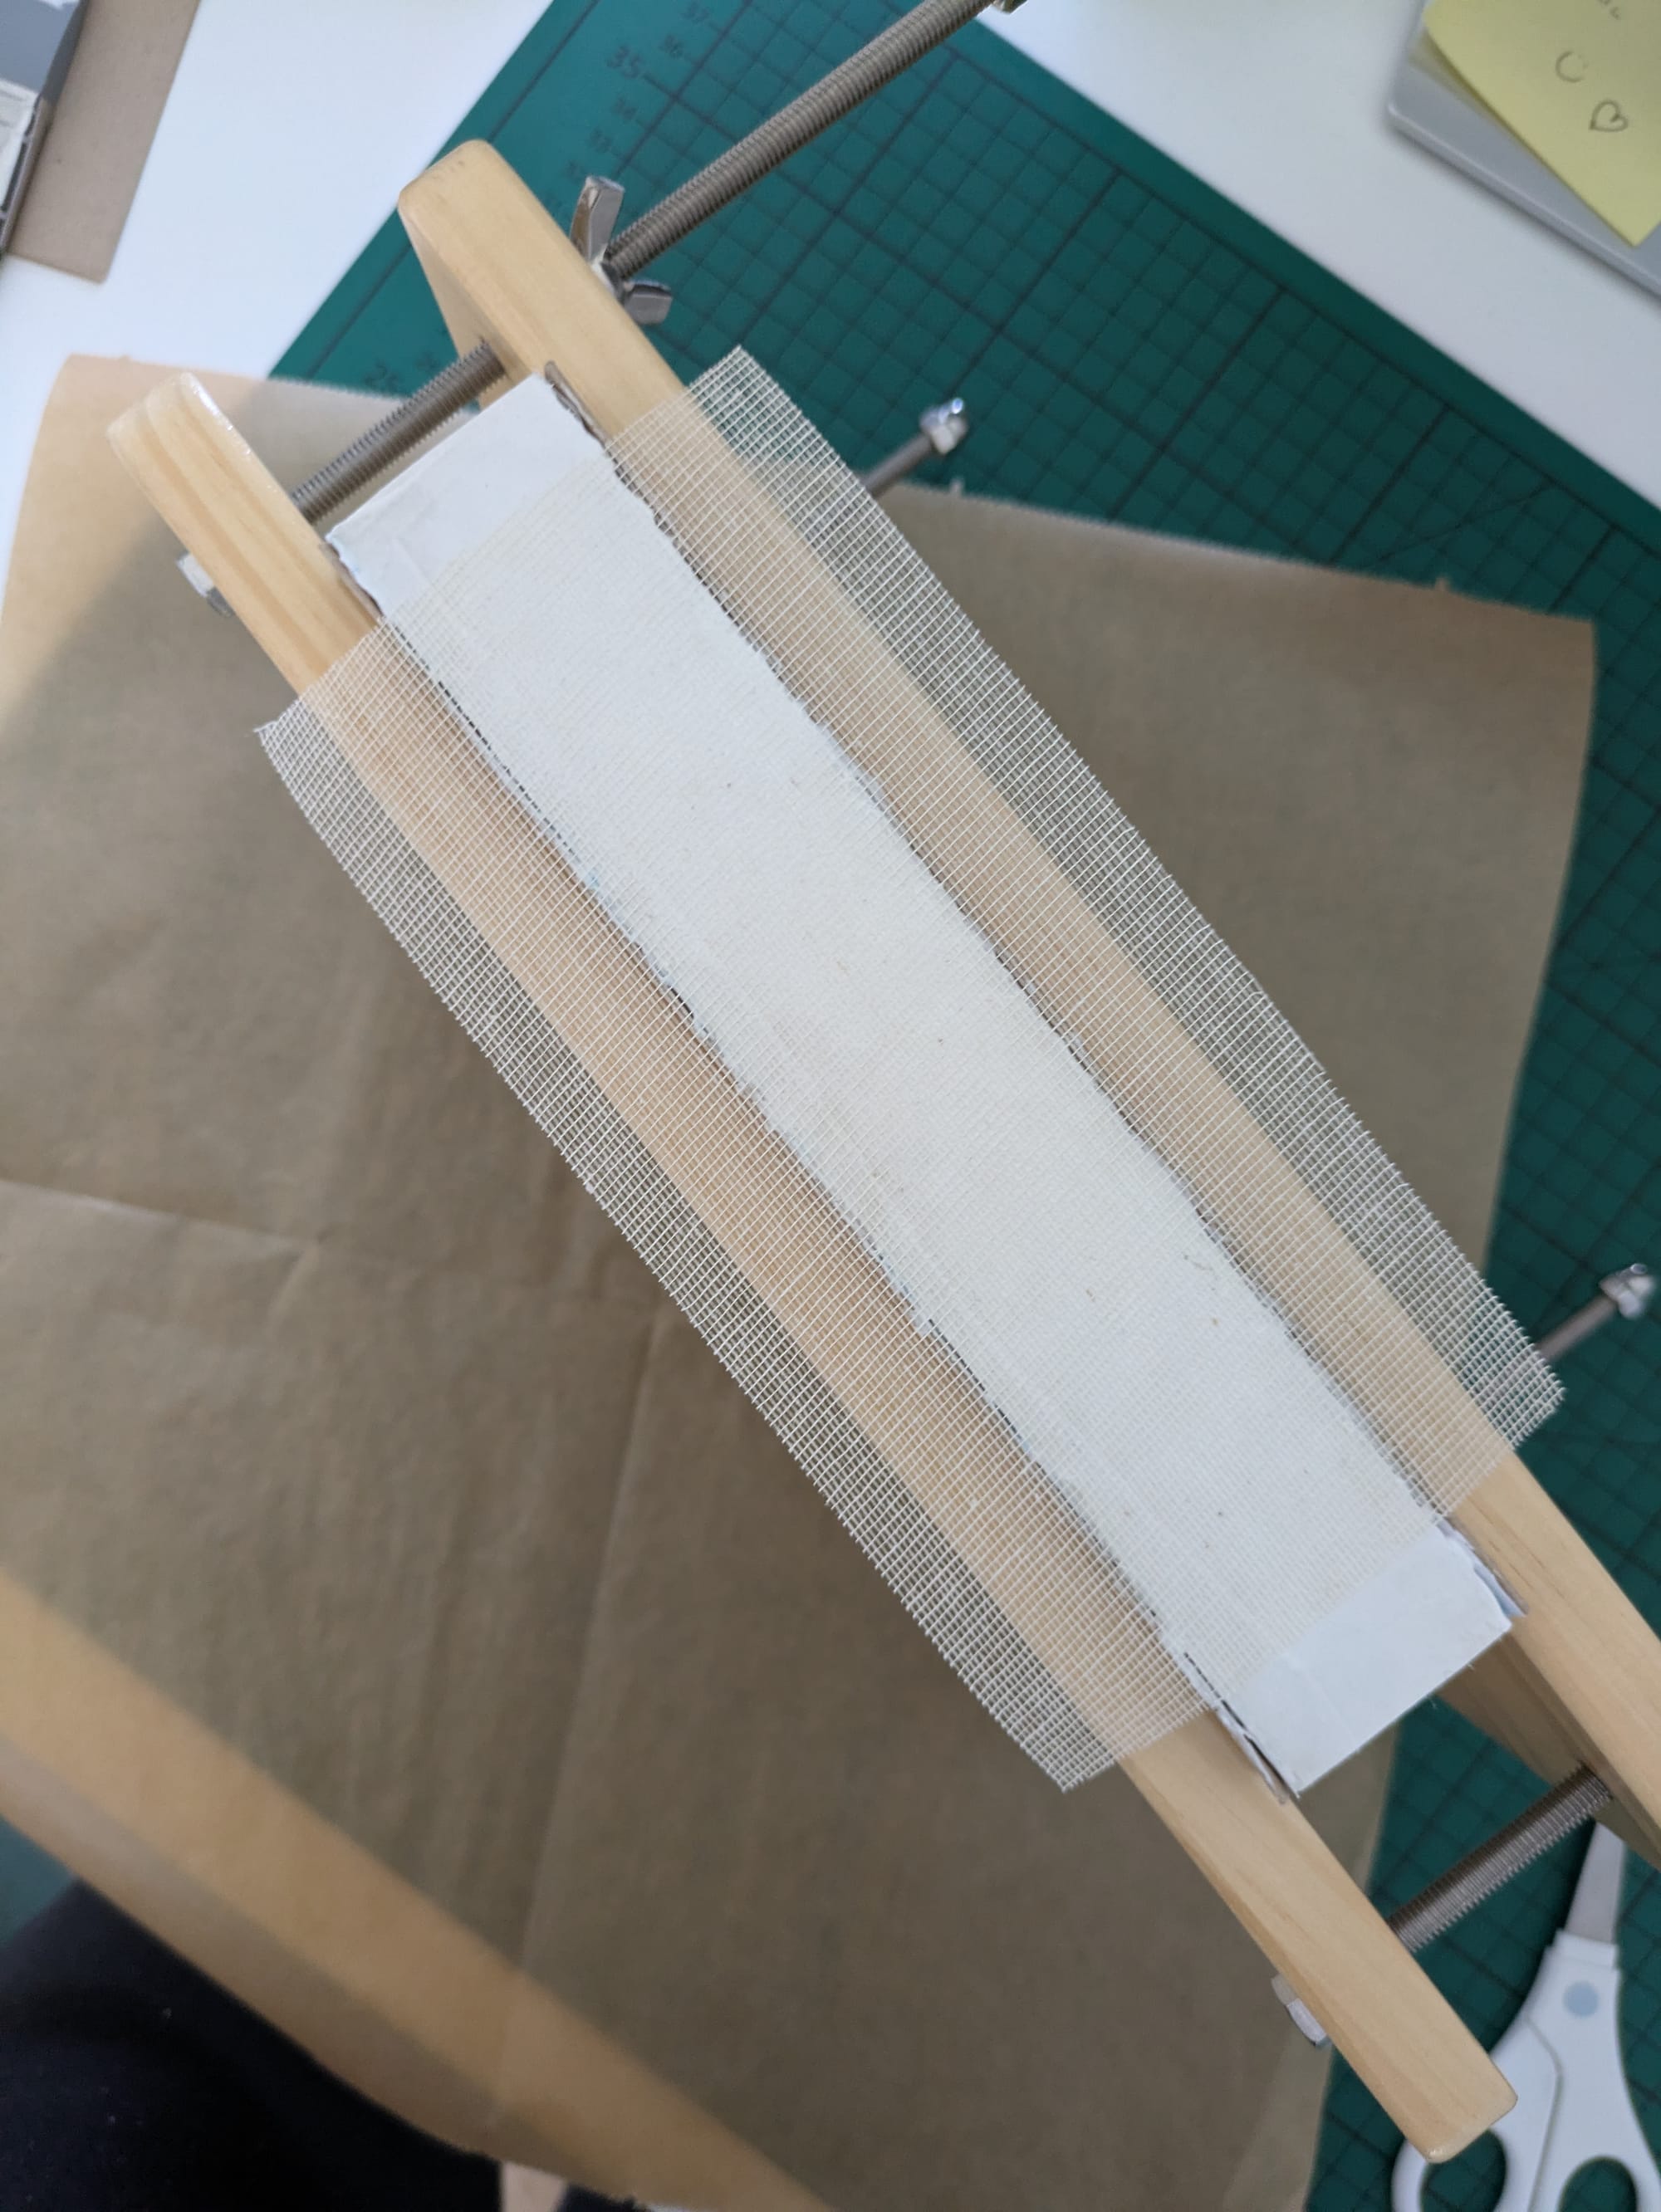
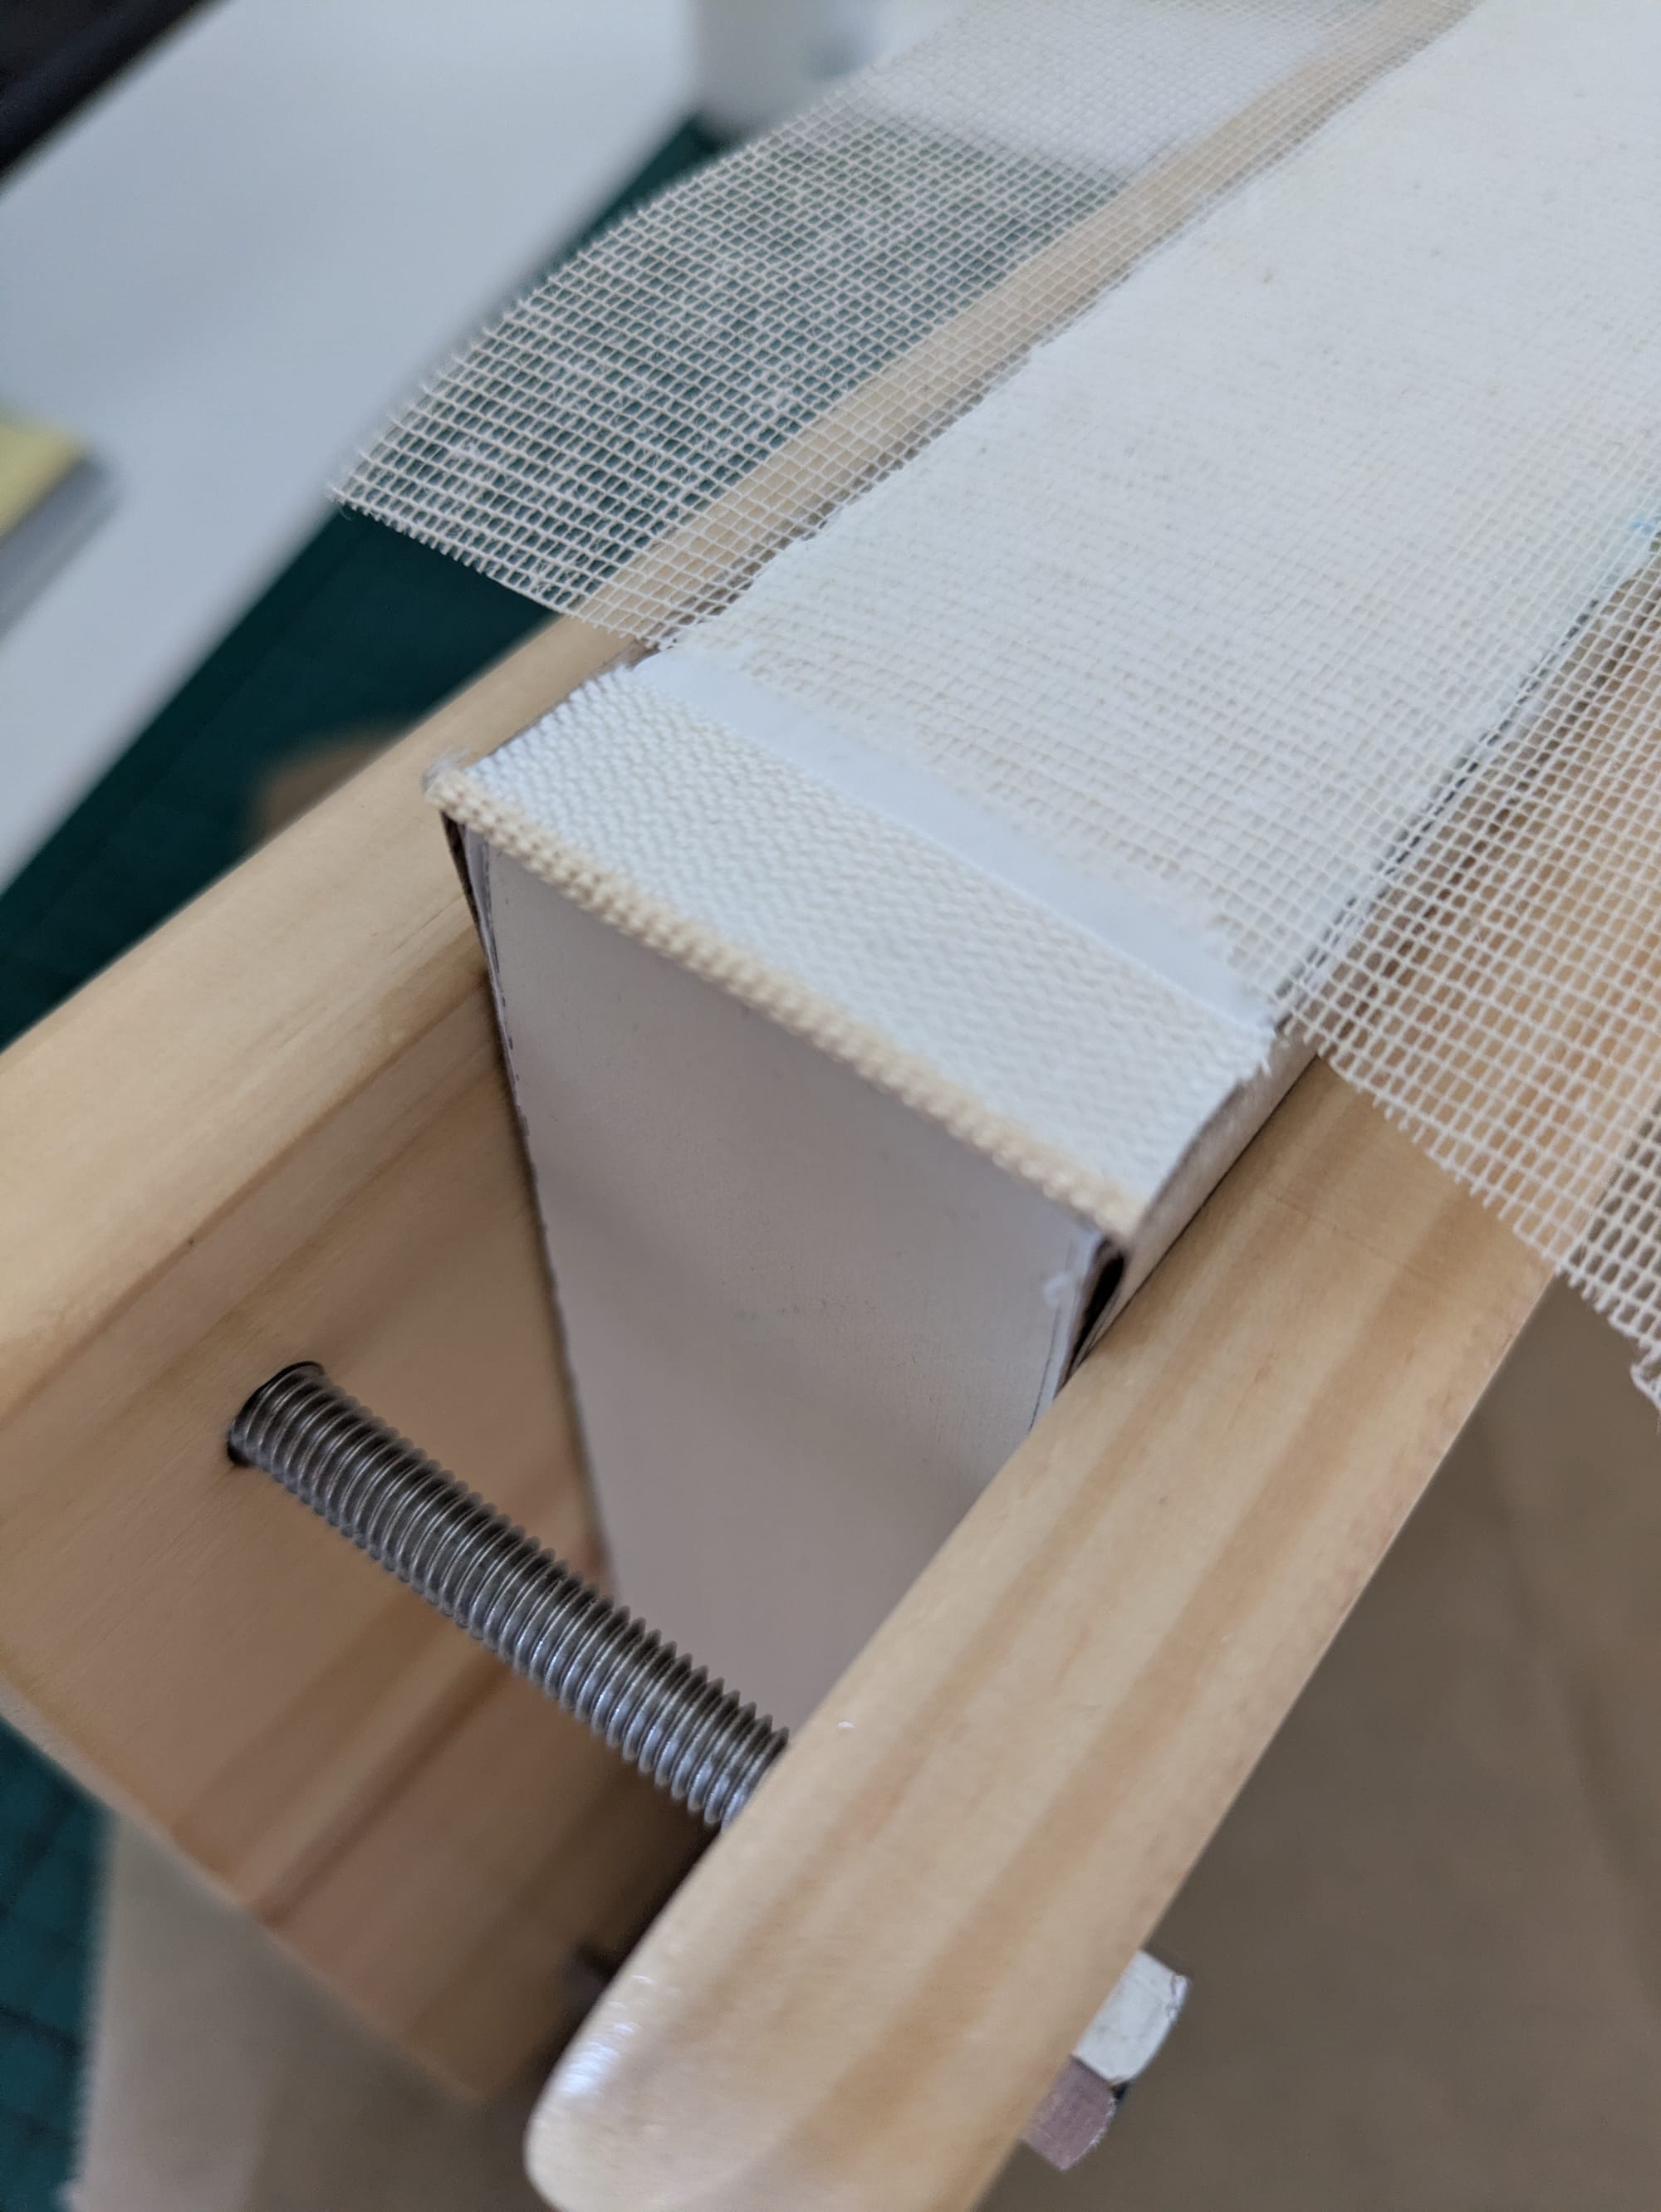
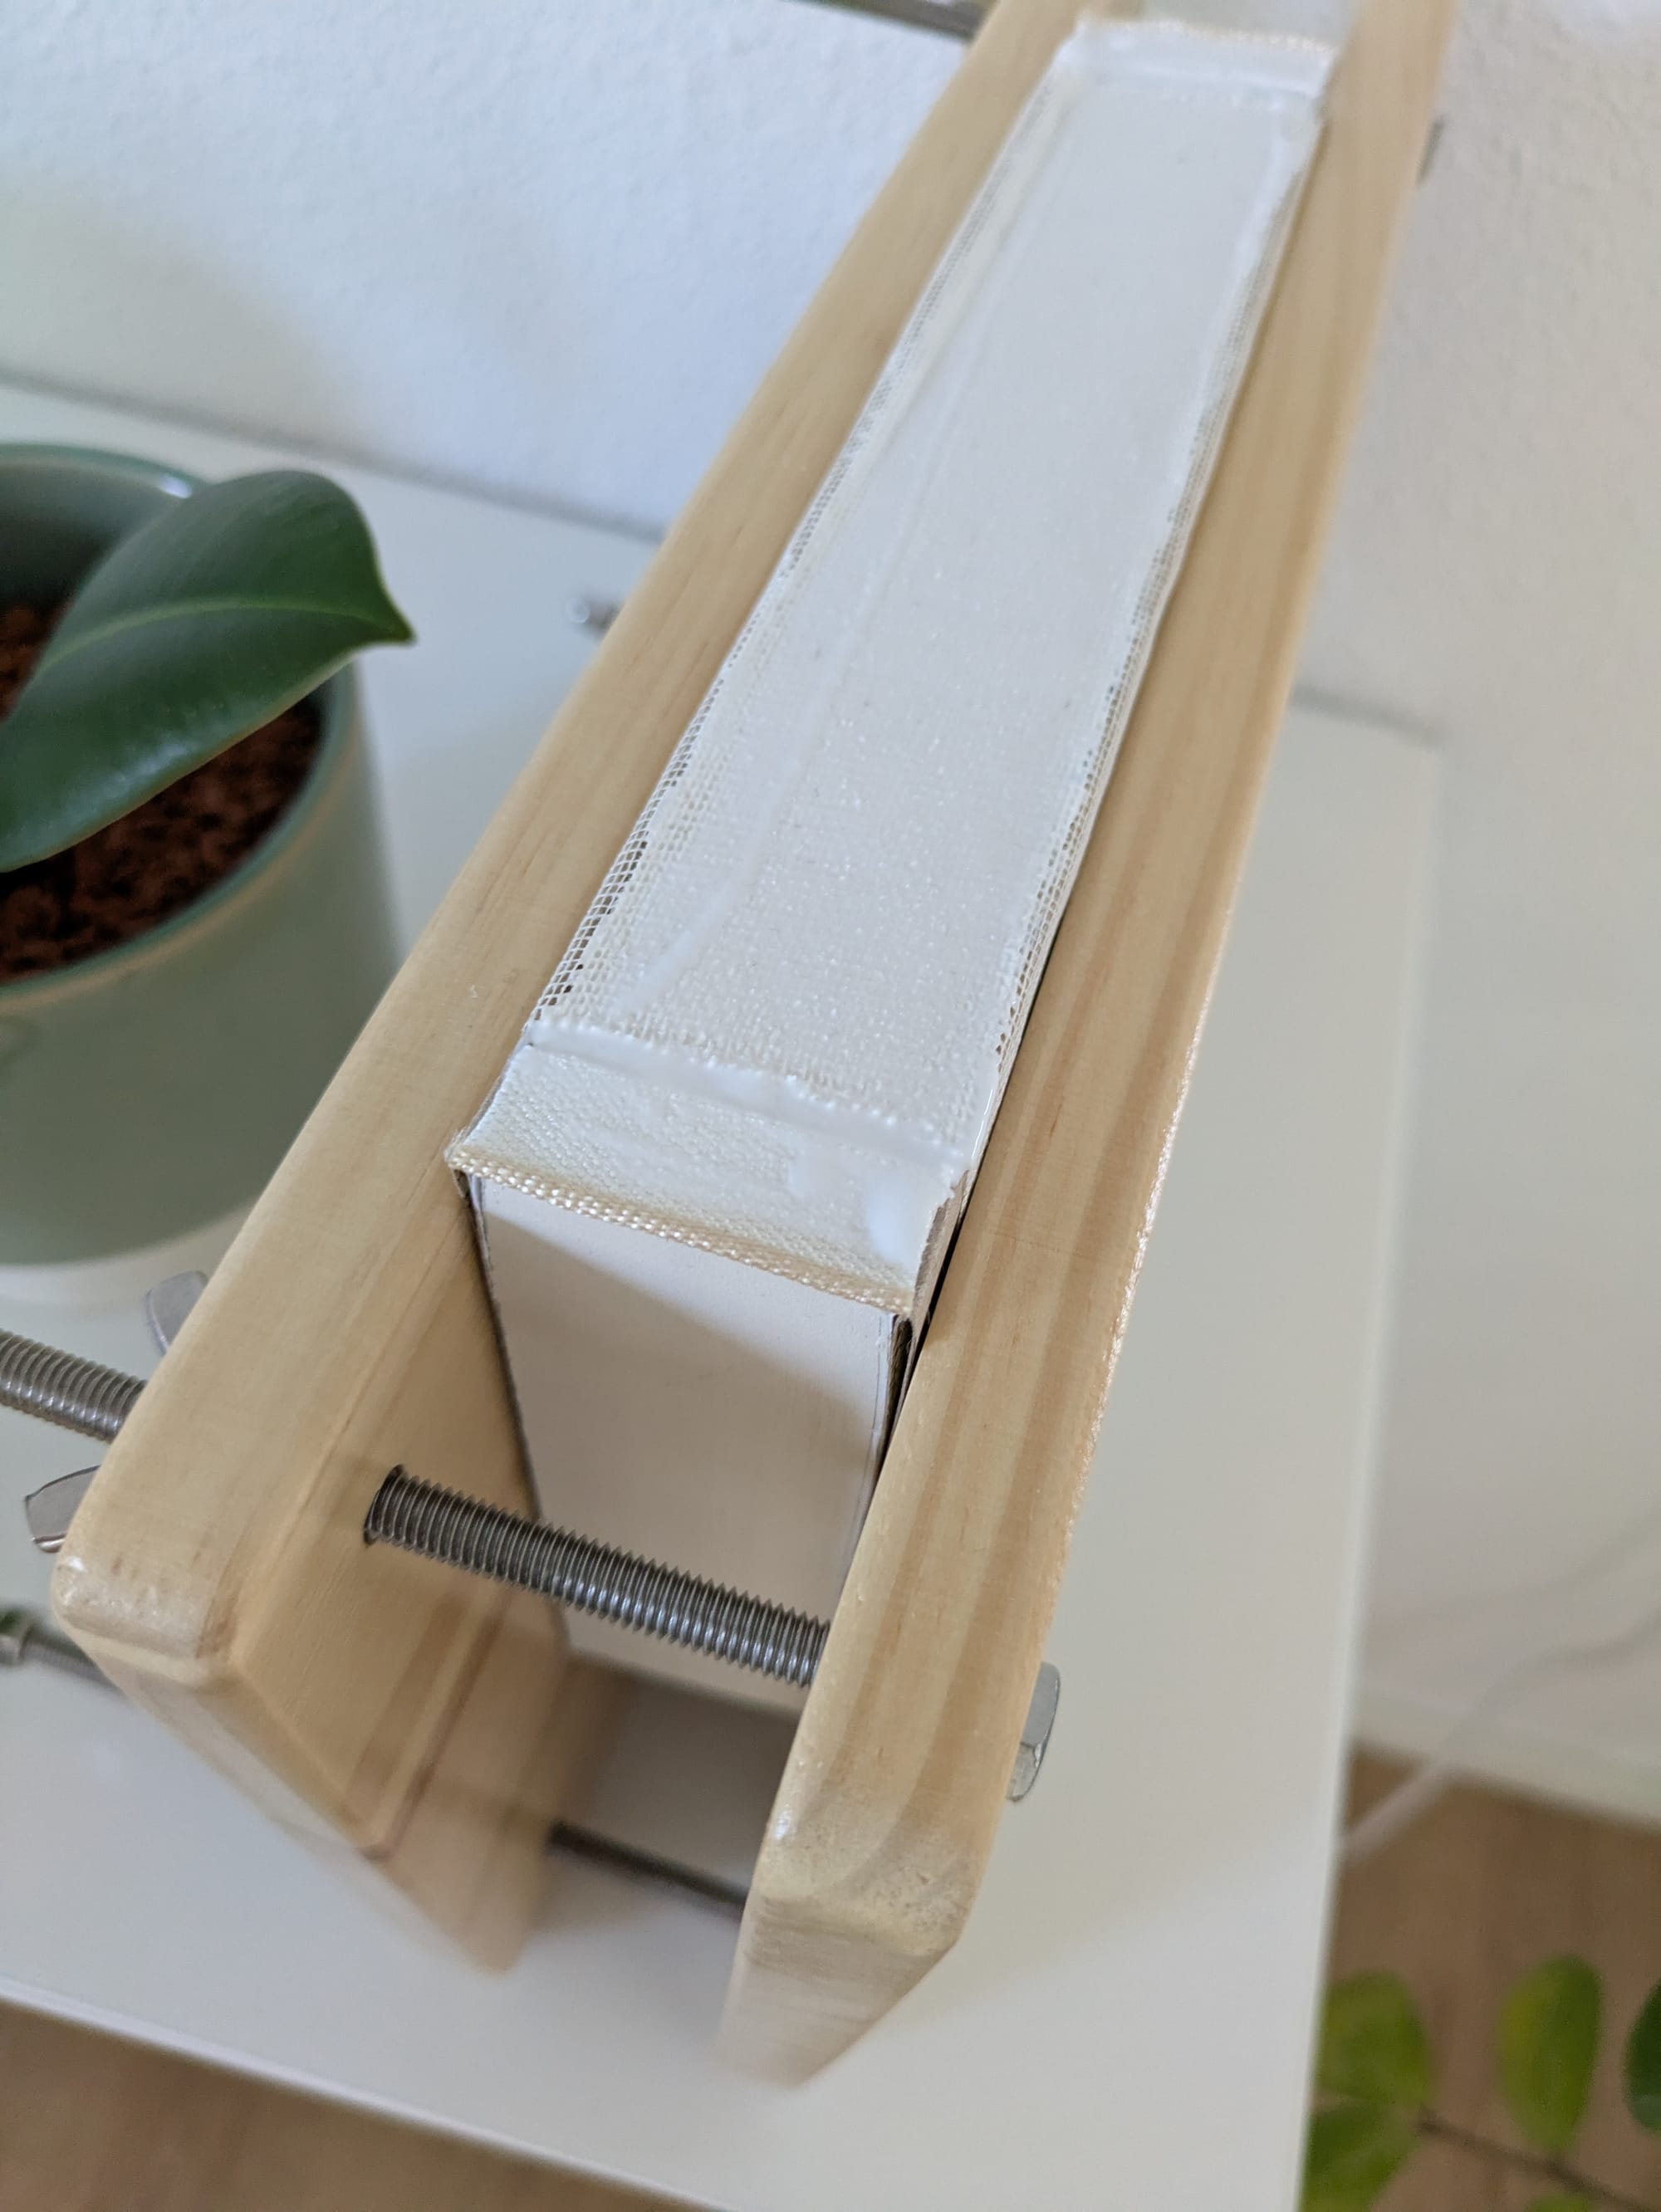
Process of reinforcing the spine and adding headbands.
Step 4: Building the Casing
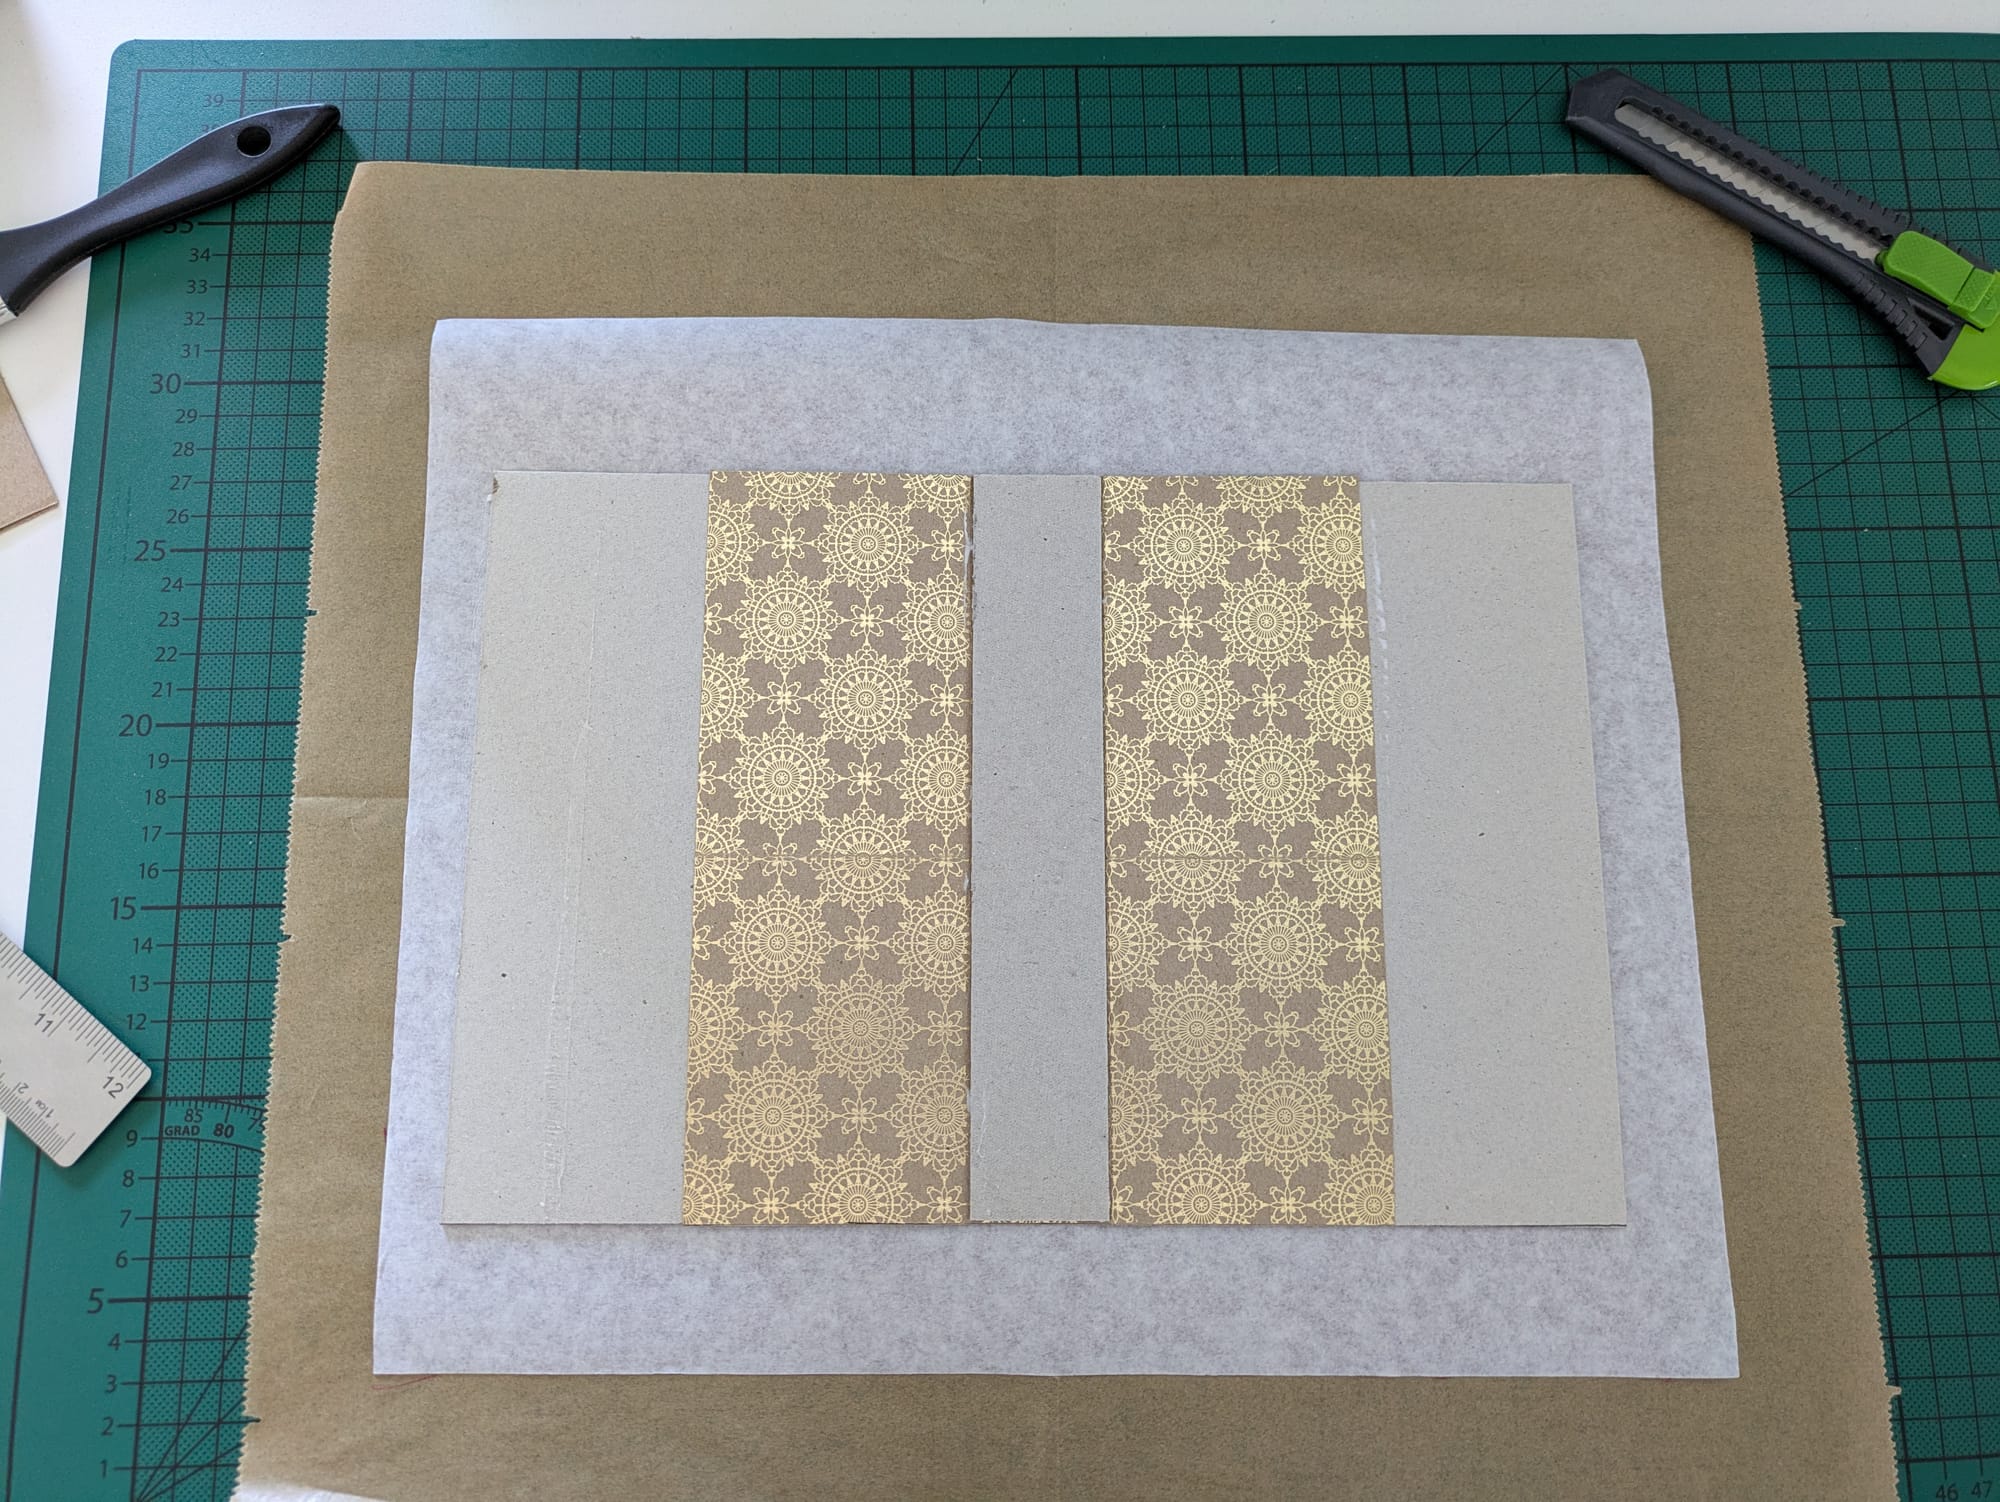
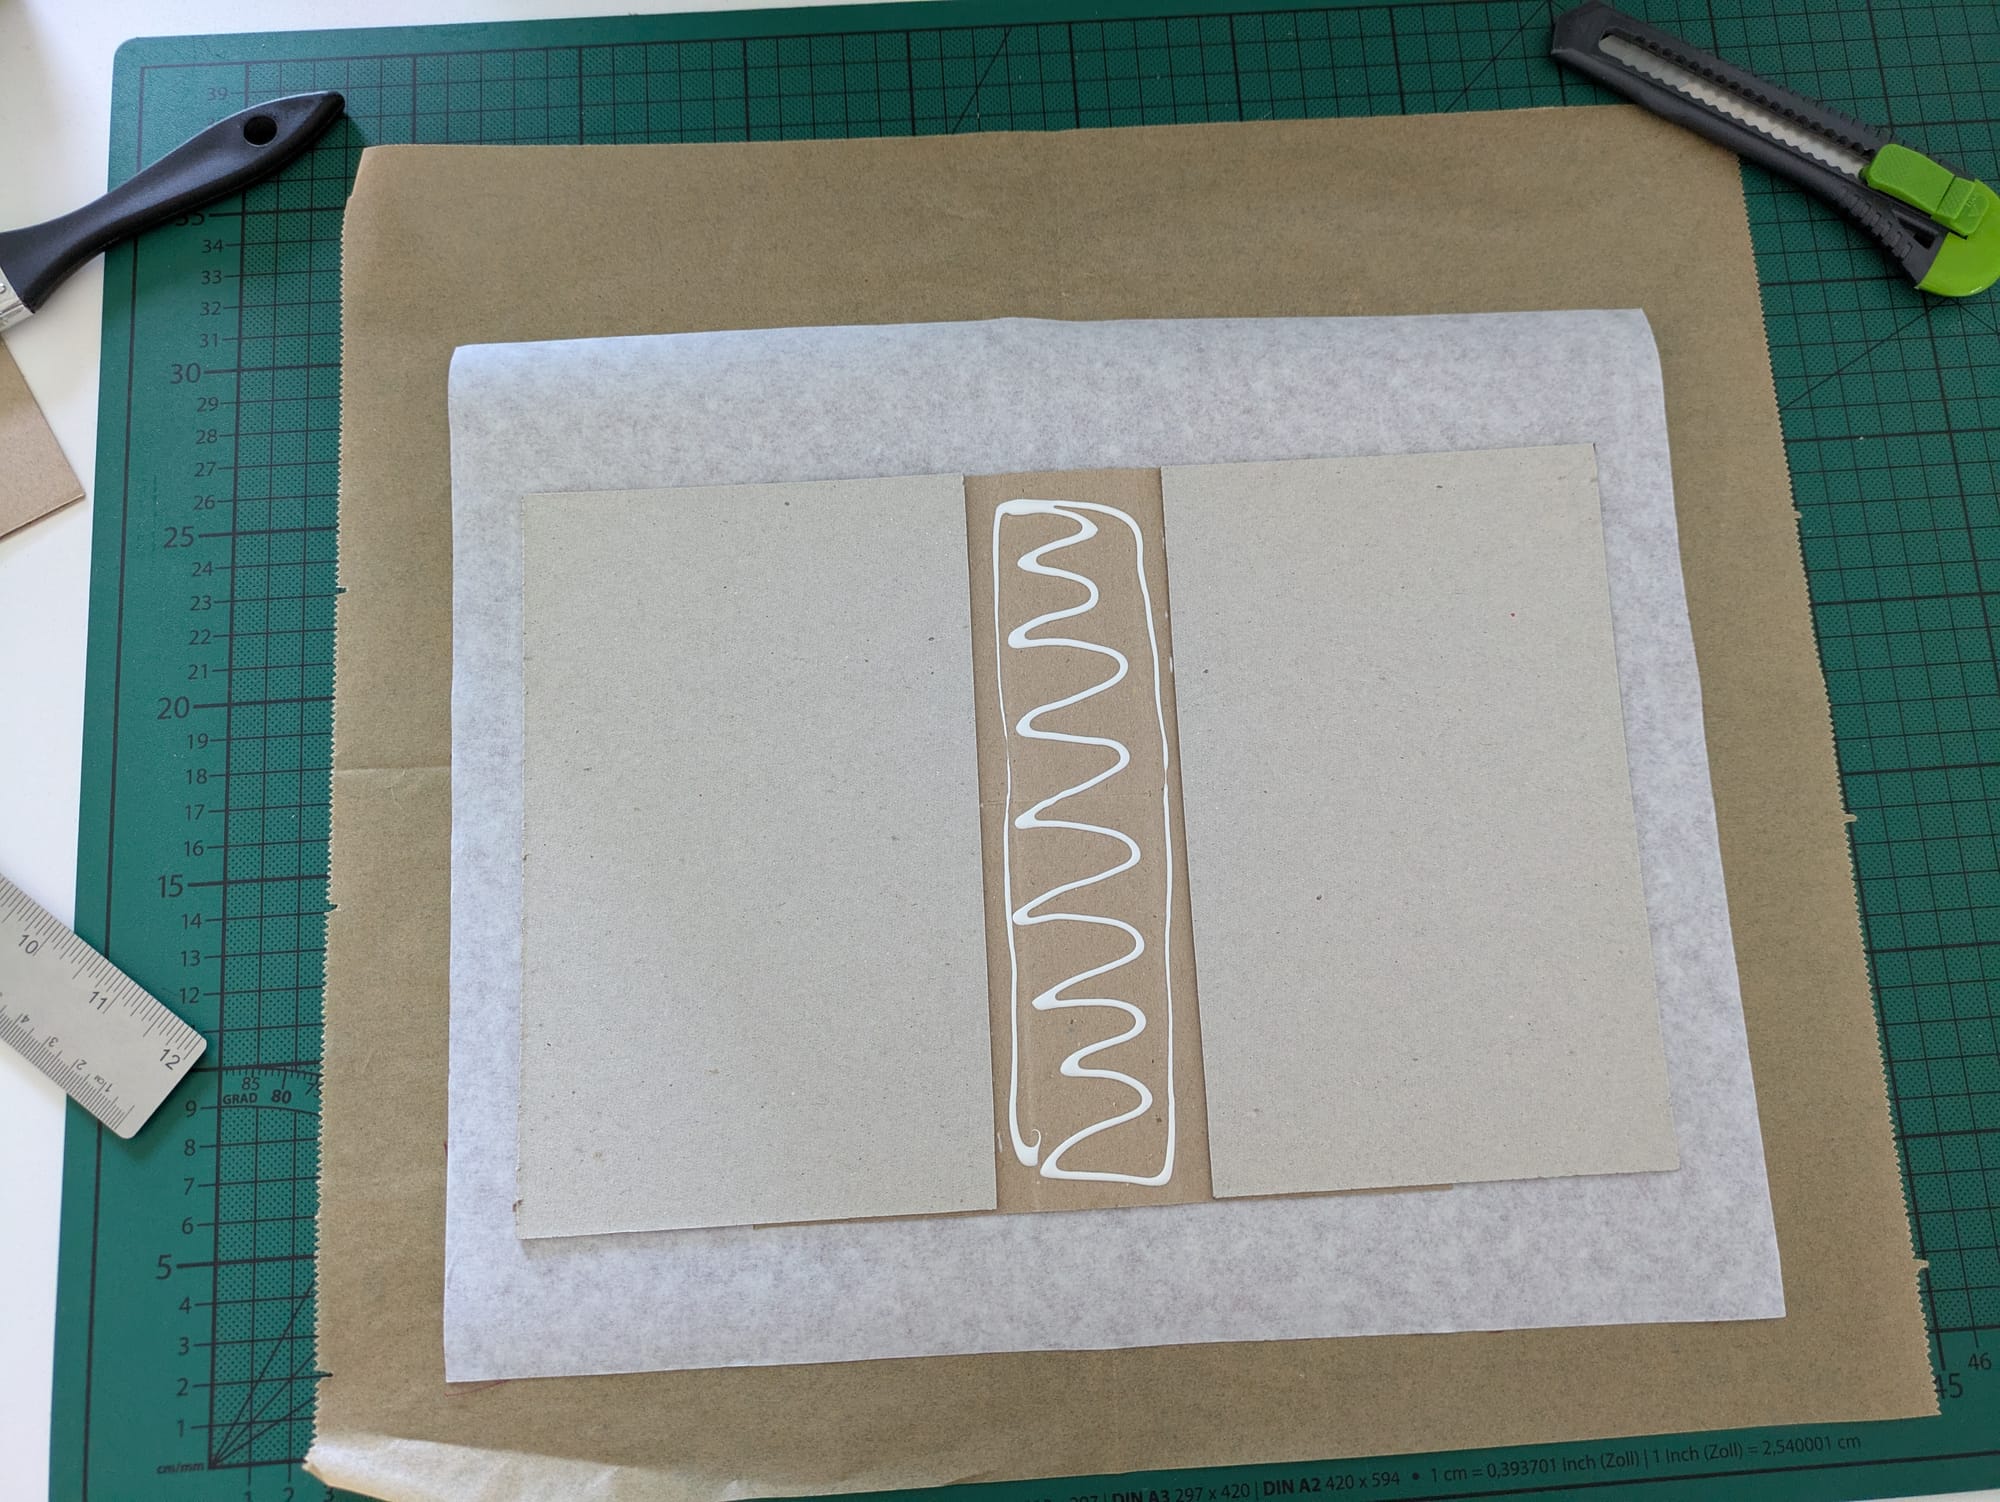
To build the casing of the book, I like to firstly attach the bookboards to a piece of cardboard. I find that this gives the spine more stability and also makes the process of gluing the casing to the book cloth much easier.
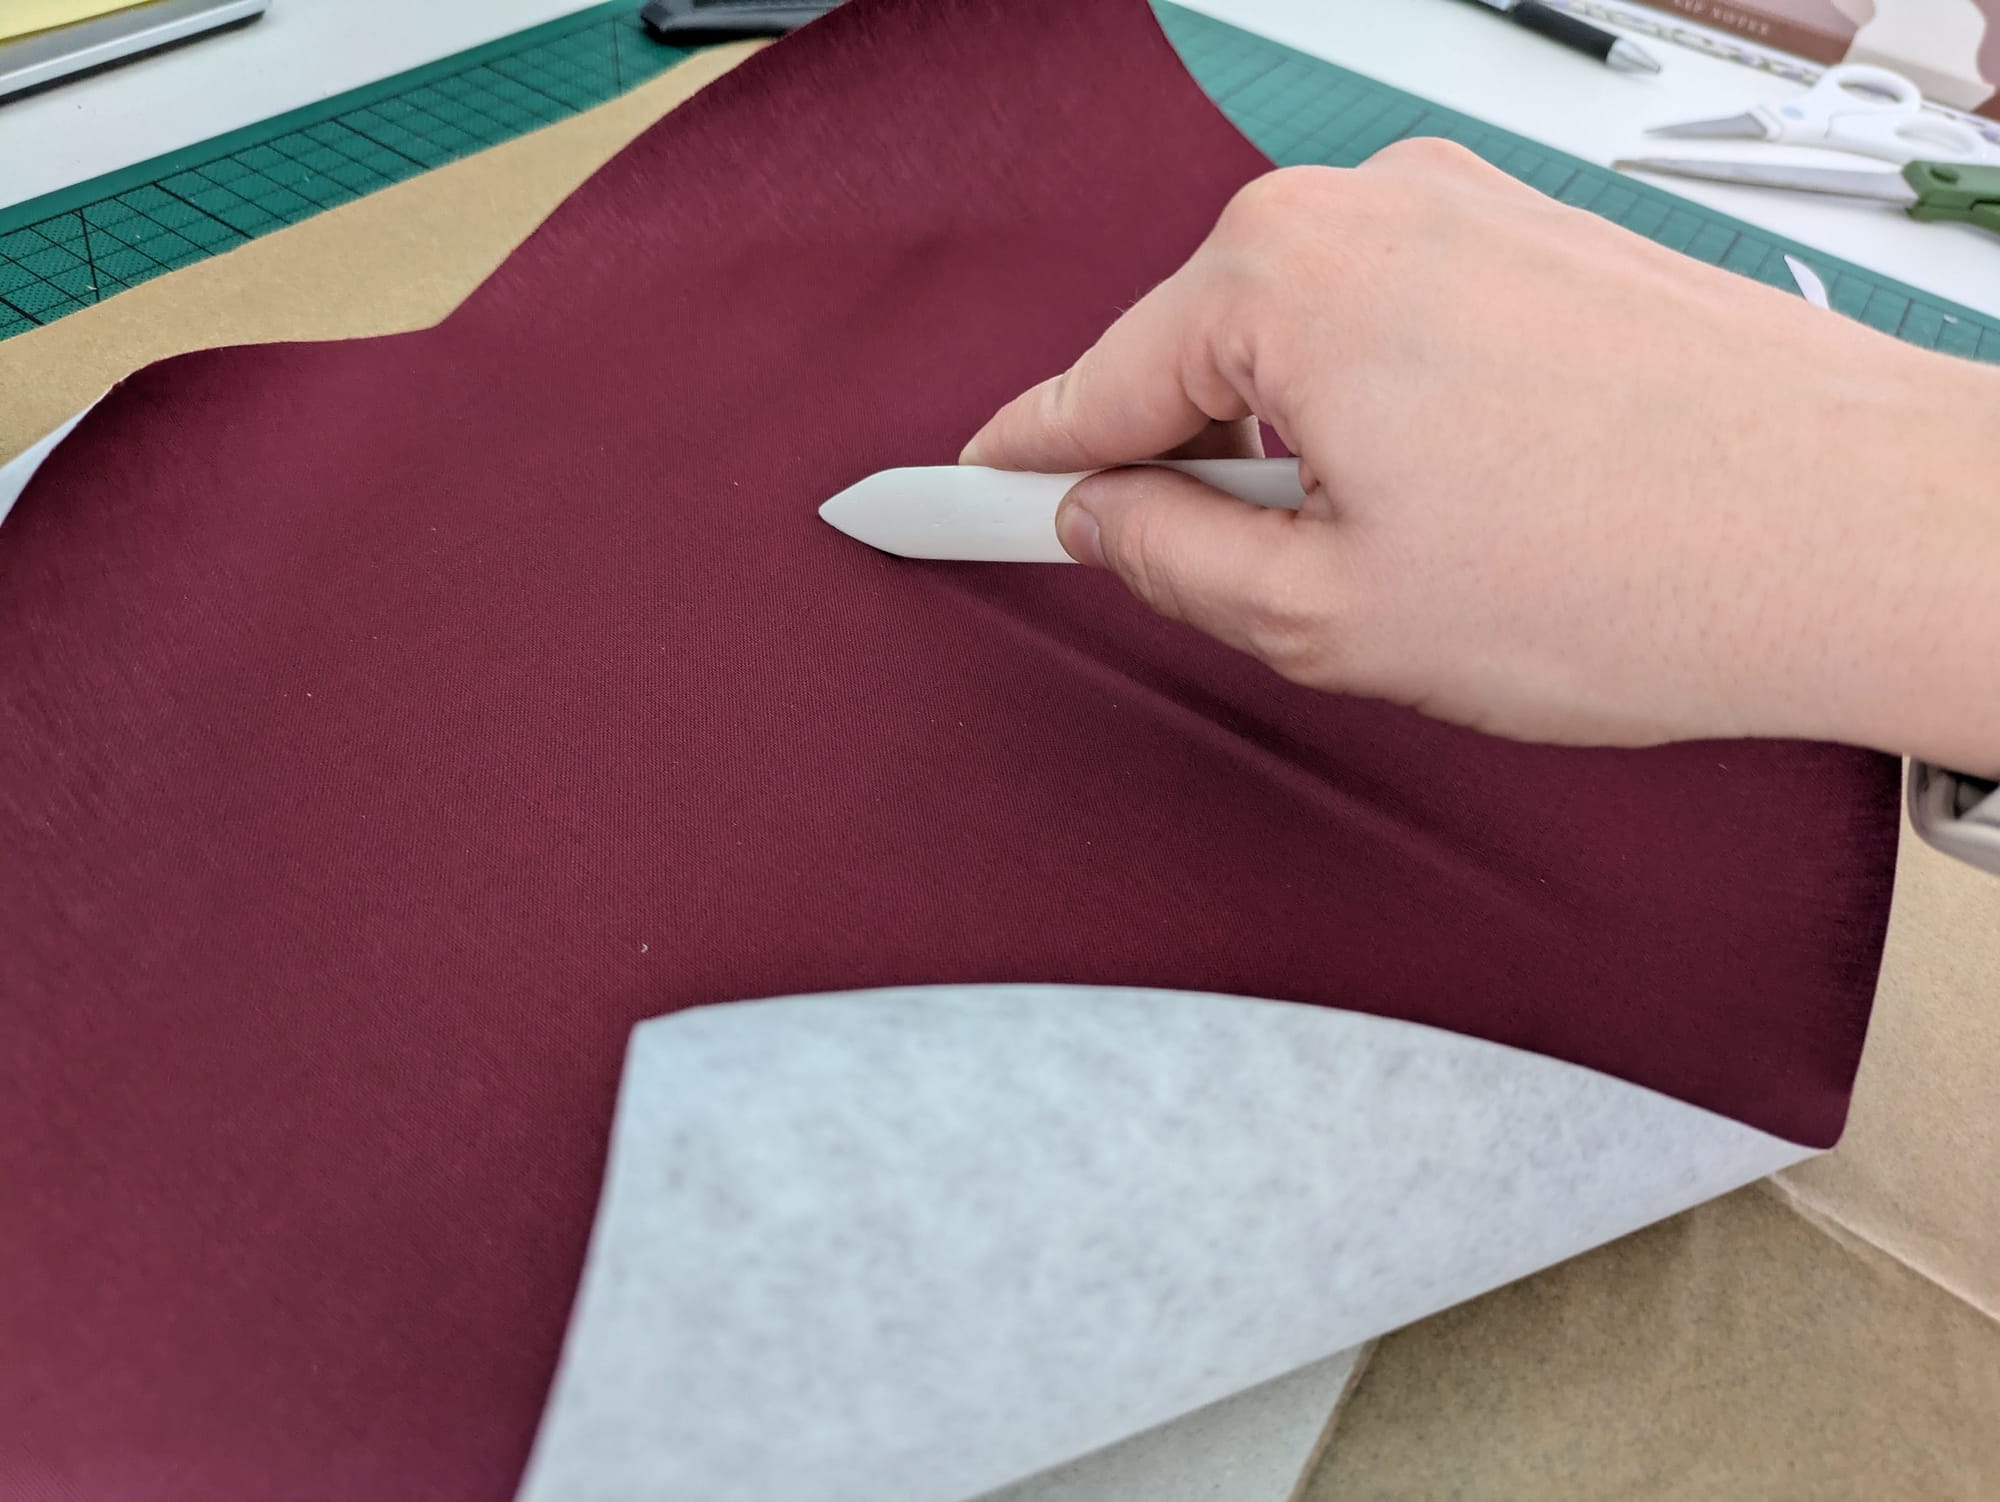
You'll want to start with cutting a piece of cardboard to the height of your bookboards. It should be wide enough to cover the spine, both hinges and part of the front and back bookboards. Then you're going to glue down the spine in the middle of the piece of cardboard. Flip over the cardboard and start creating the hinge for your book. For this you can use a tool called a bone folder.

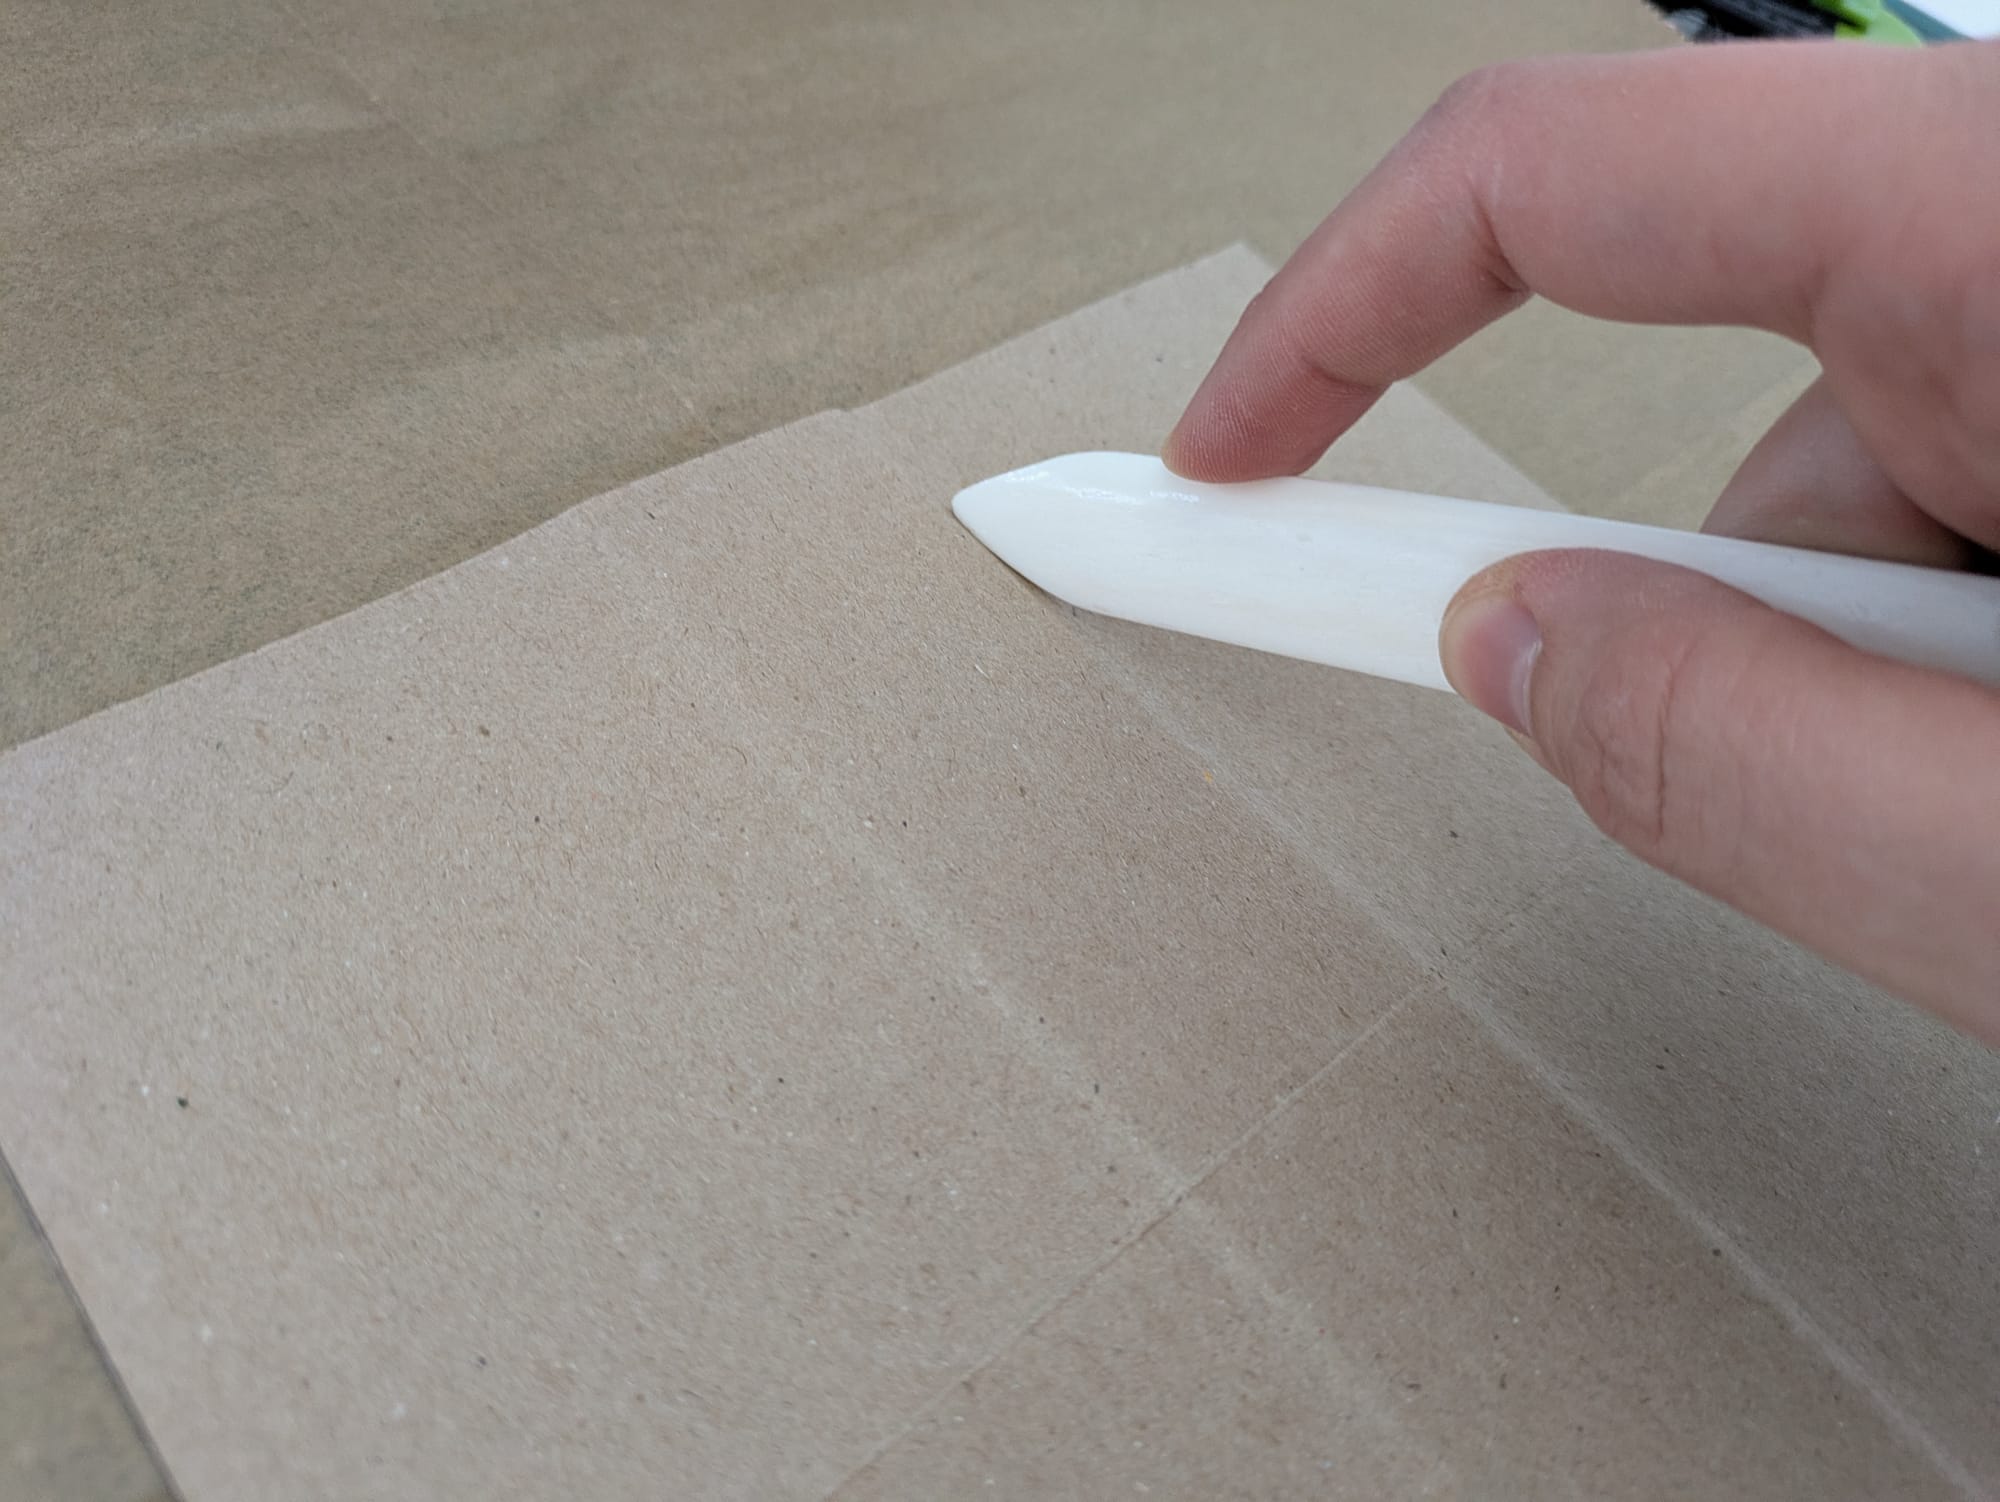
Enforcing the spine and preparing the cardboard to form hinges.
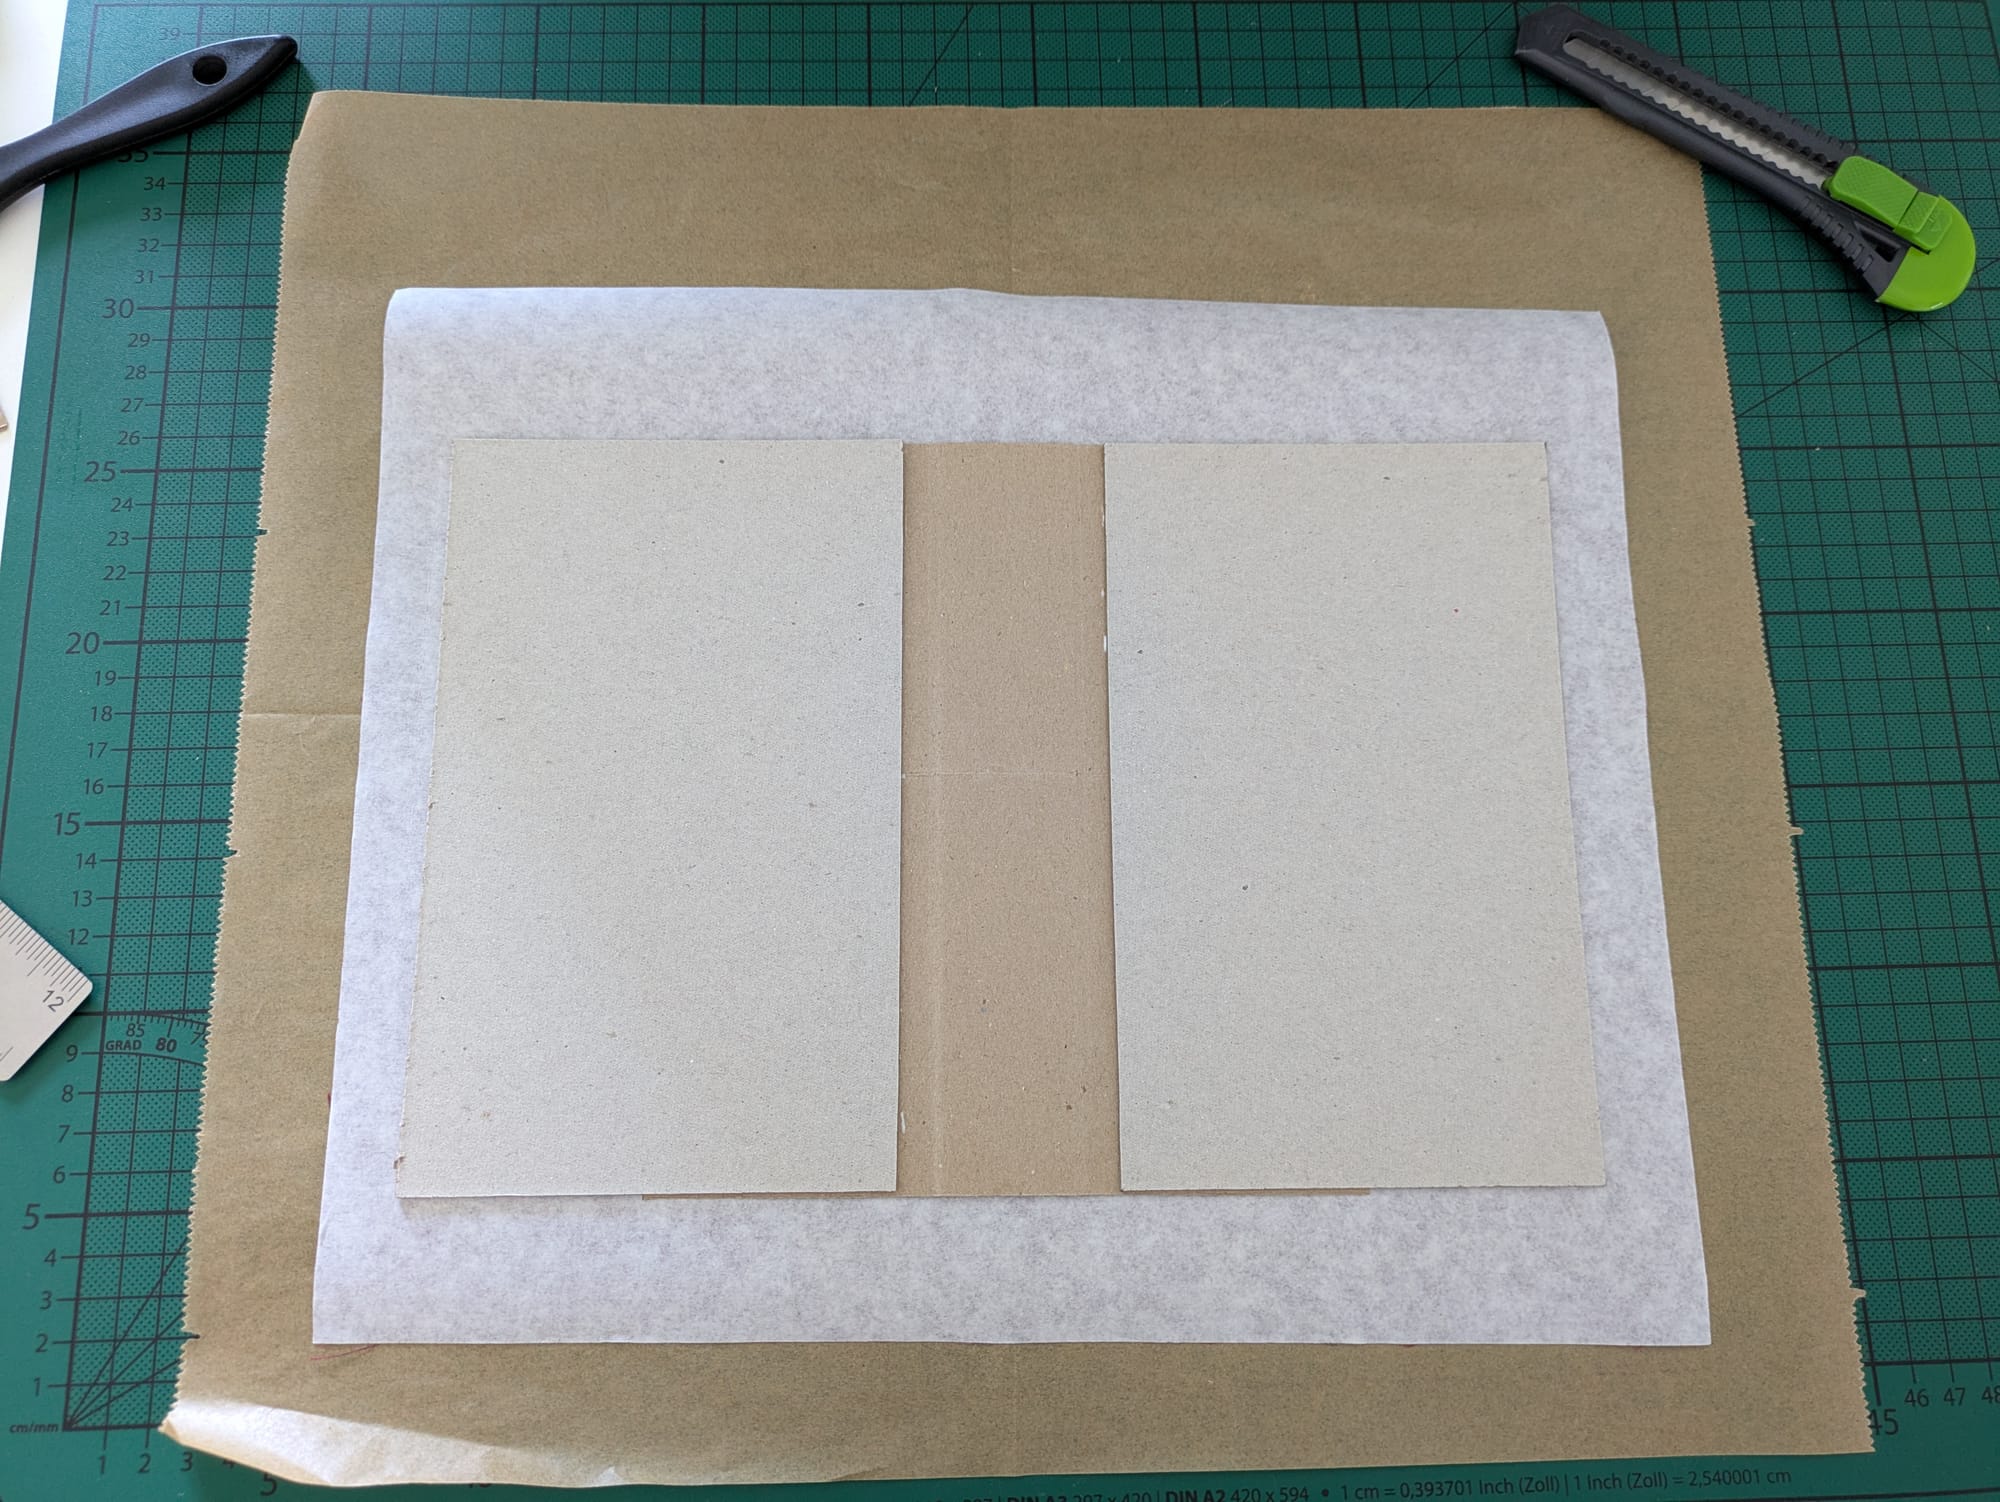
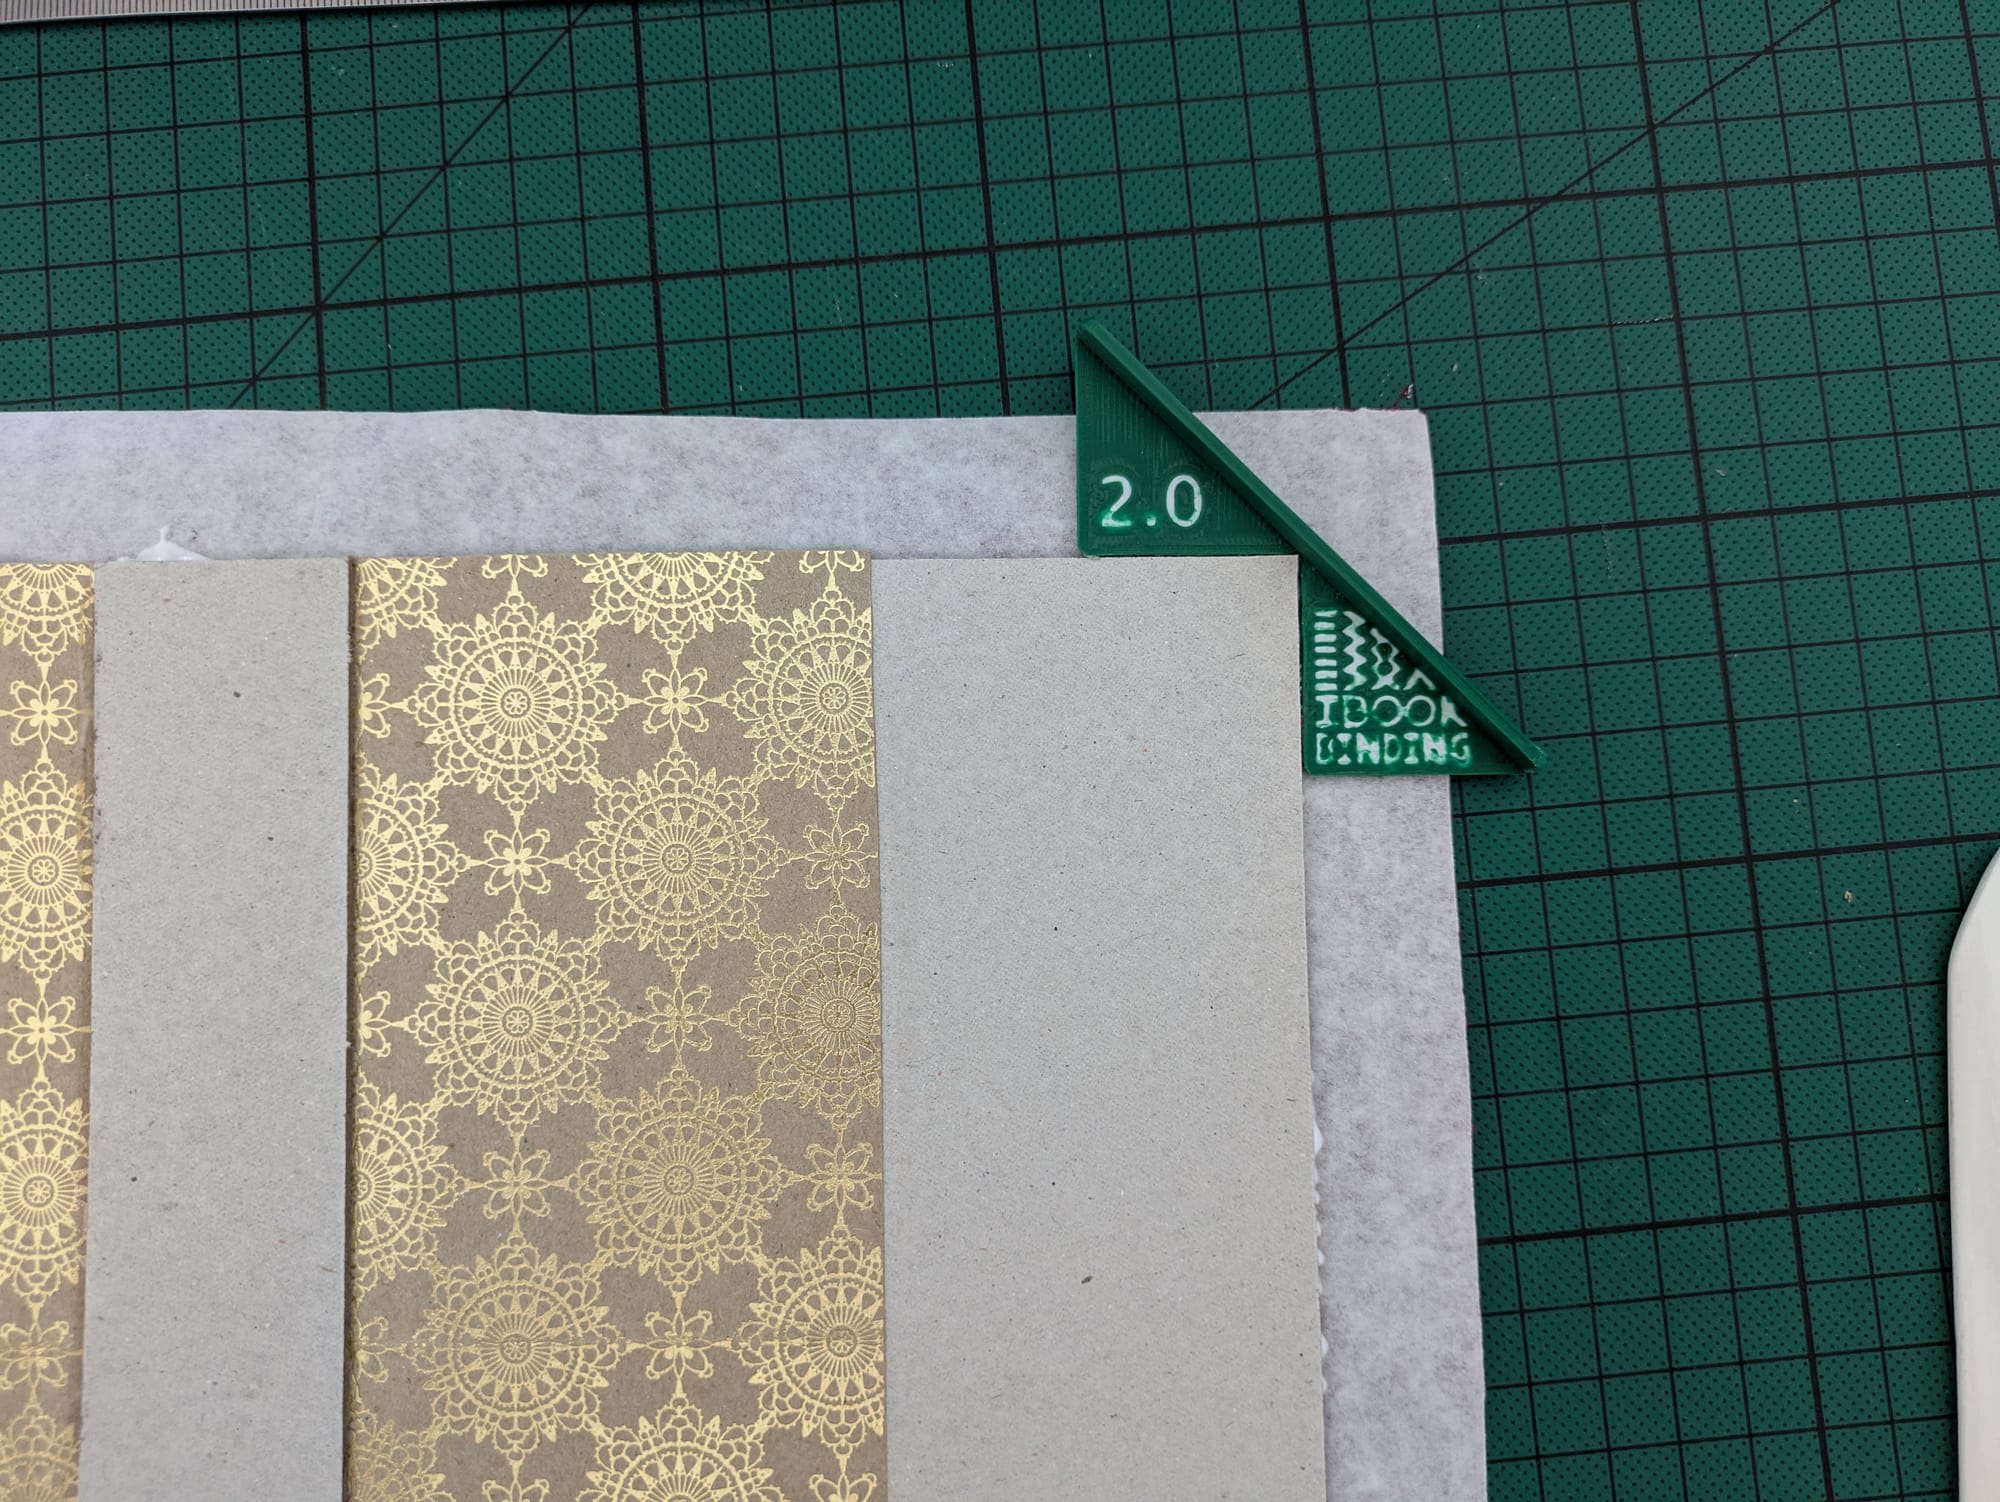
Next, you'll use a measuring tool for creating your hinge. You're going to glue the bookboards for front and back cover to the flipped over side of the cardboard.
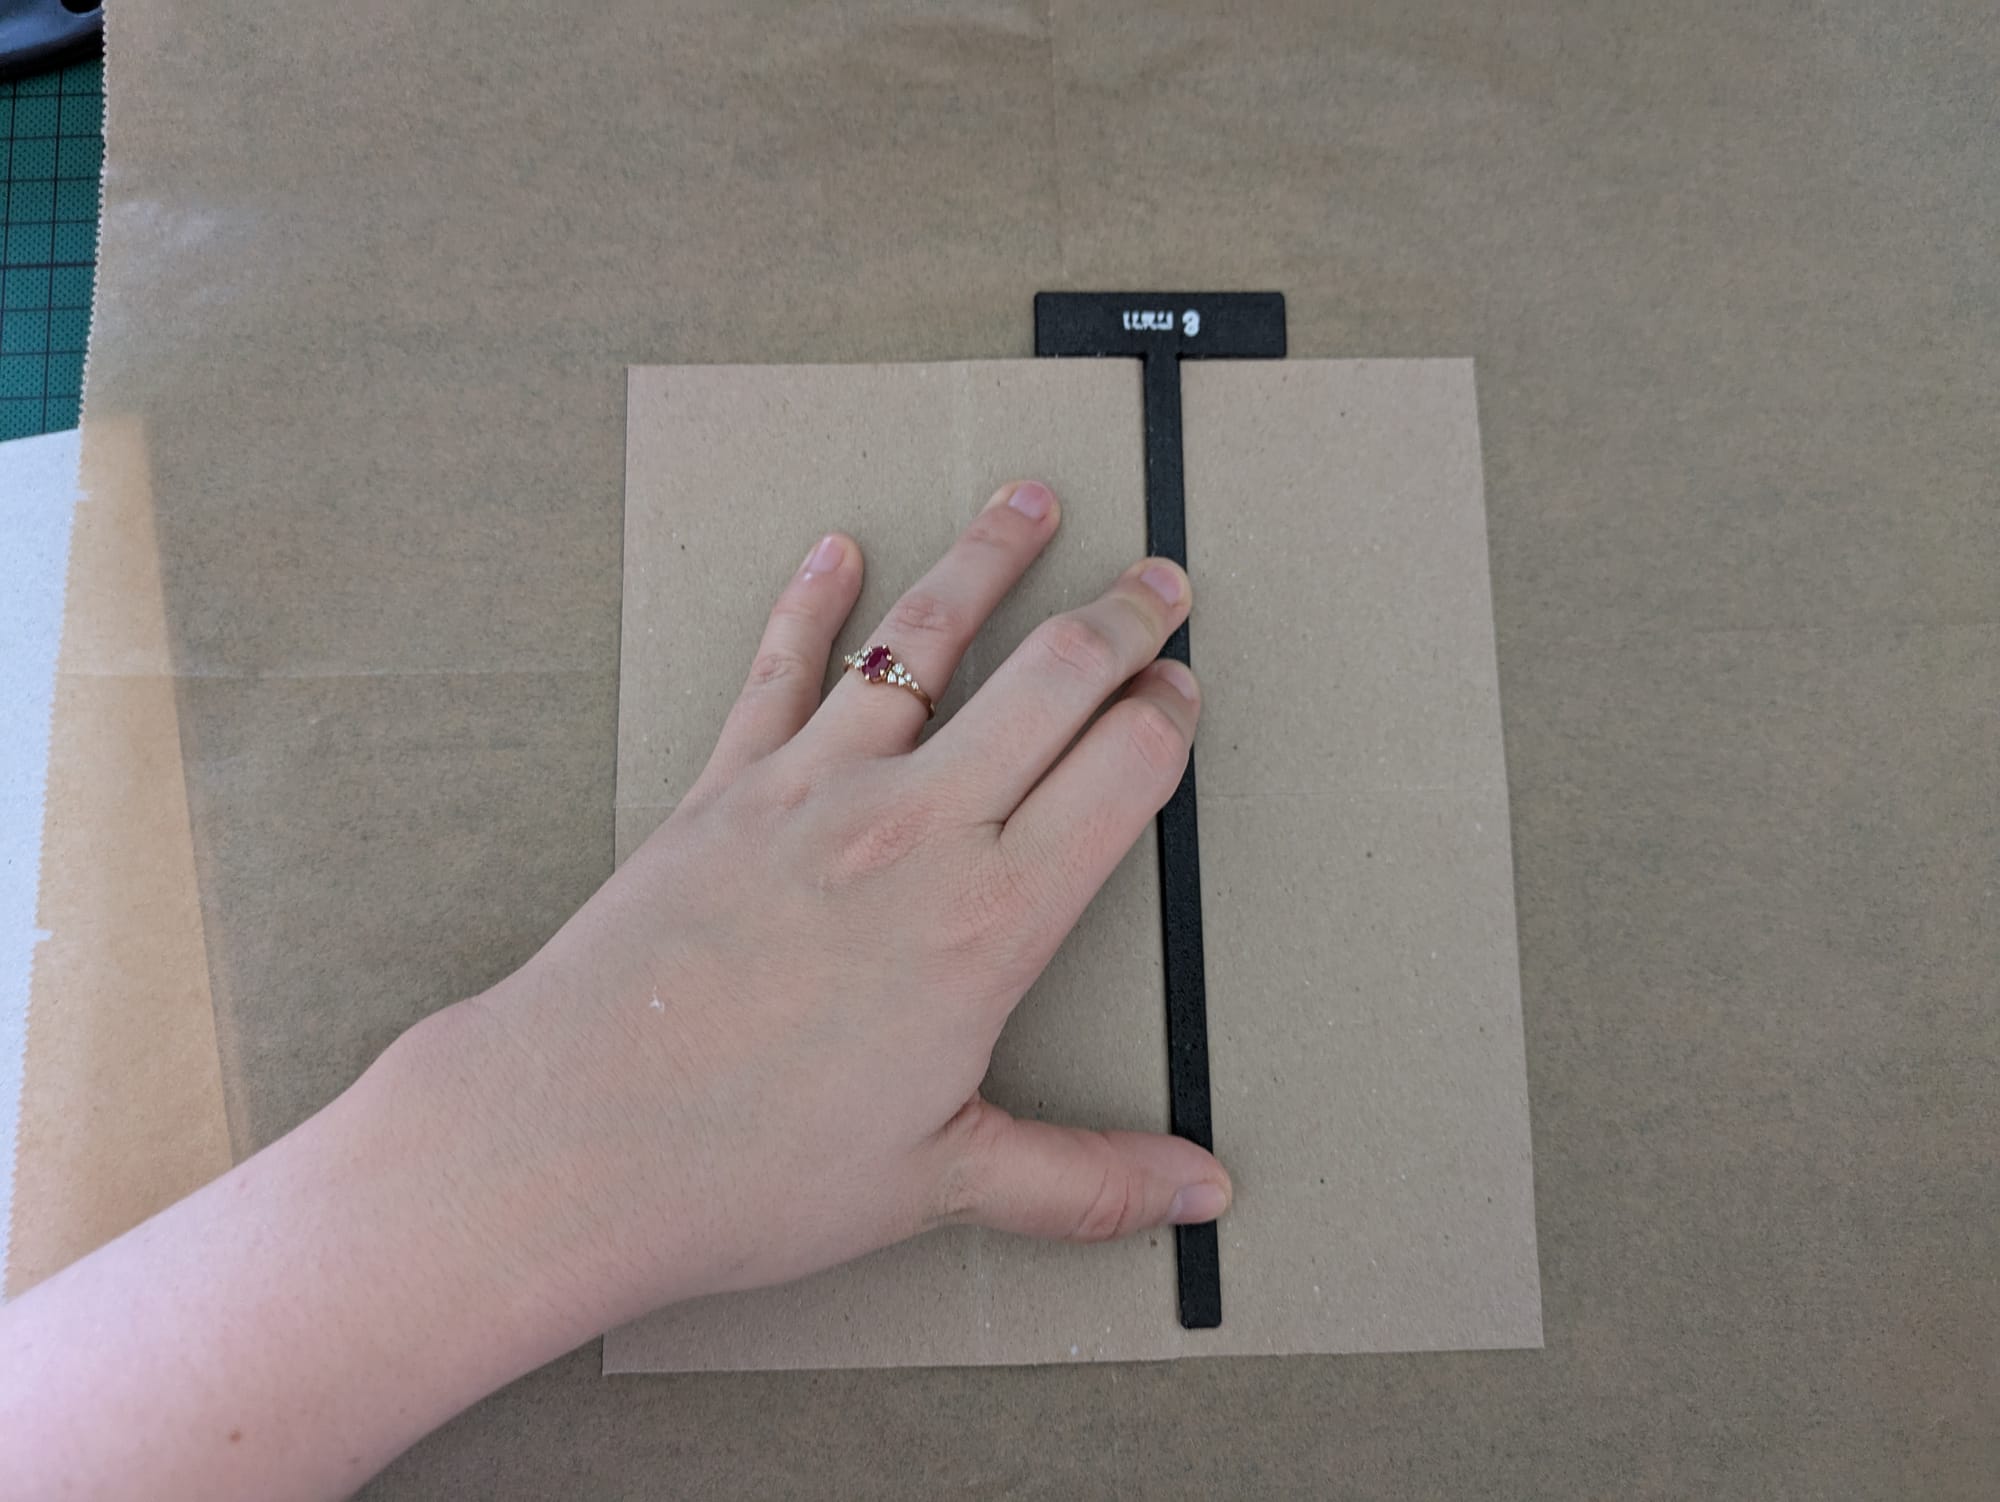

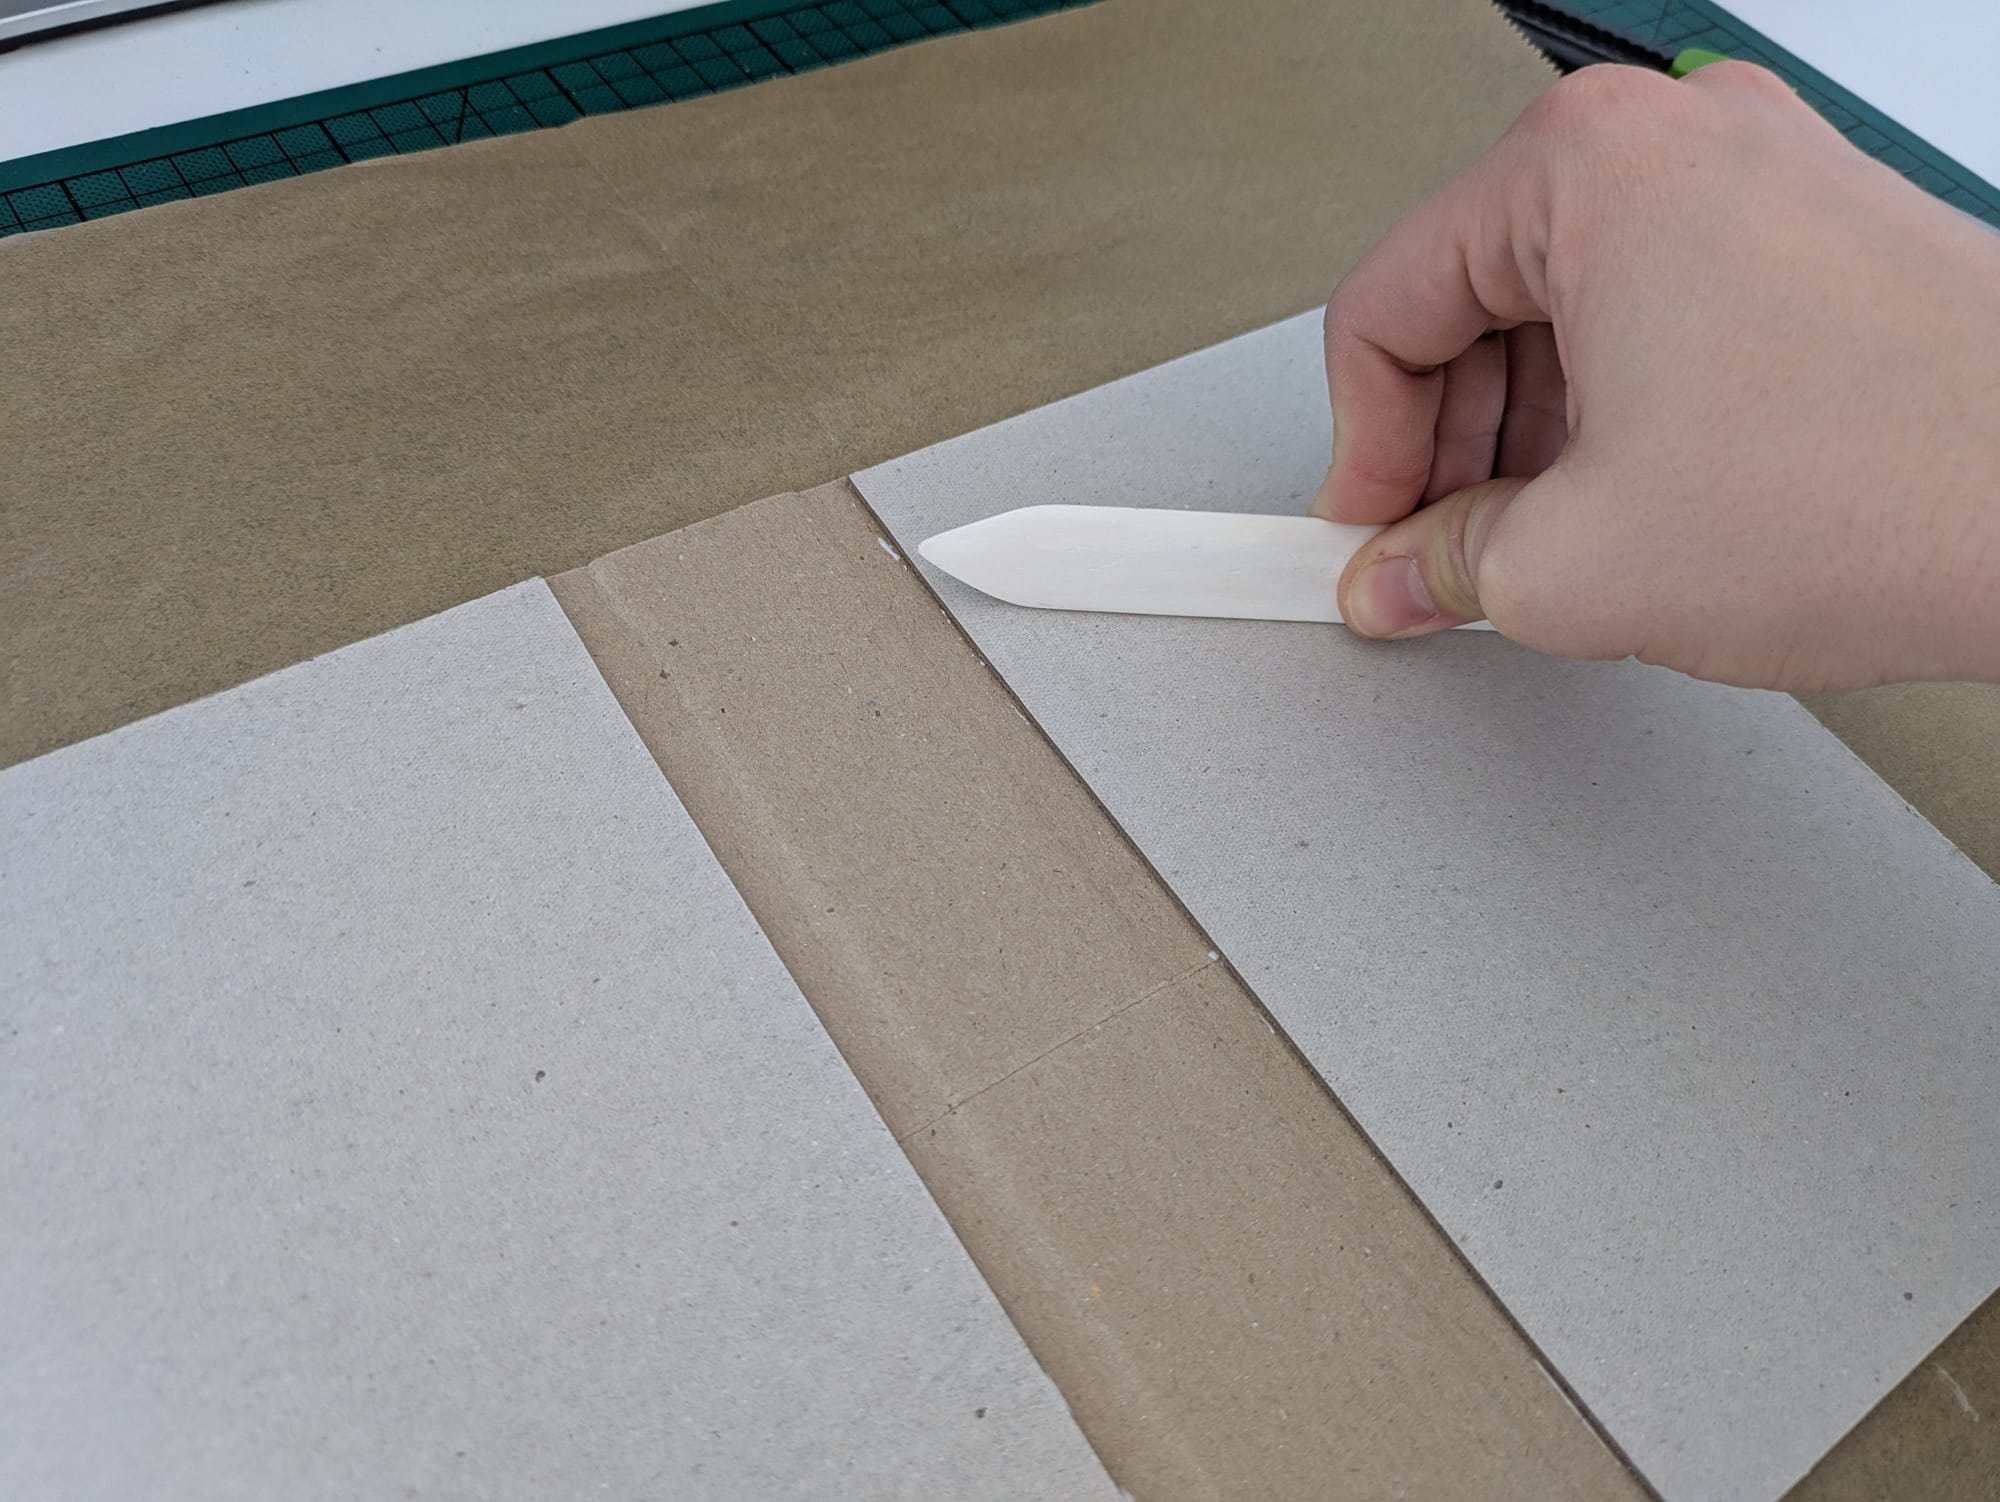
Measuring your hinge and building the casing.
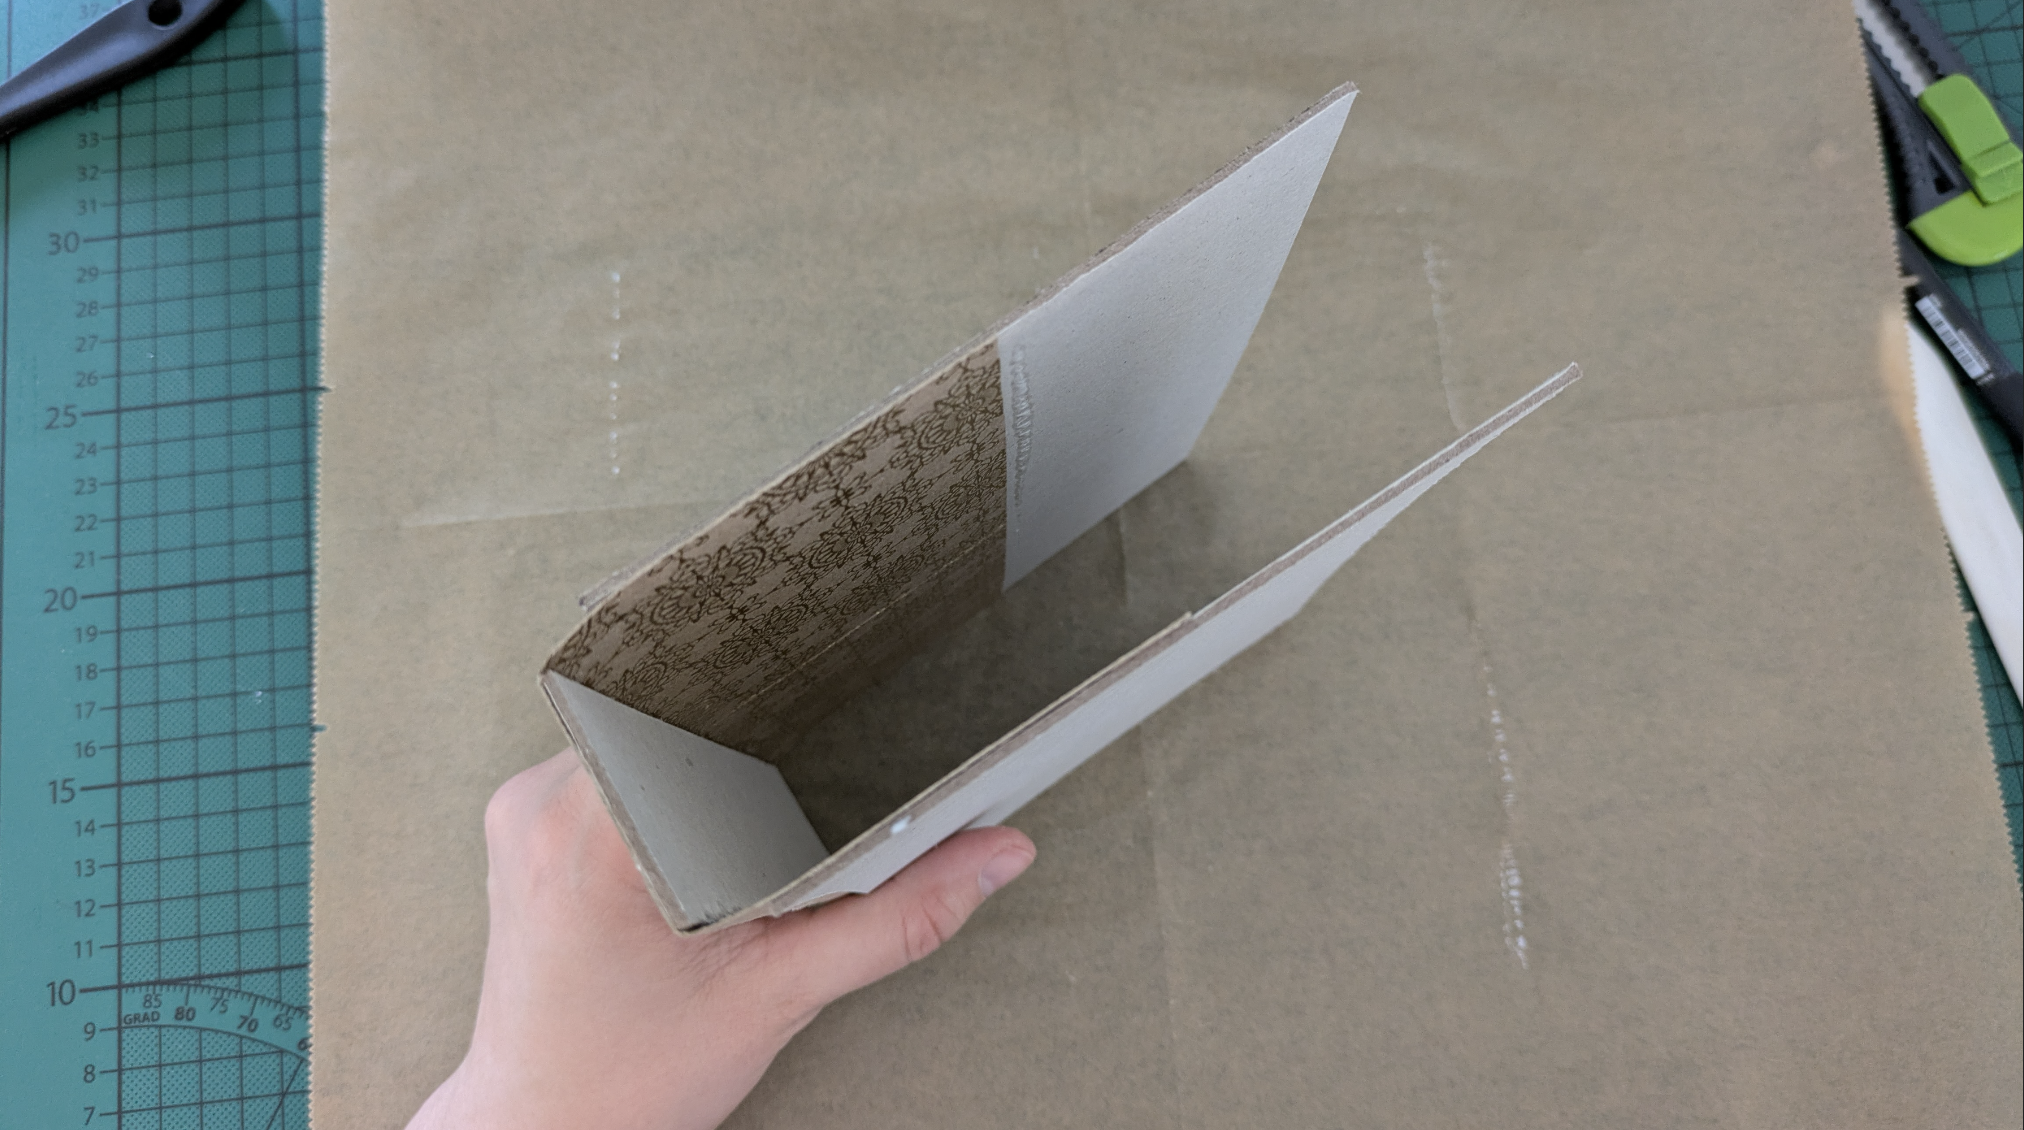
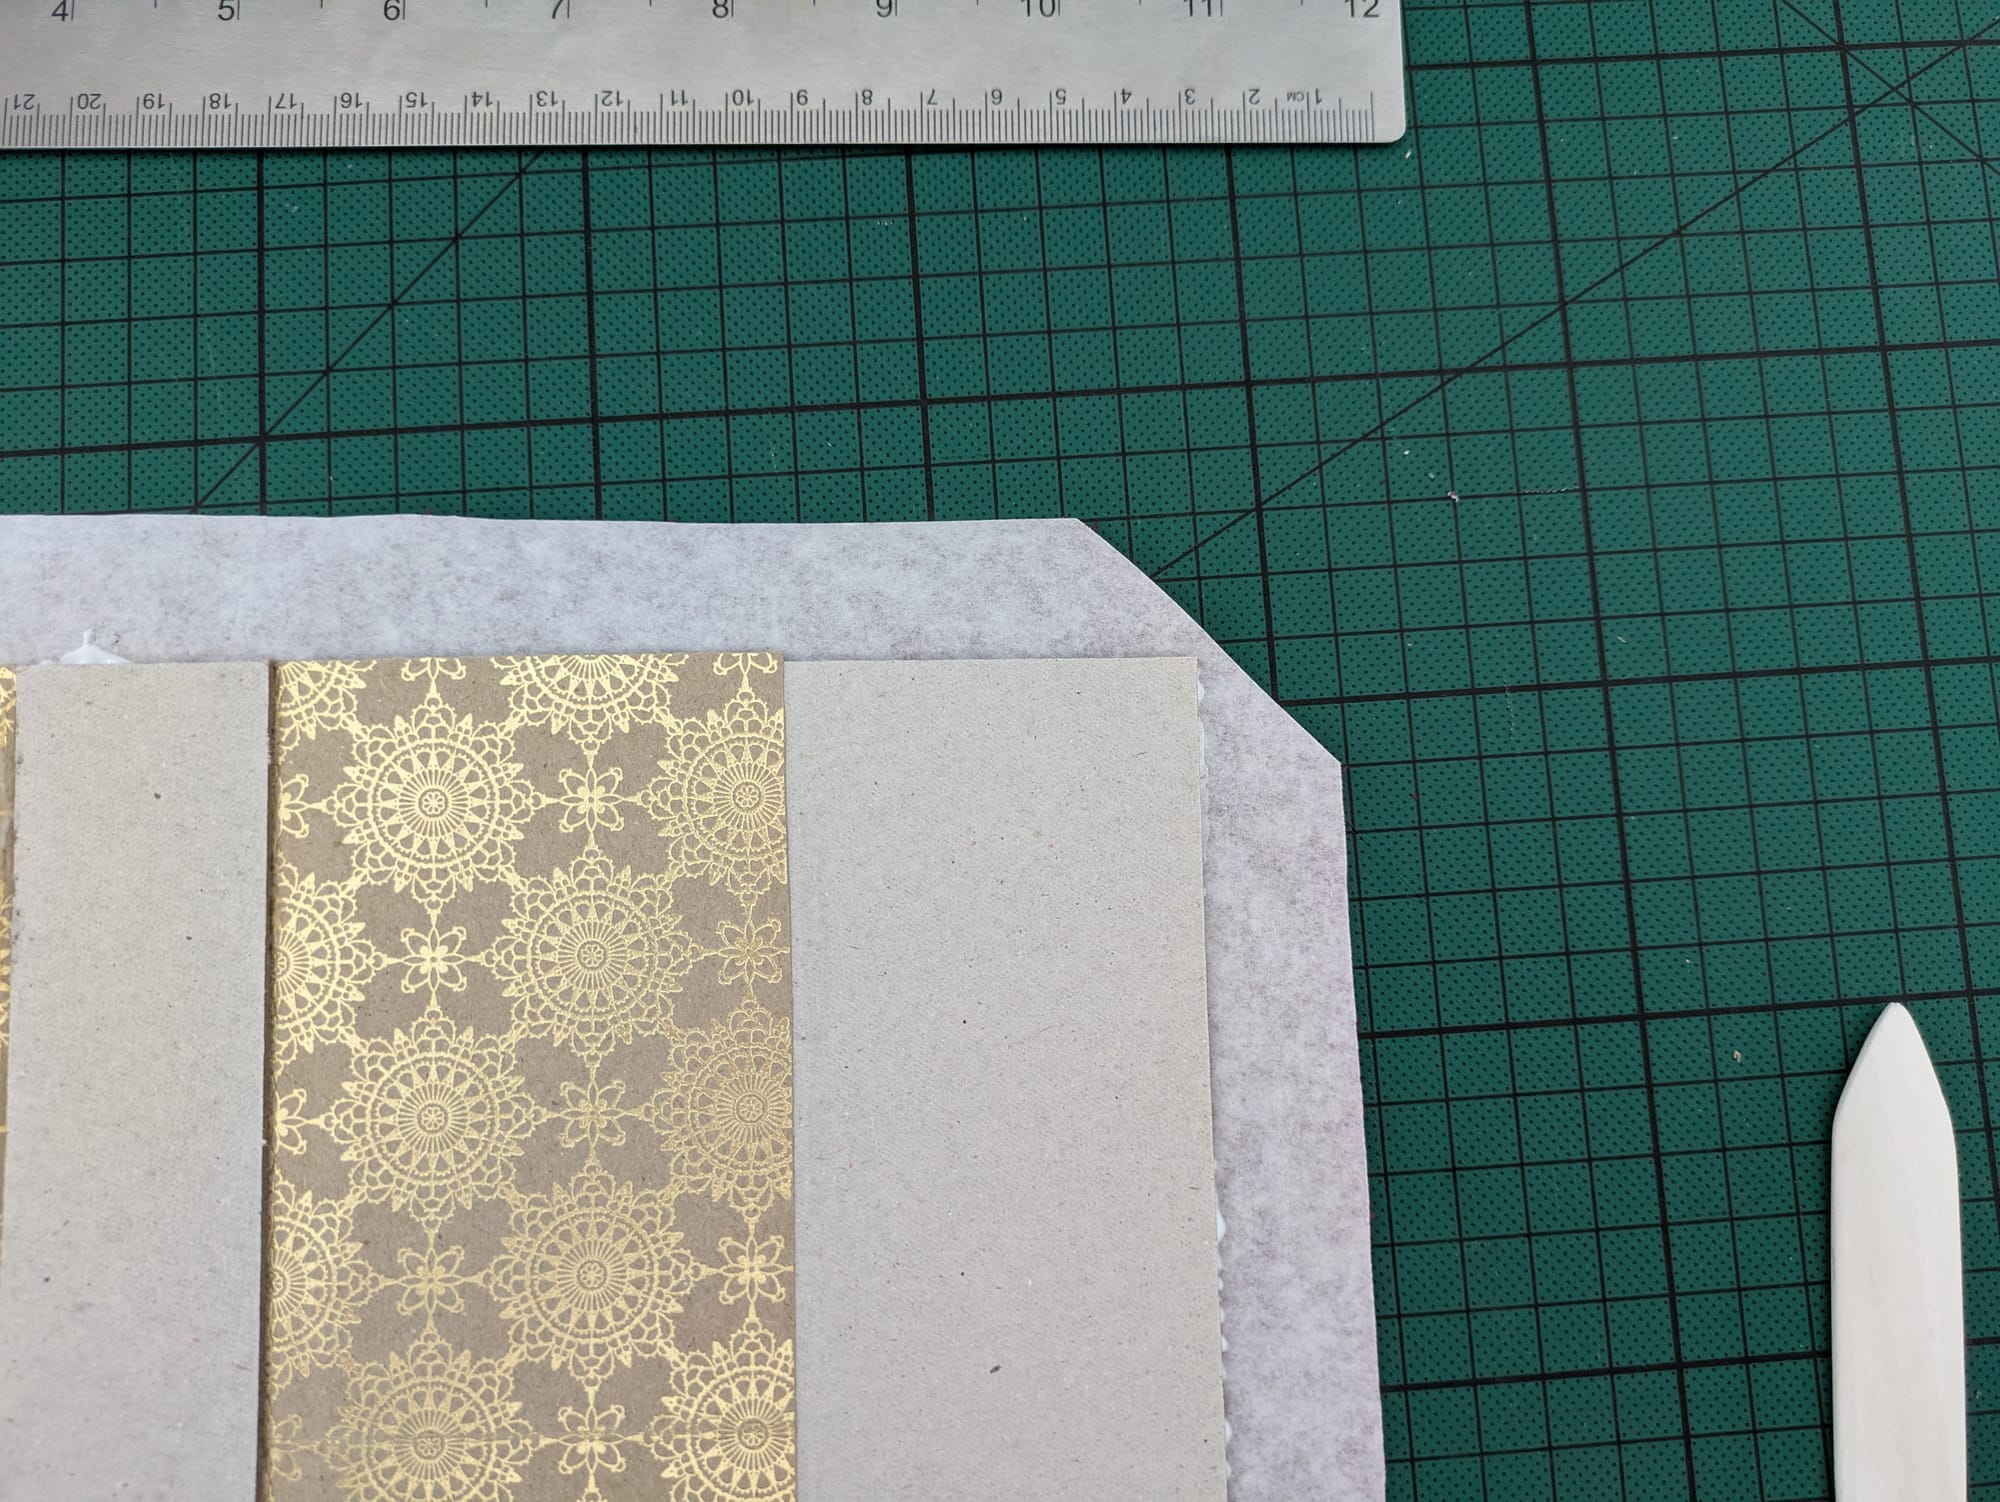
Once you've glued the casing together, you can then also do a quick check to see if all the boards are aligned nicely before adding your book cloth in the final step.
Step 5: Adding the Book Cloth
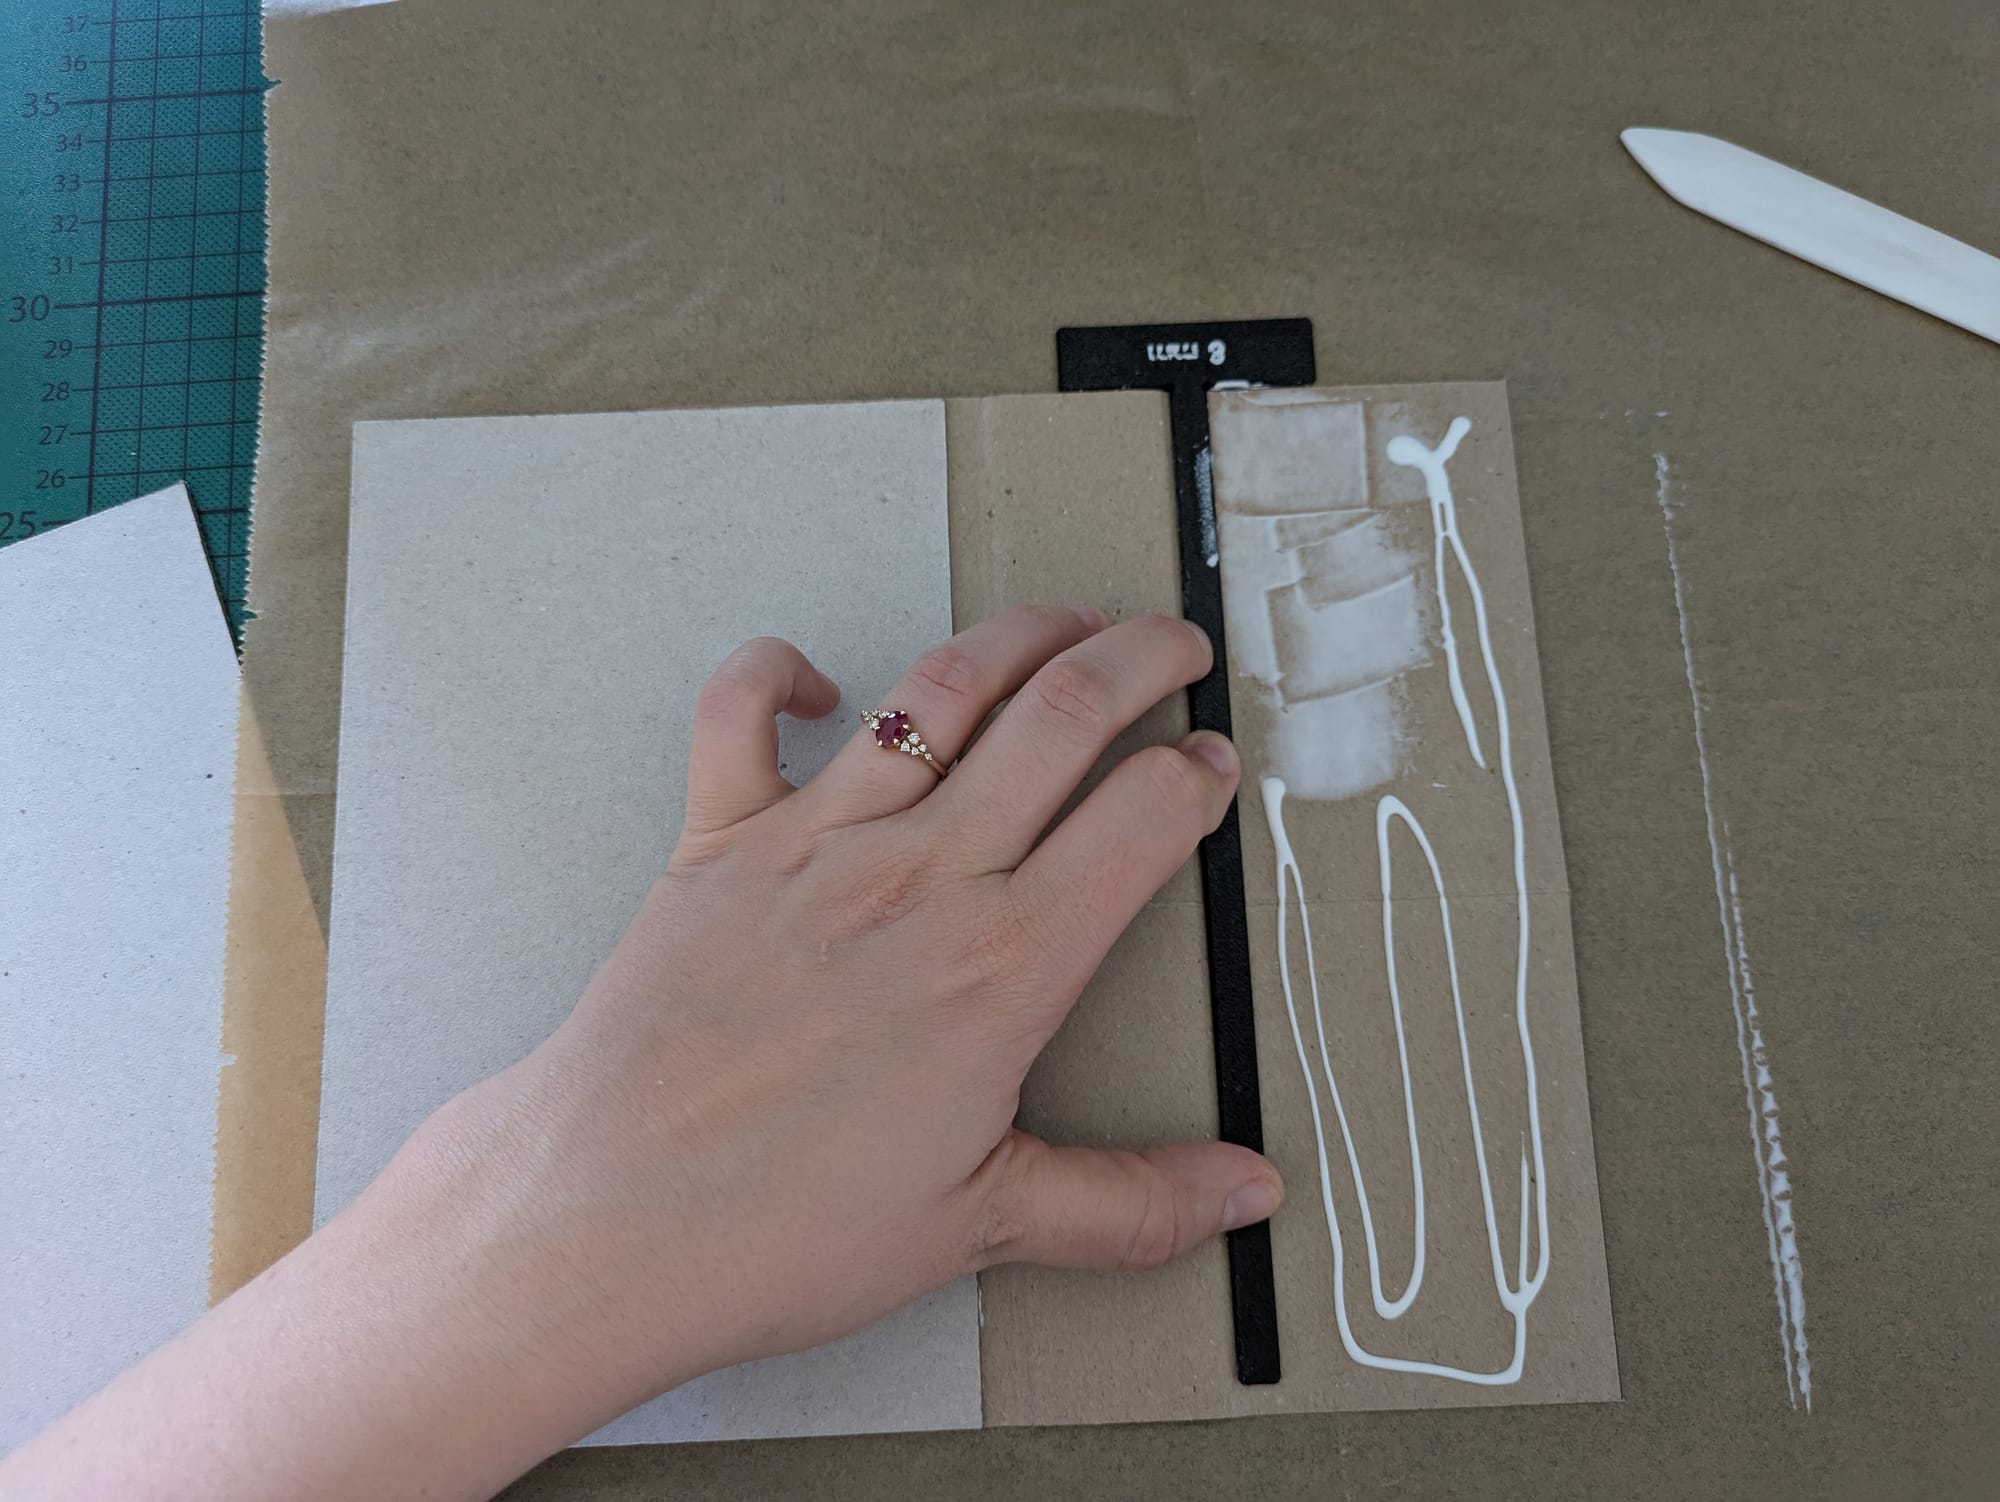
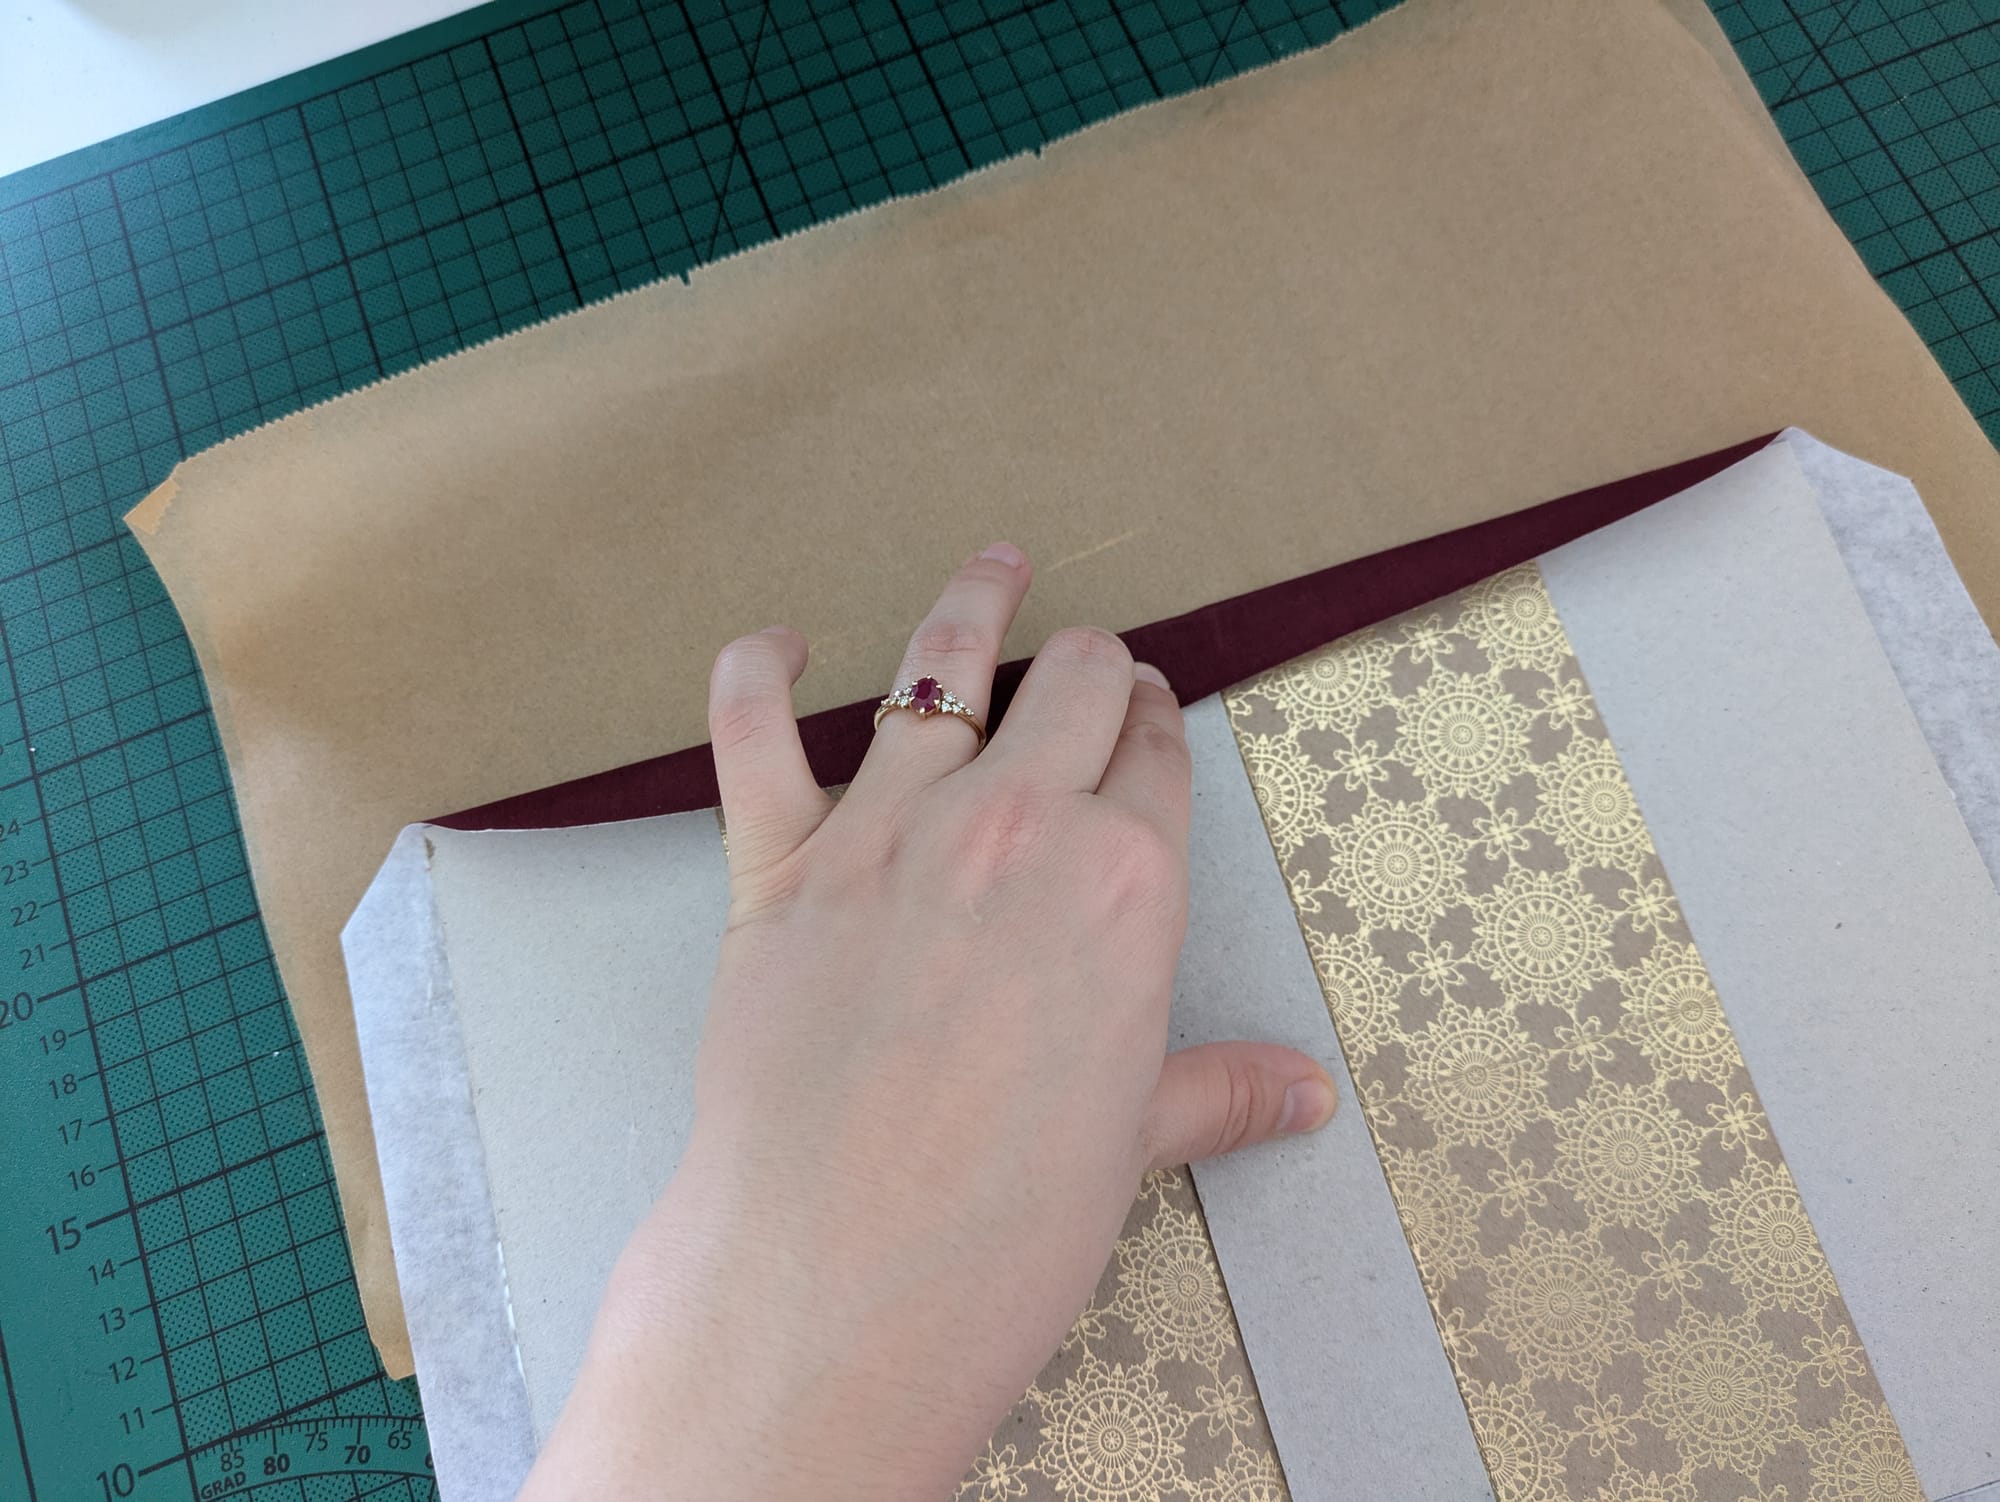
To finish your casing, you're now going to glue your existing casing onto your book cloth. Make sure to allow for enough overlap on all four sides of the book cloth, since they'll be folded over the bookboards.
You're going to start by gluing the spine to the book cloth. Once you've glued the spine onto the book cloth, you're going to flip over the book cloth with the attached casing and work from the other side to create the hinges.

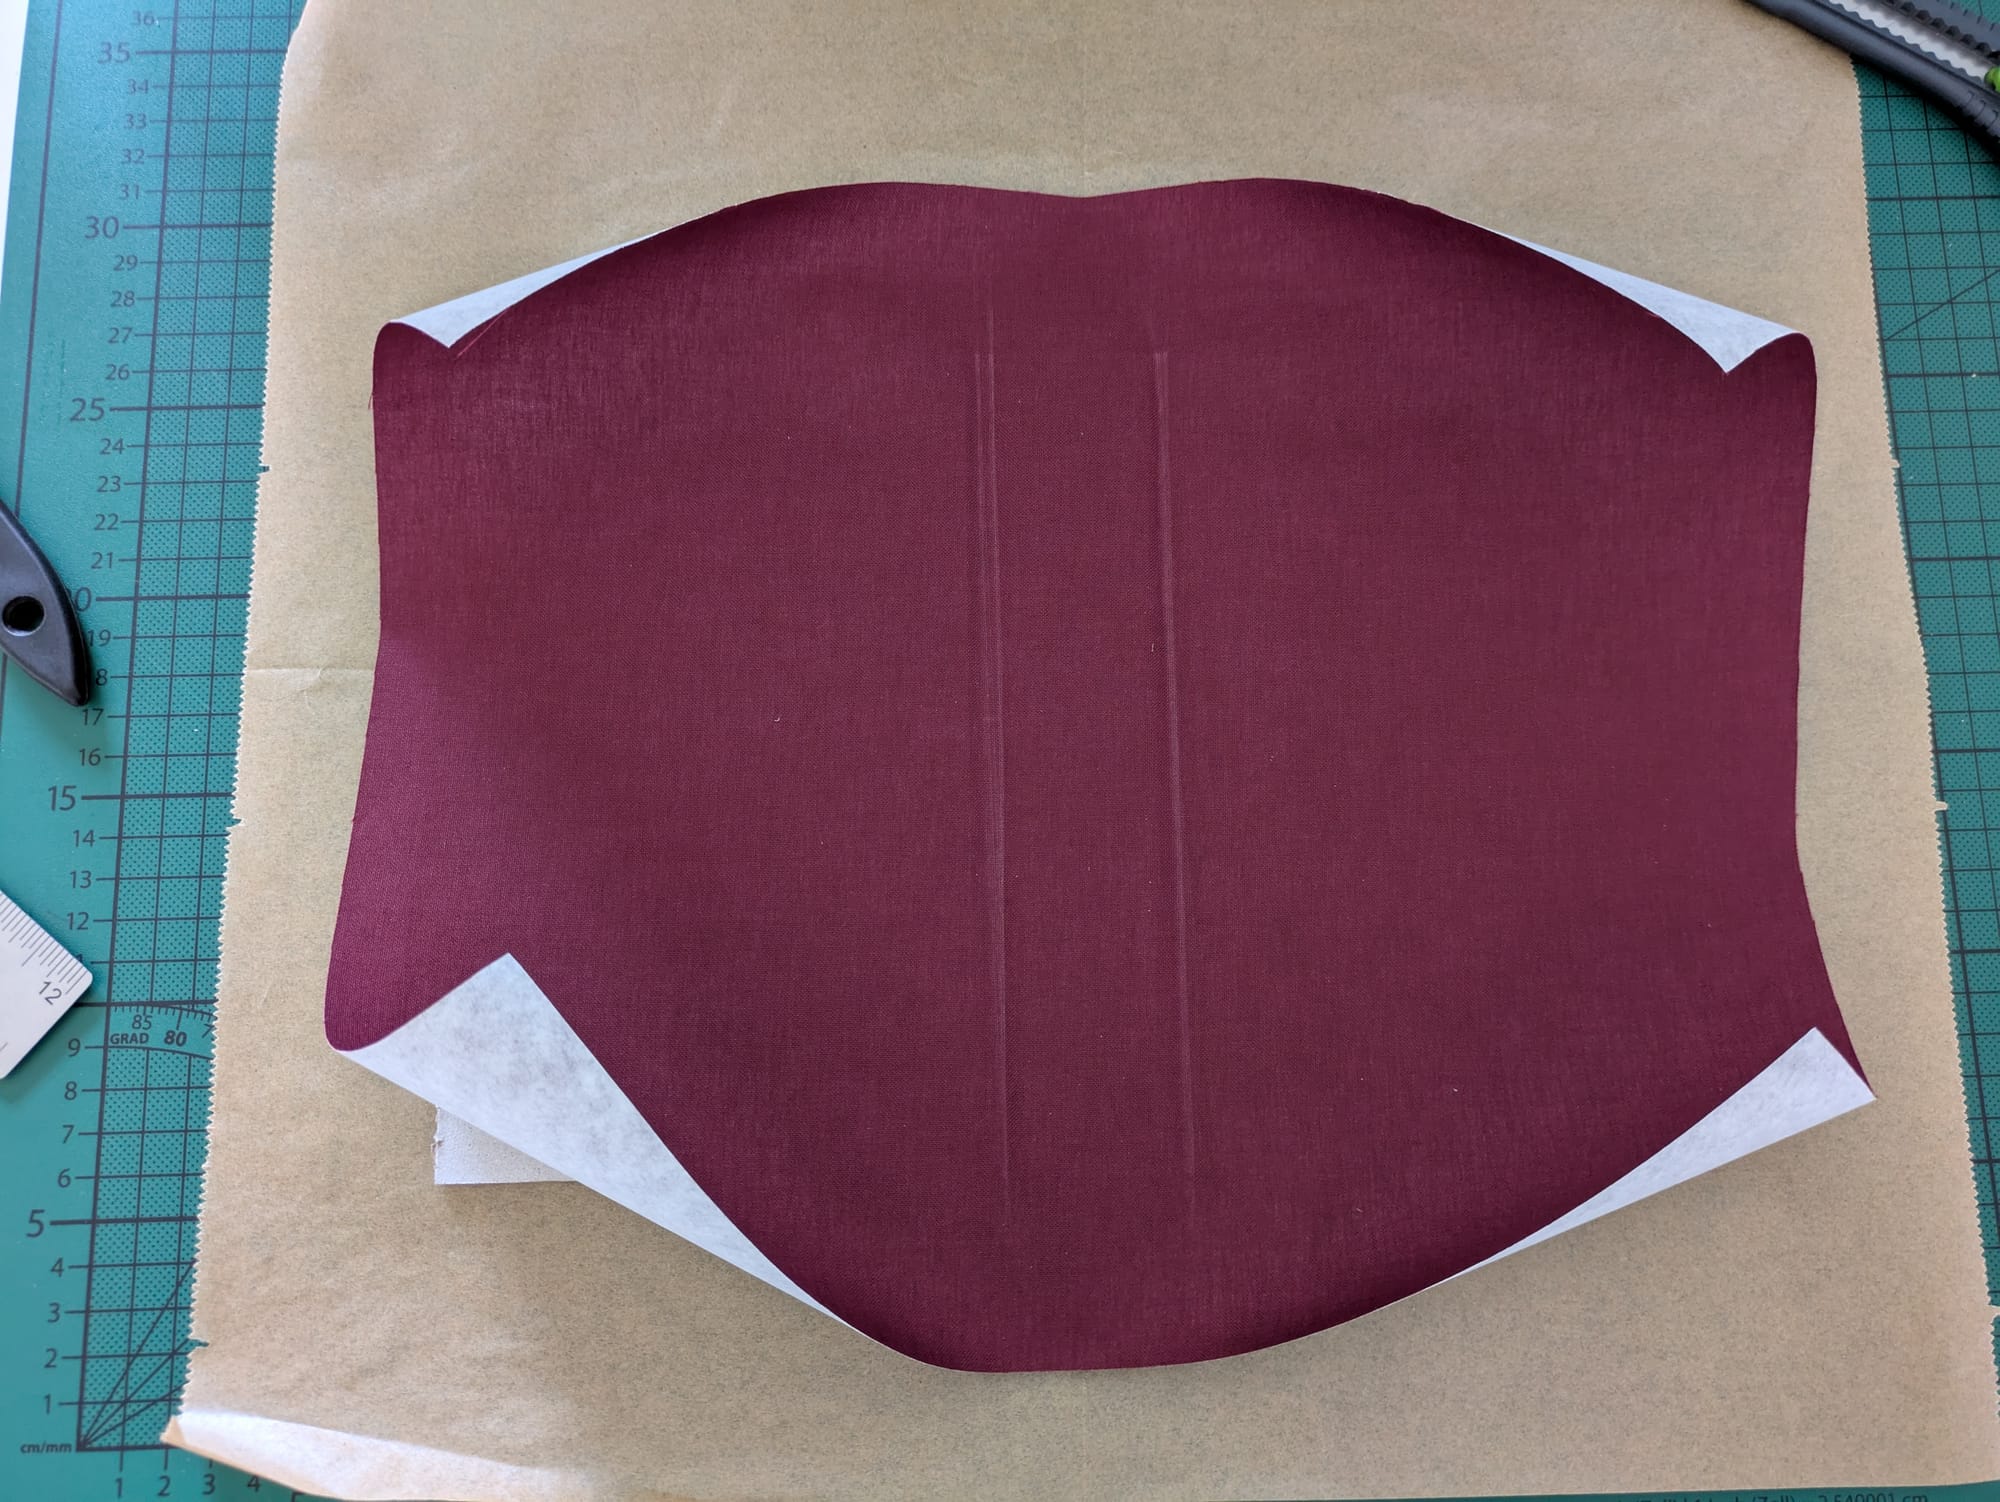
Gluing down the spine onto the book cloth and creating the hinge.
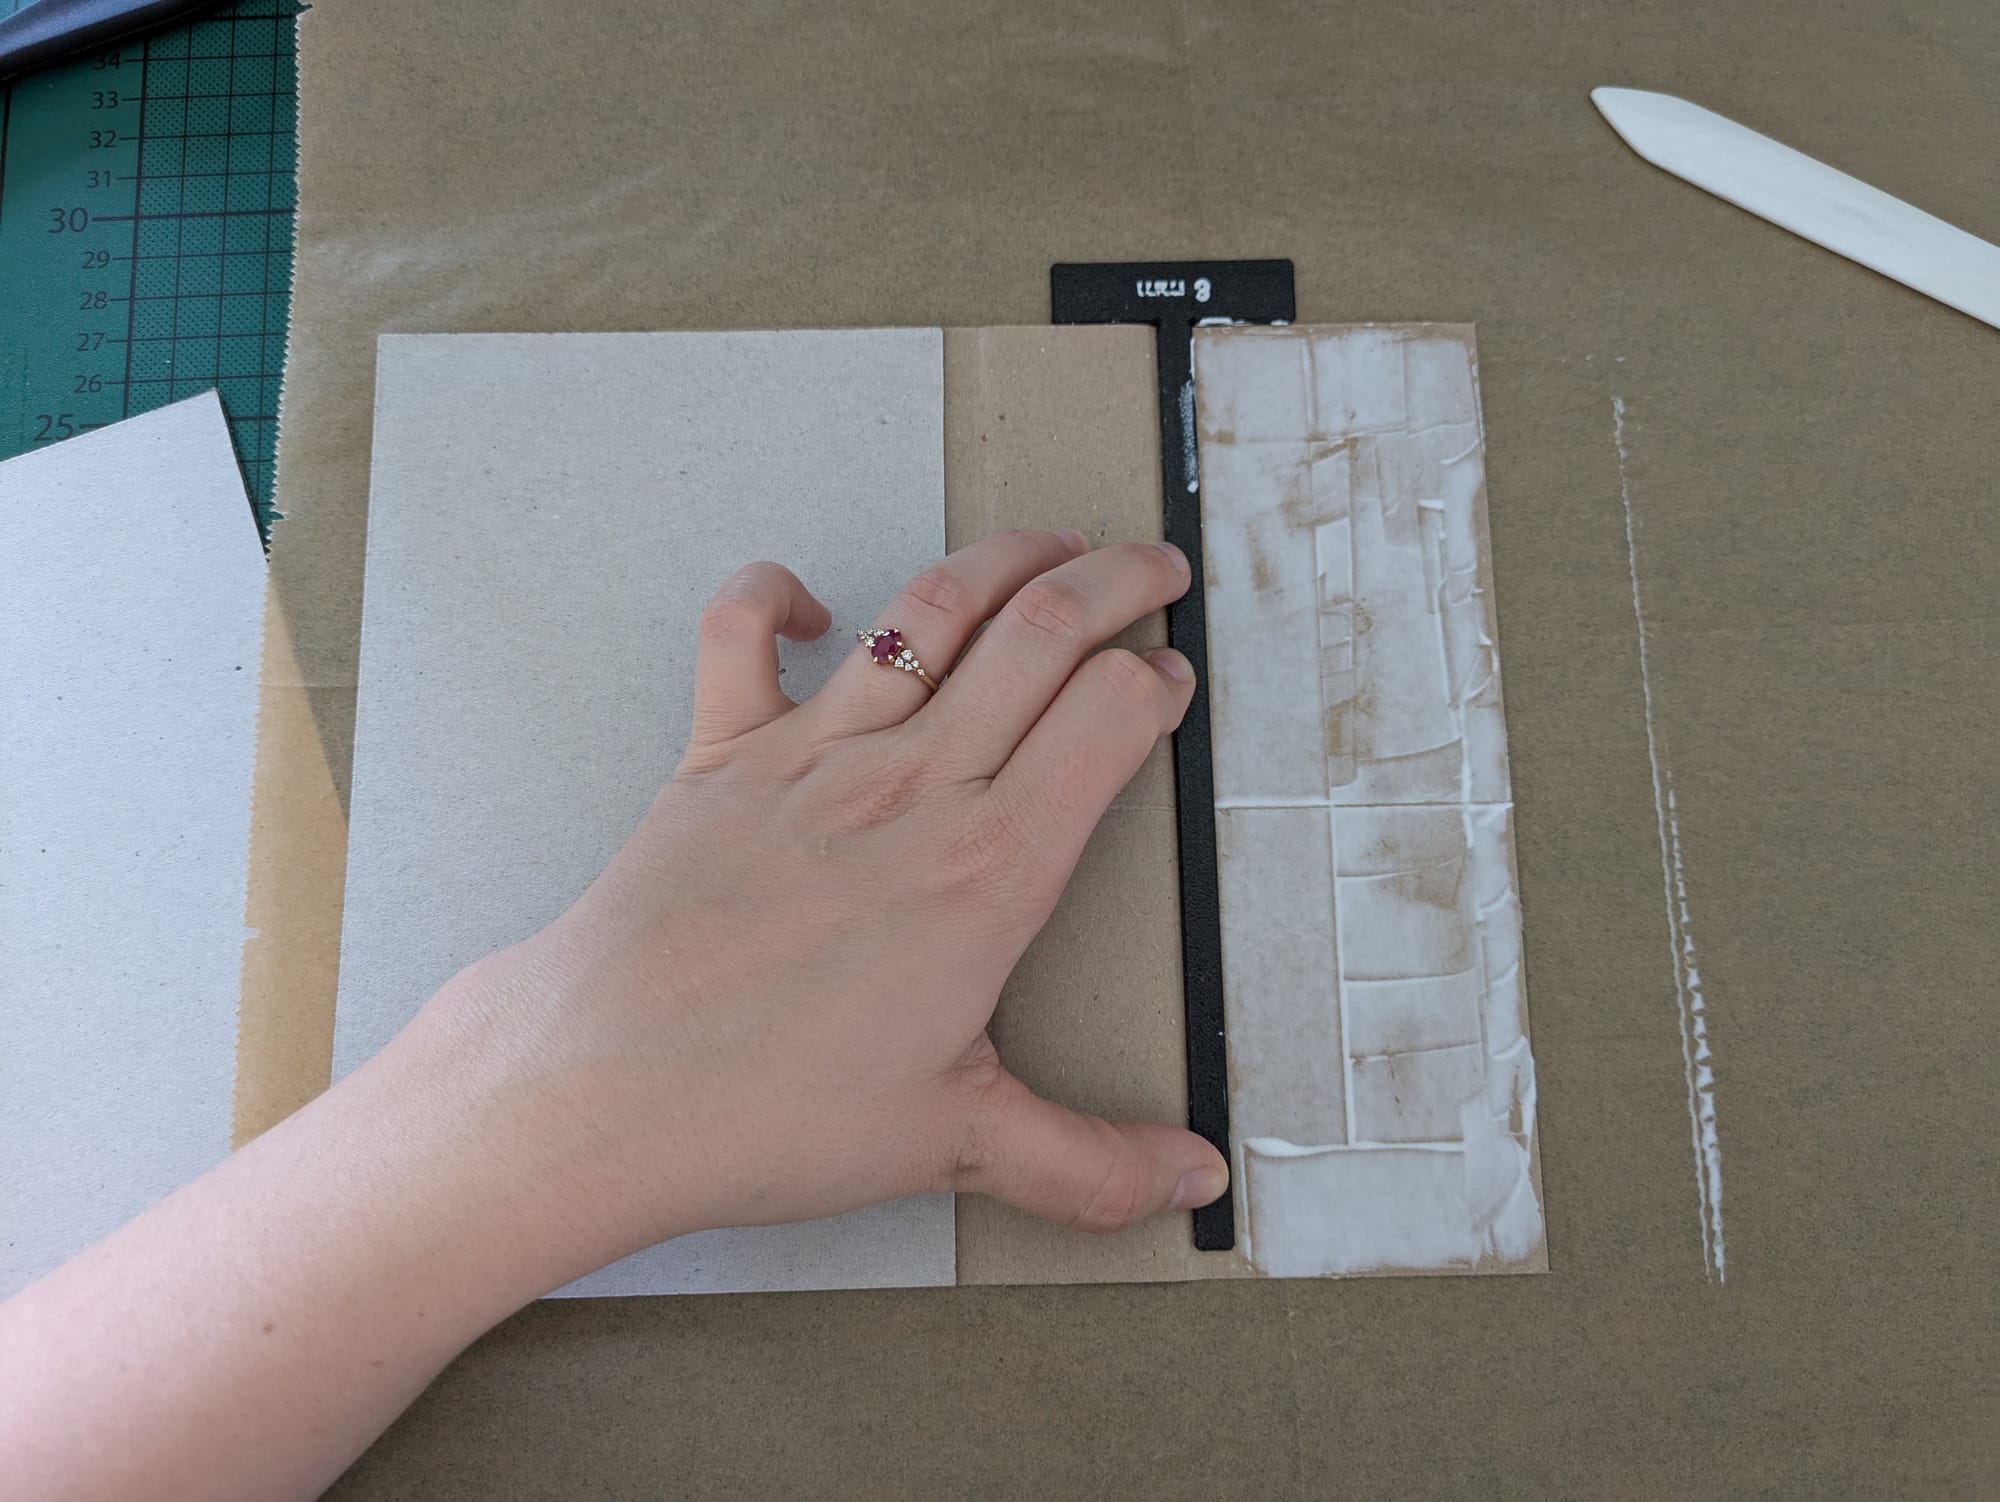
Once you've created your hinges with the bone folder, it's then time to glue down the book cloth onto the bookboards. For this step, you're going to lift up the book cloth and add glue on one of the bookboards. Afterwards you're going to press down the book cloth onto the glue going from the spine outwards to make sure there are no air bubbles trapped in your casing. Repeat for the other side.
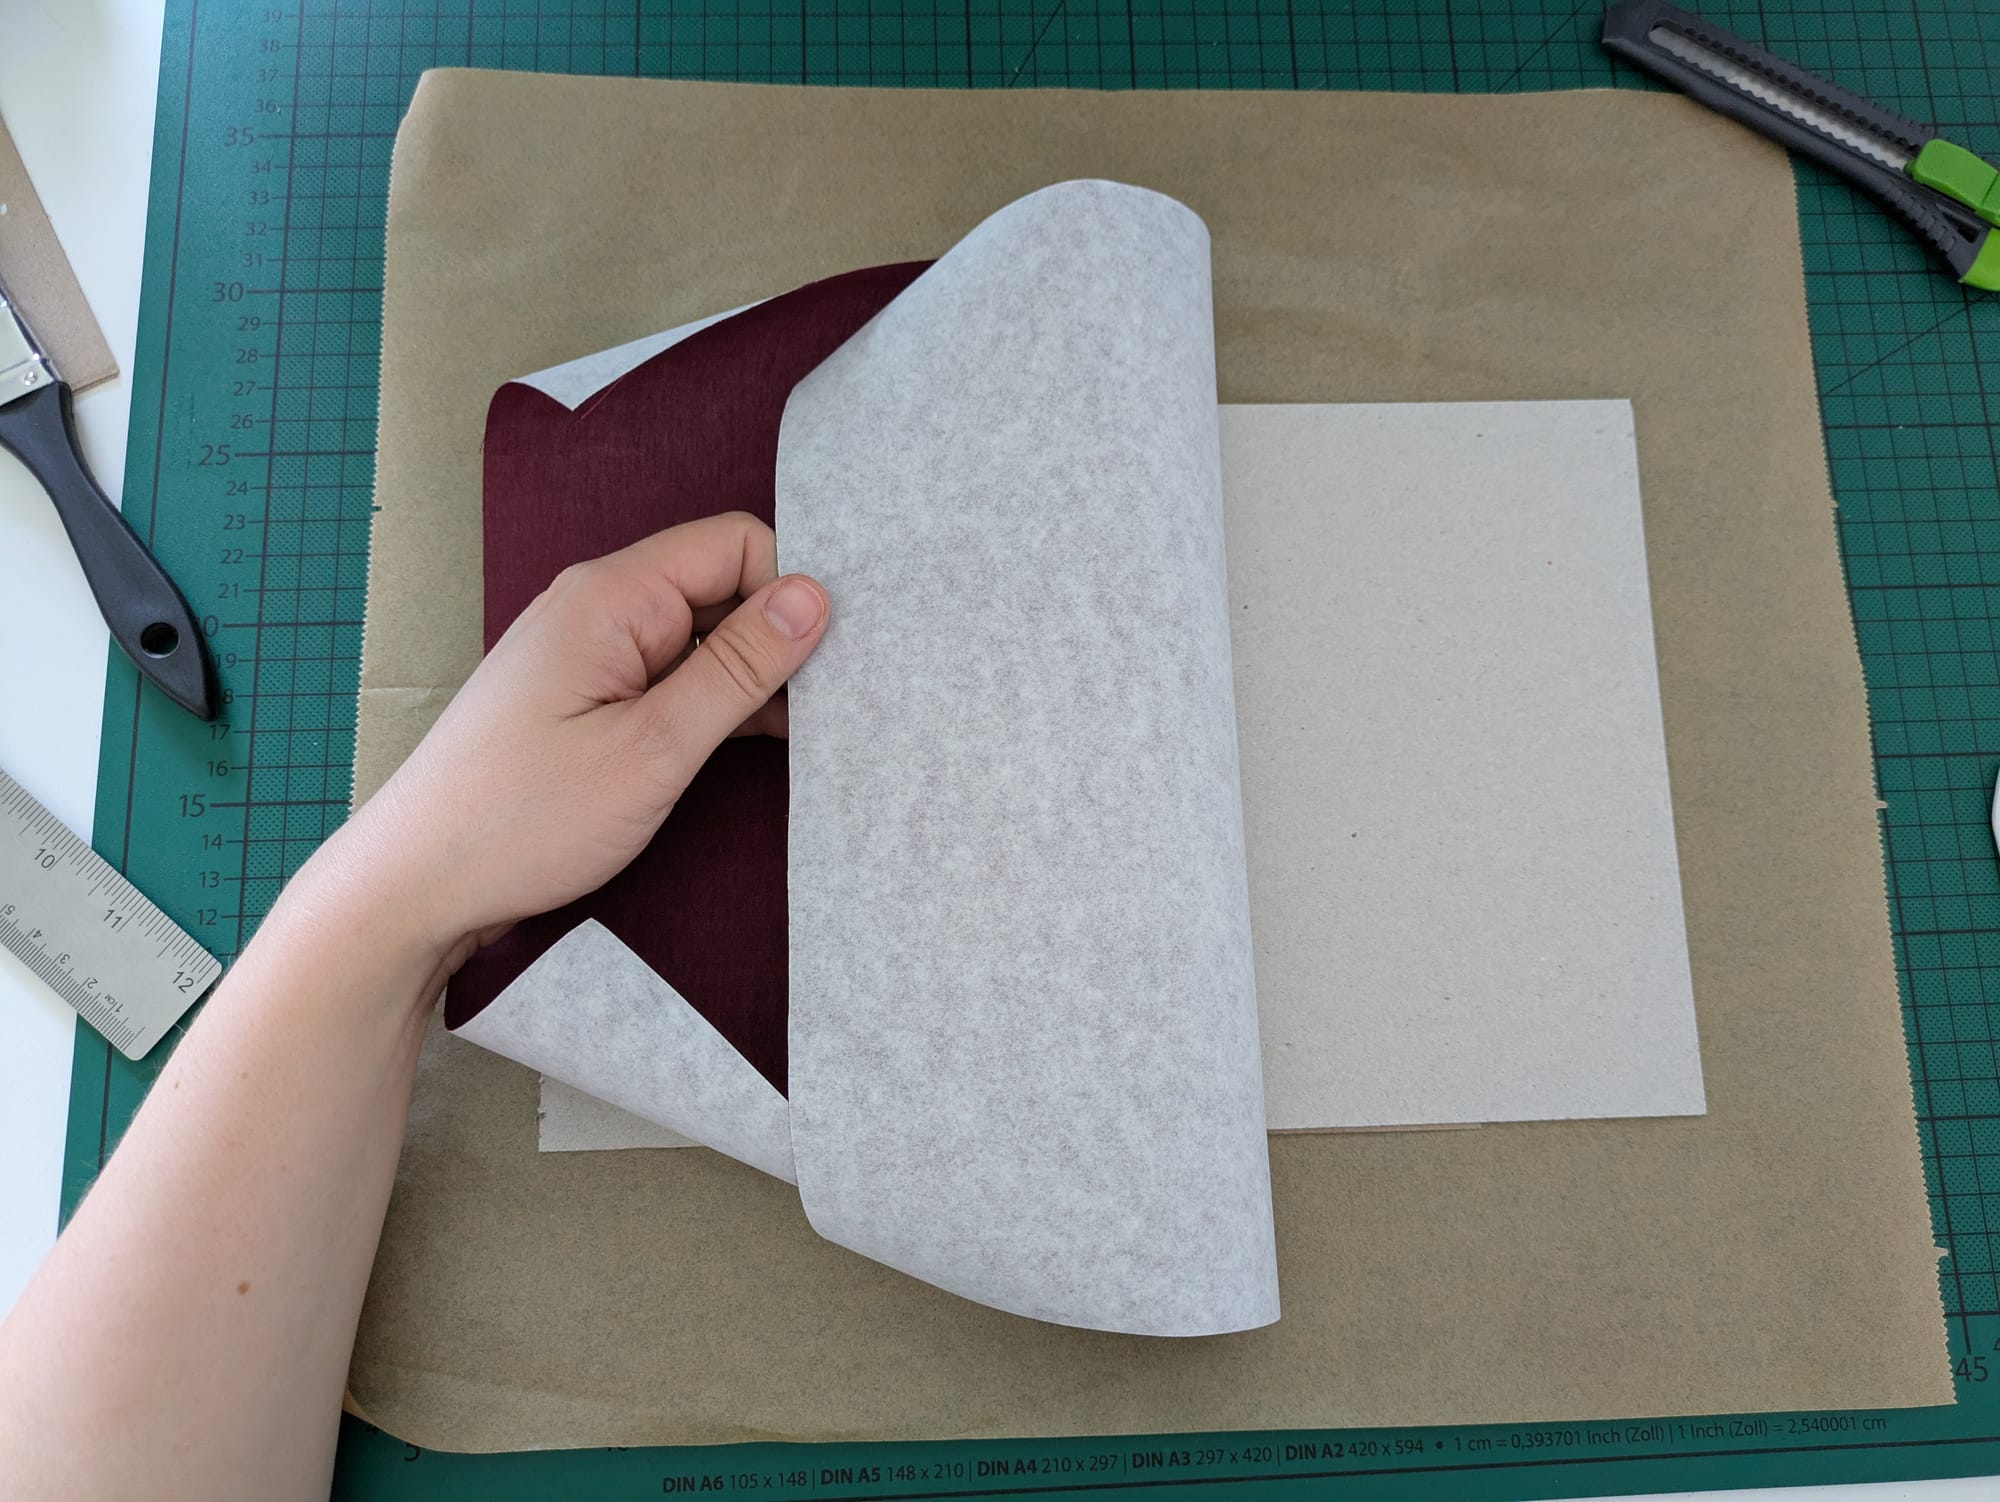


Gluing down the book cloth onto the bookboards.
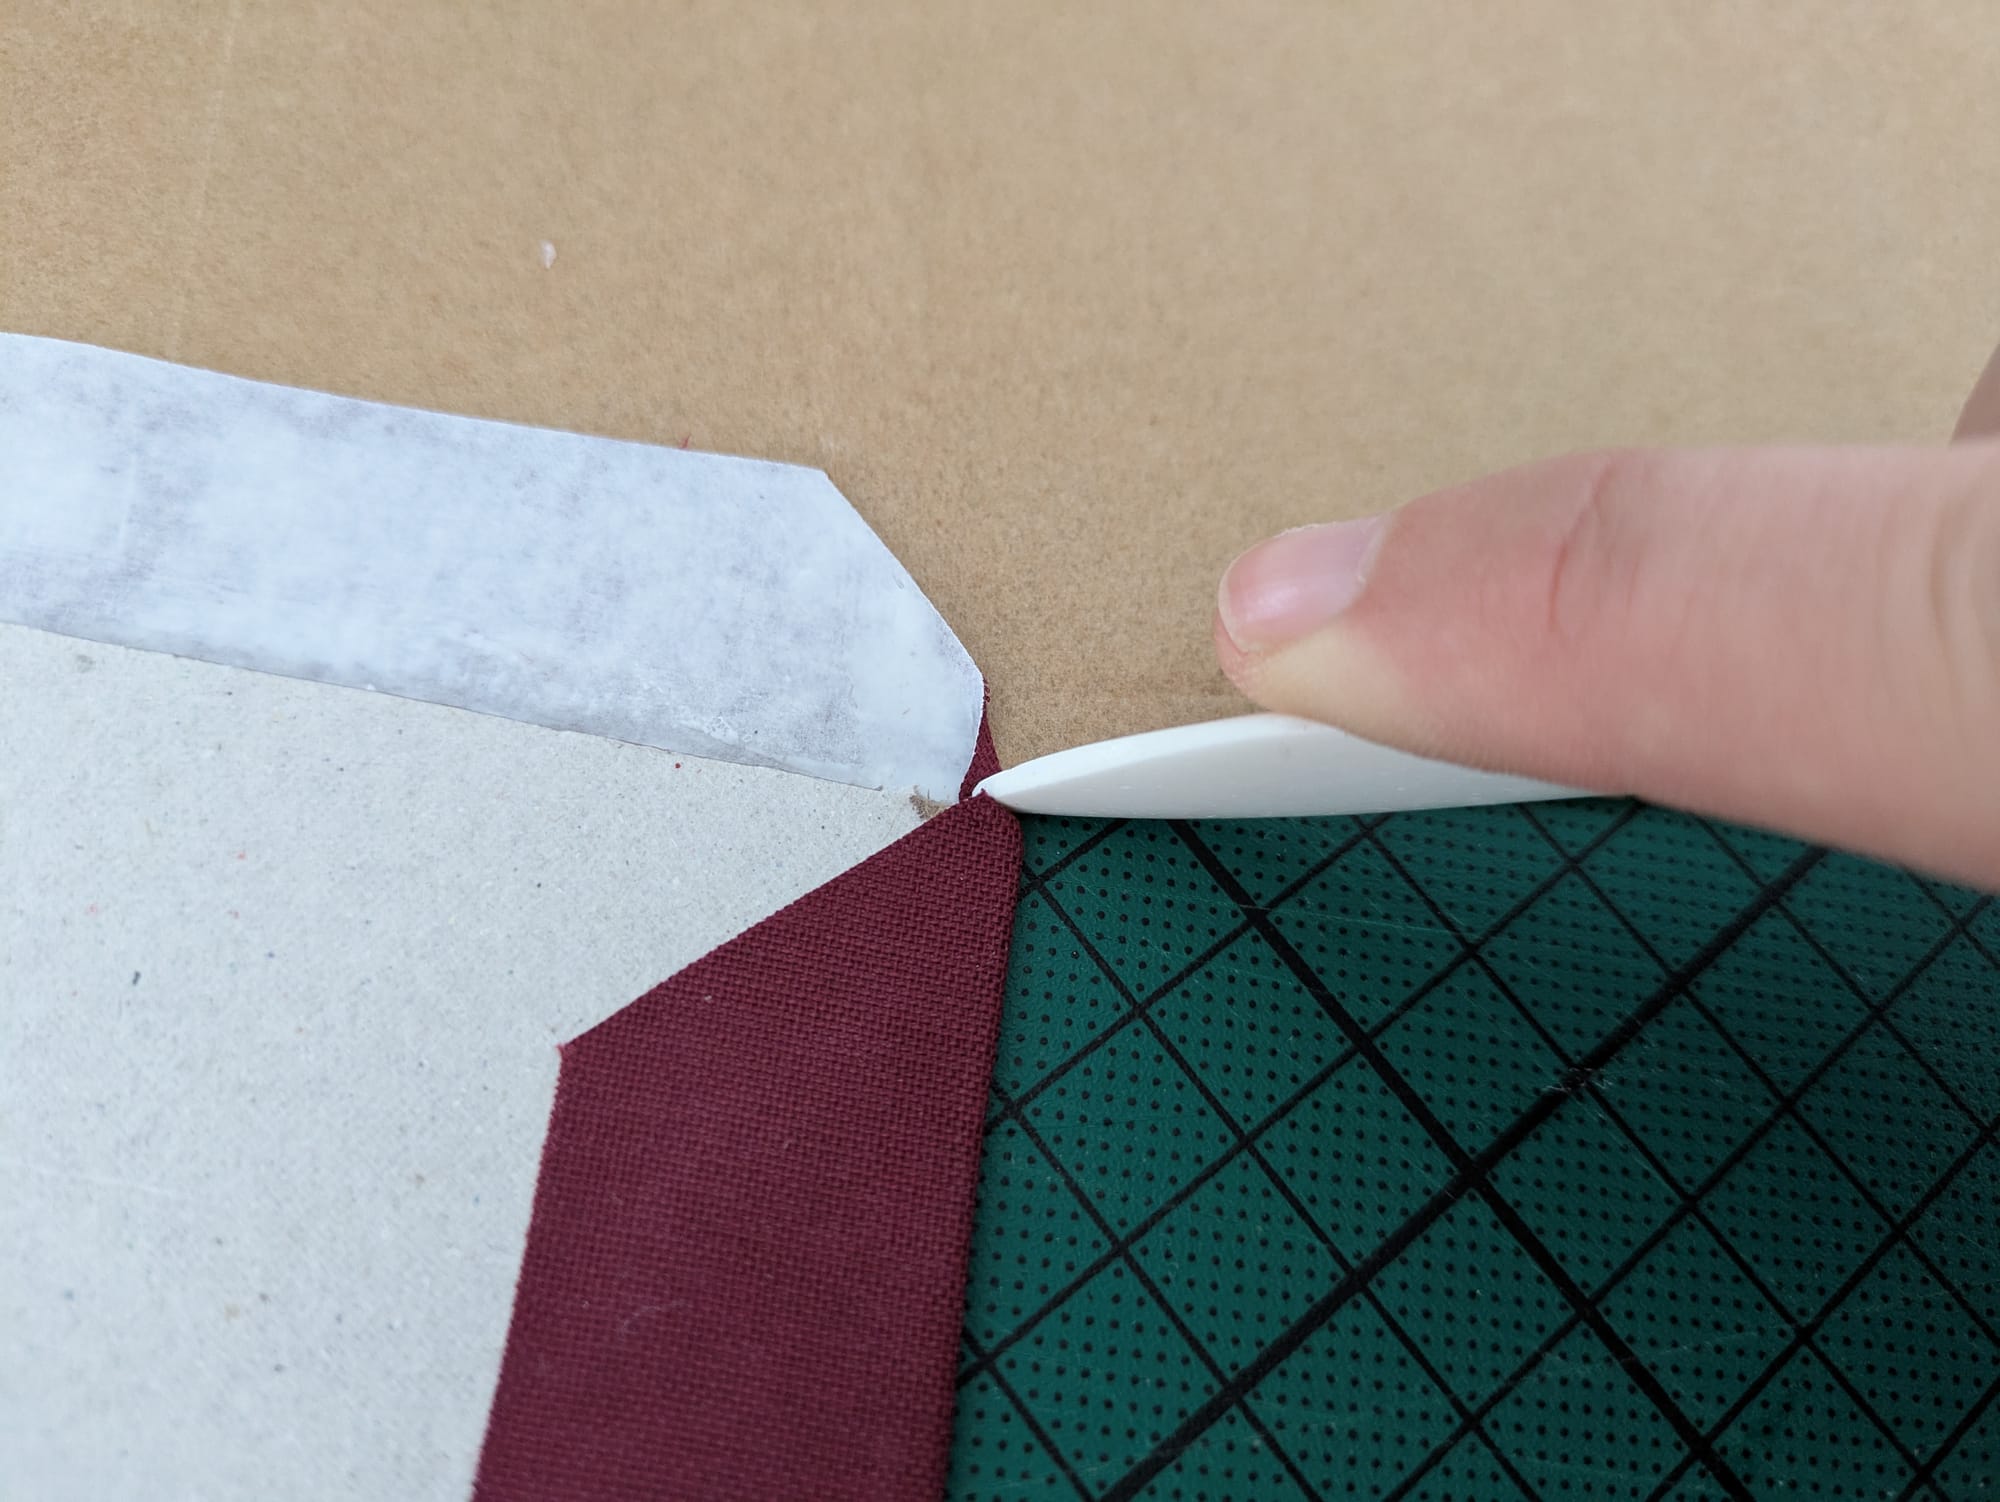
Next, you're going to trim down the overlap on all sides and also make sure to cut the corners. For this you can use a corner cutter. This step allows you to fold the edges over nicely and create neat corners without a gap showing the bookboards. I've noticed that the size of the corner cutter is directly related to the width of your boards. My corner cutter creates a 2mm overlap to the corner, which I've noticed is a little bit too tight for my 2mm thick endboards. I therefore usually wriggle the tool a little further away from the corner. In the future I'm looking to get a new corner cutter, probably 3.5mm.
Trimming down the edges and cutting the corners of the book cloth.
Lastly, you're going to glue and fold over the overlap onto the casing. You're going to start with the long sides and then afterwards tuck in the corners and fold over the smaller sides to create neat corners for your casing.
Again, make sure to not use too much or too little glue. Be especially careful when pressing down with the bone folder, since most of the time some glue is going to be pressed out of the material and you don't want to go over your book cloth with a dirty bonefolder.

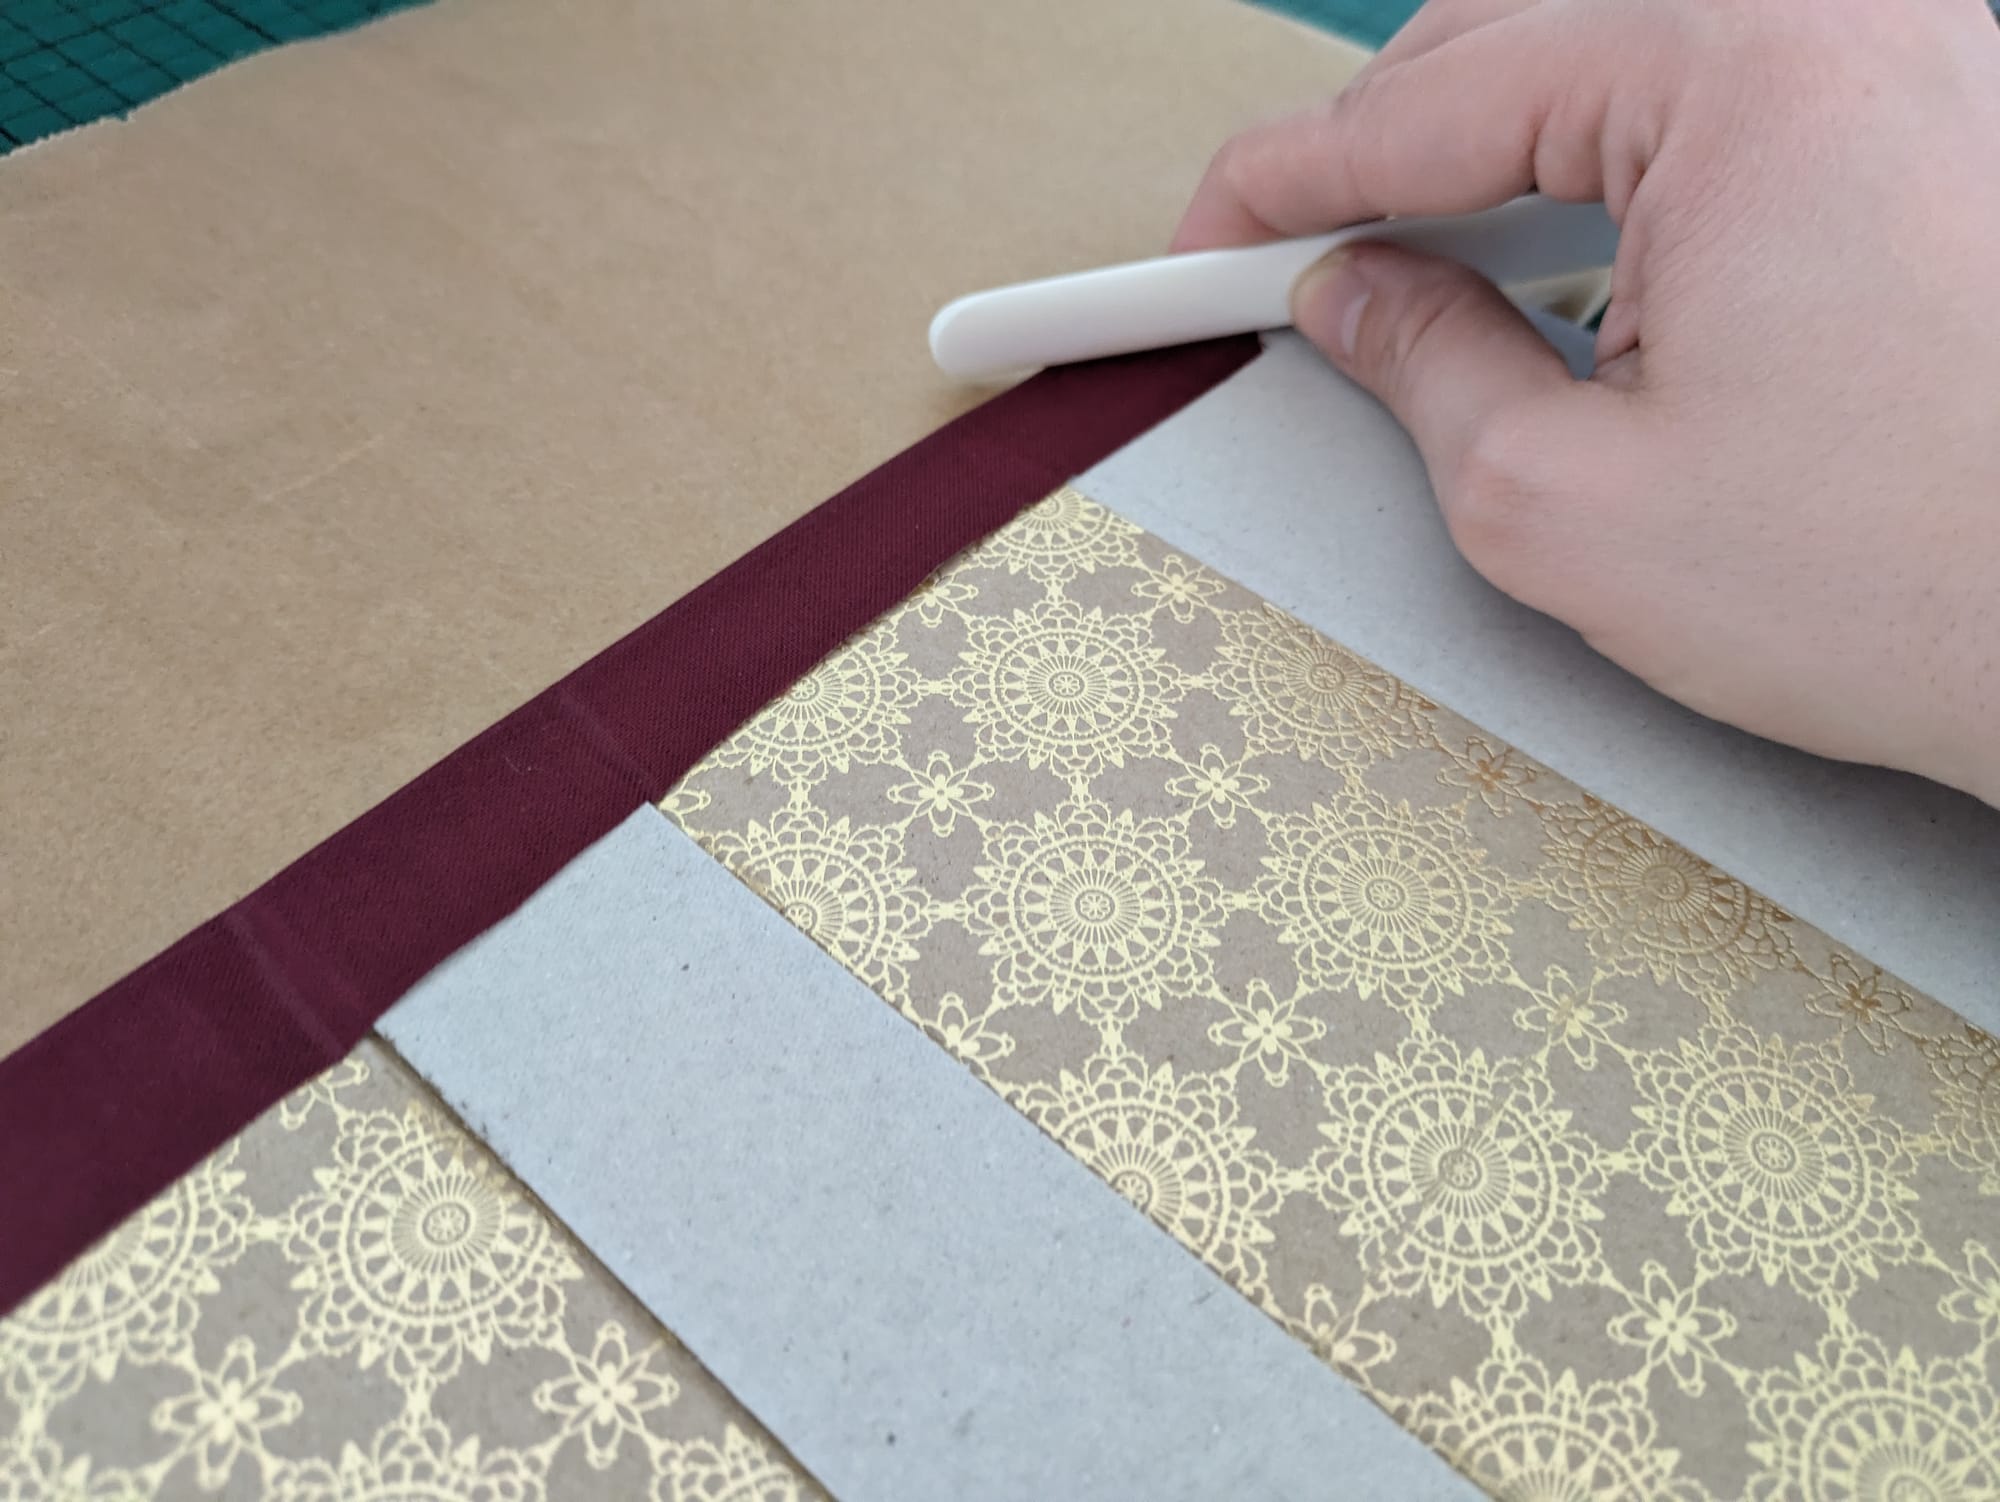

Gluing down the overlap of the book cloth and tucking in the corners to create a neat finish.
After this step, you have your final casing and are able to either firstly create your cover design or glue your book directly into the casing.
Step 6: Binding your finished book
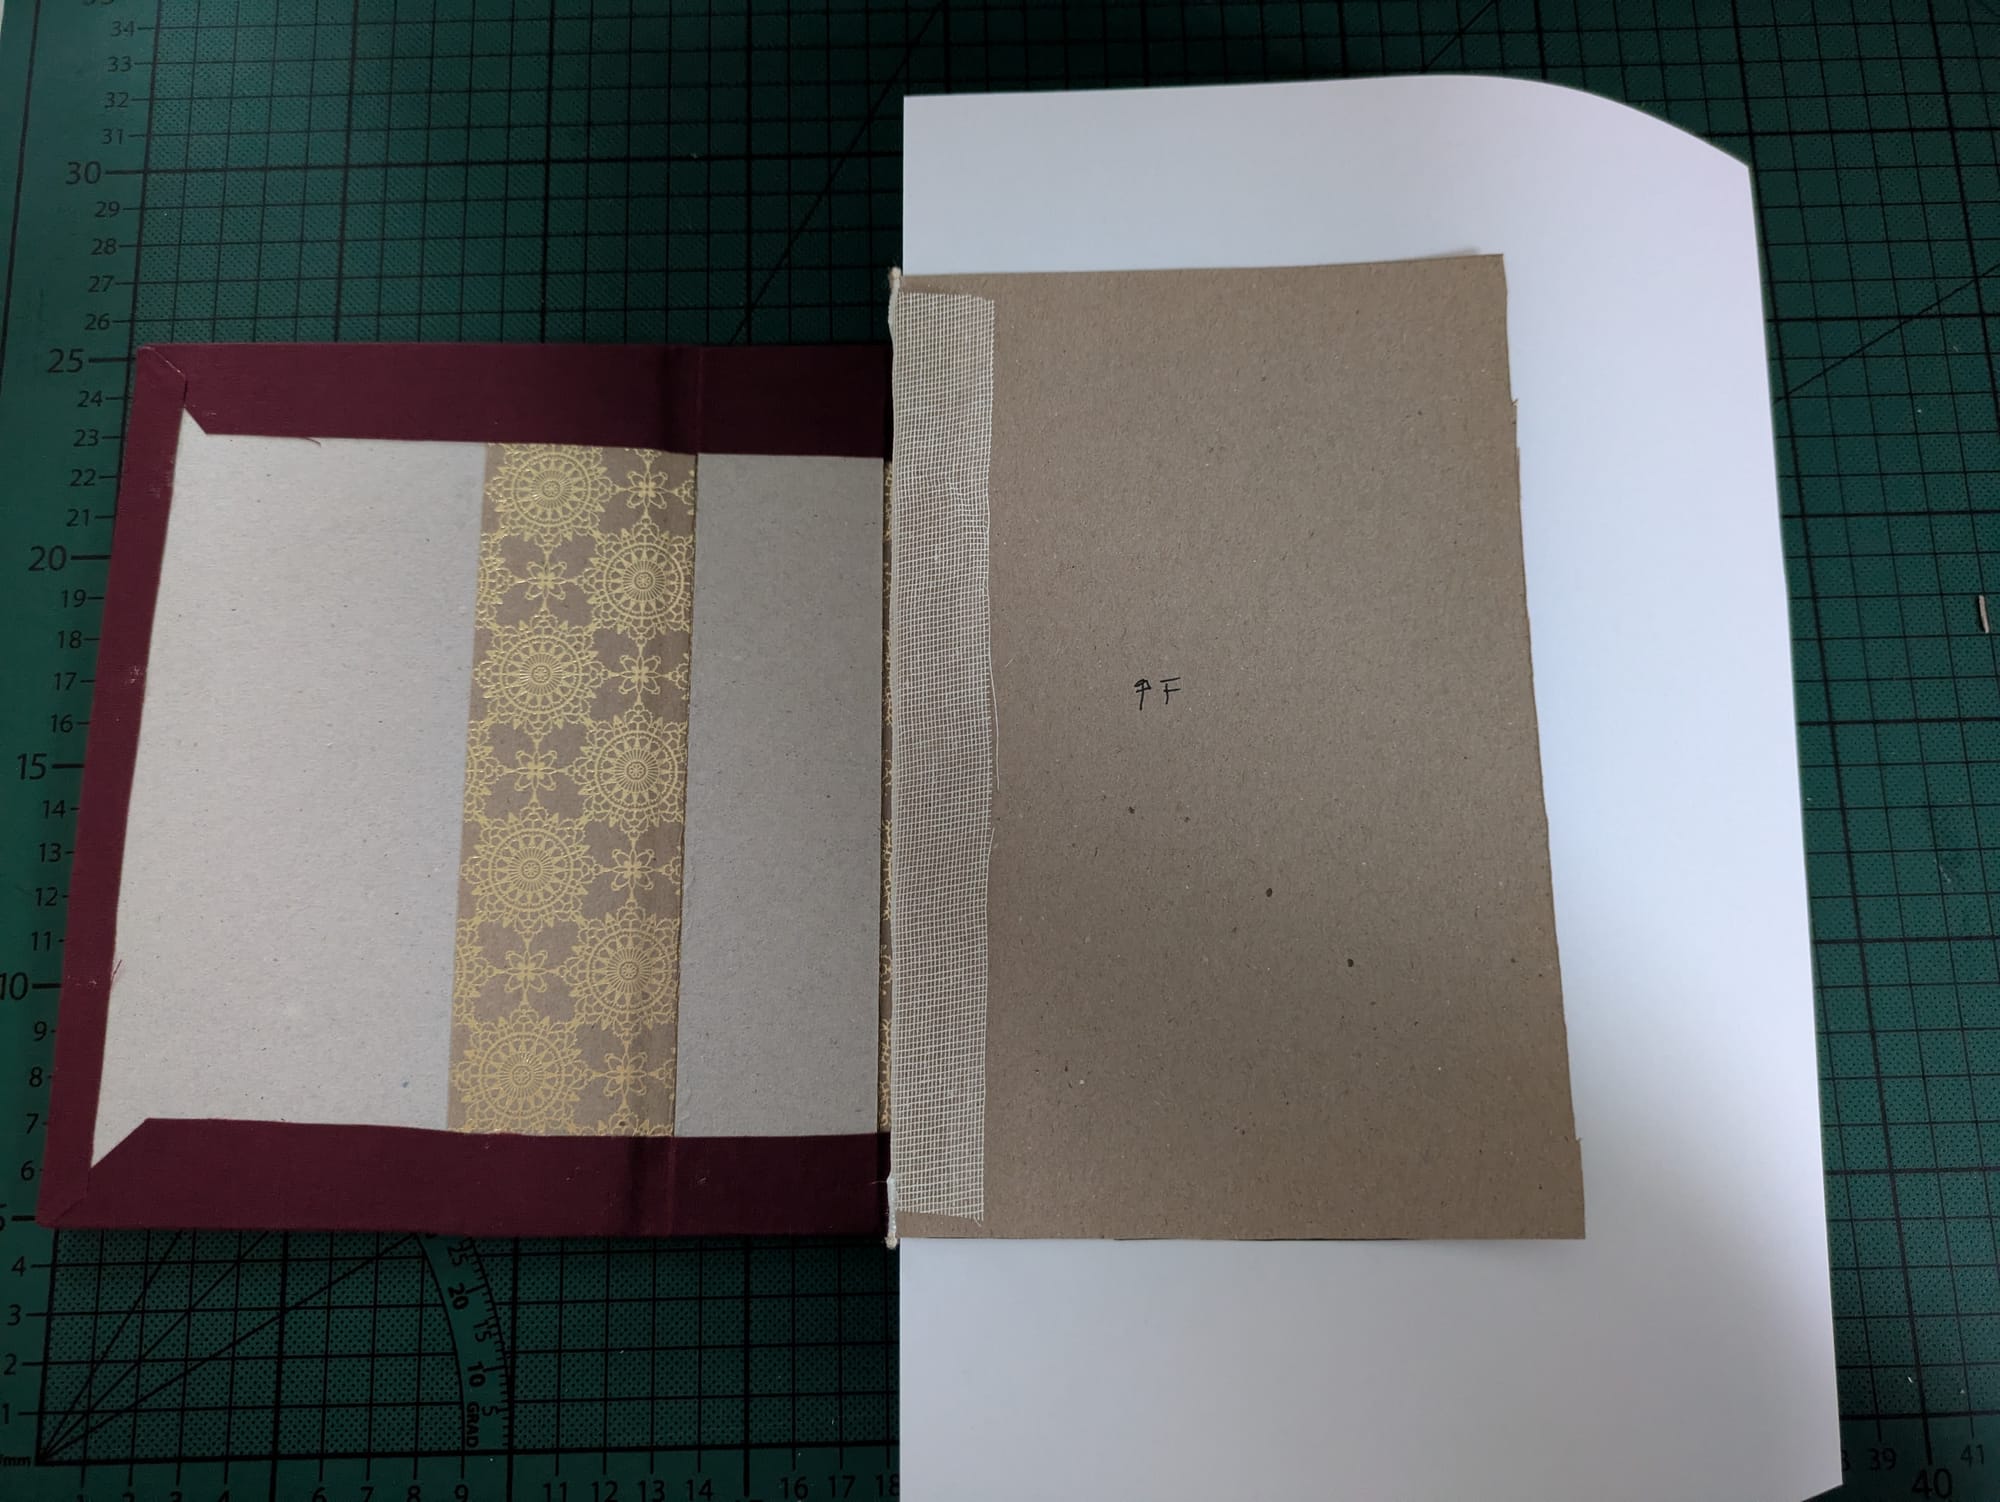
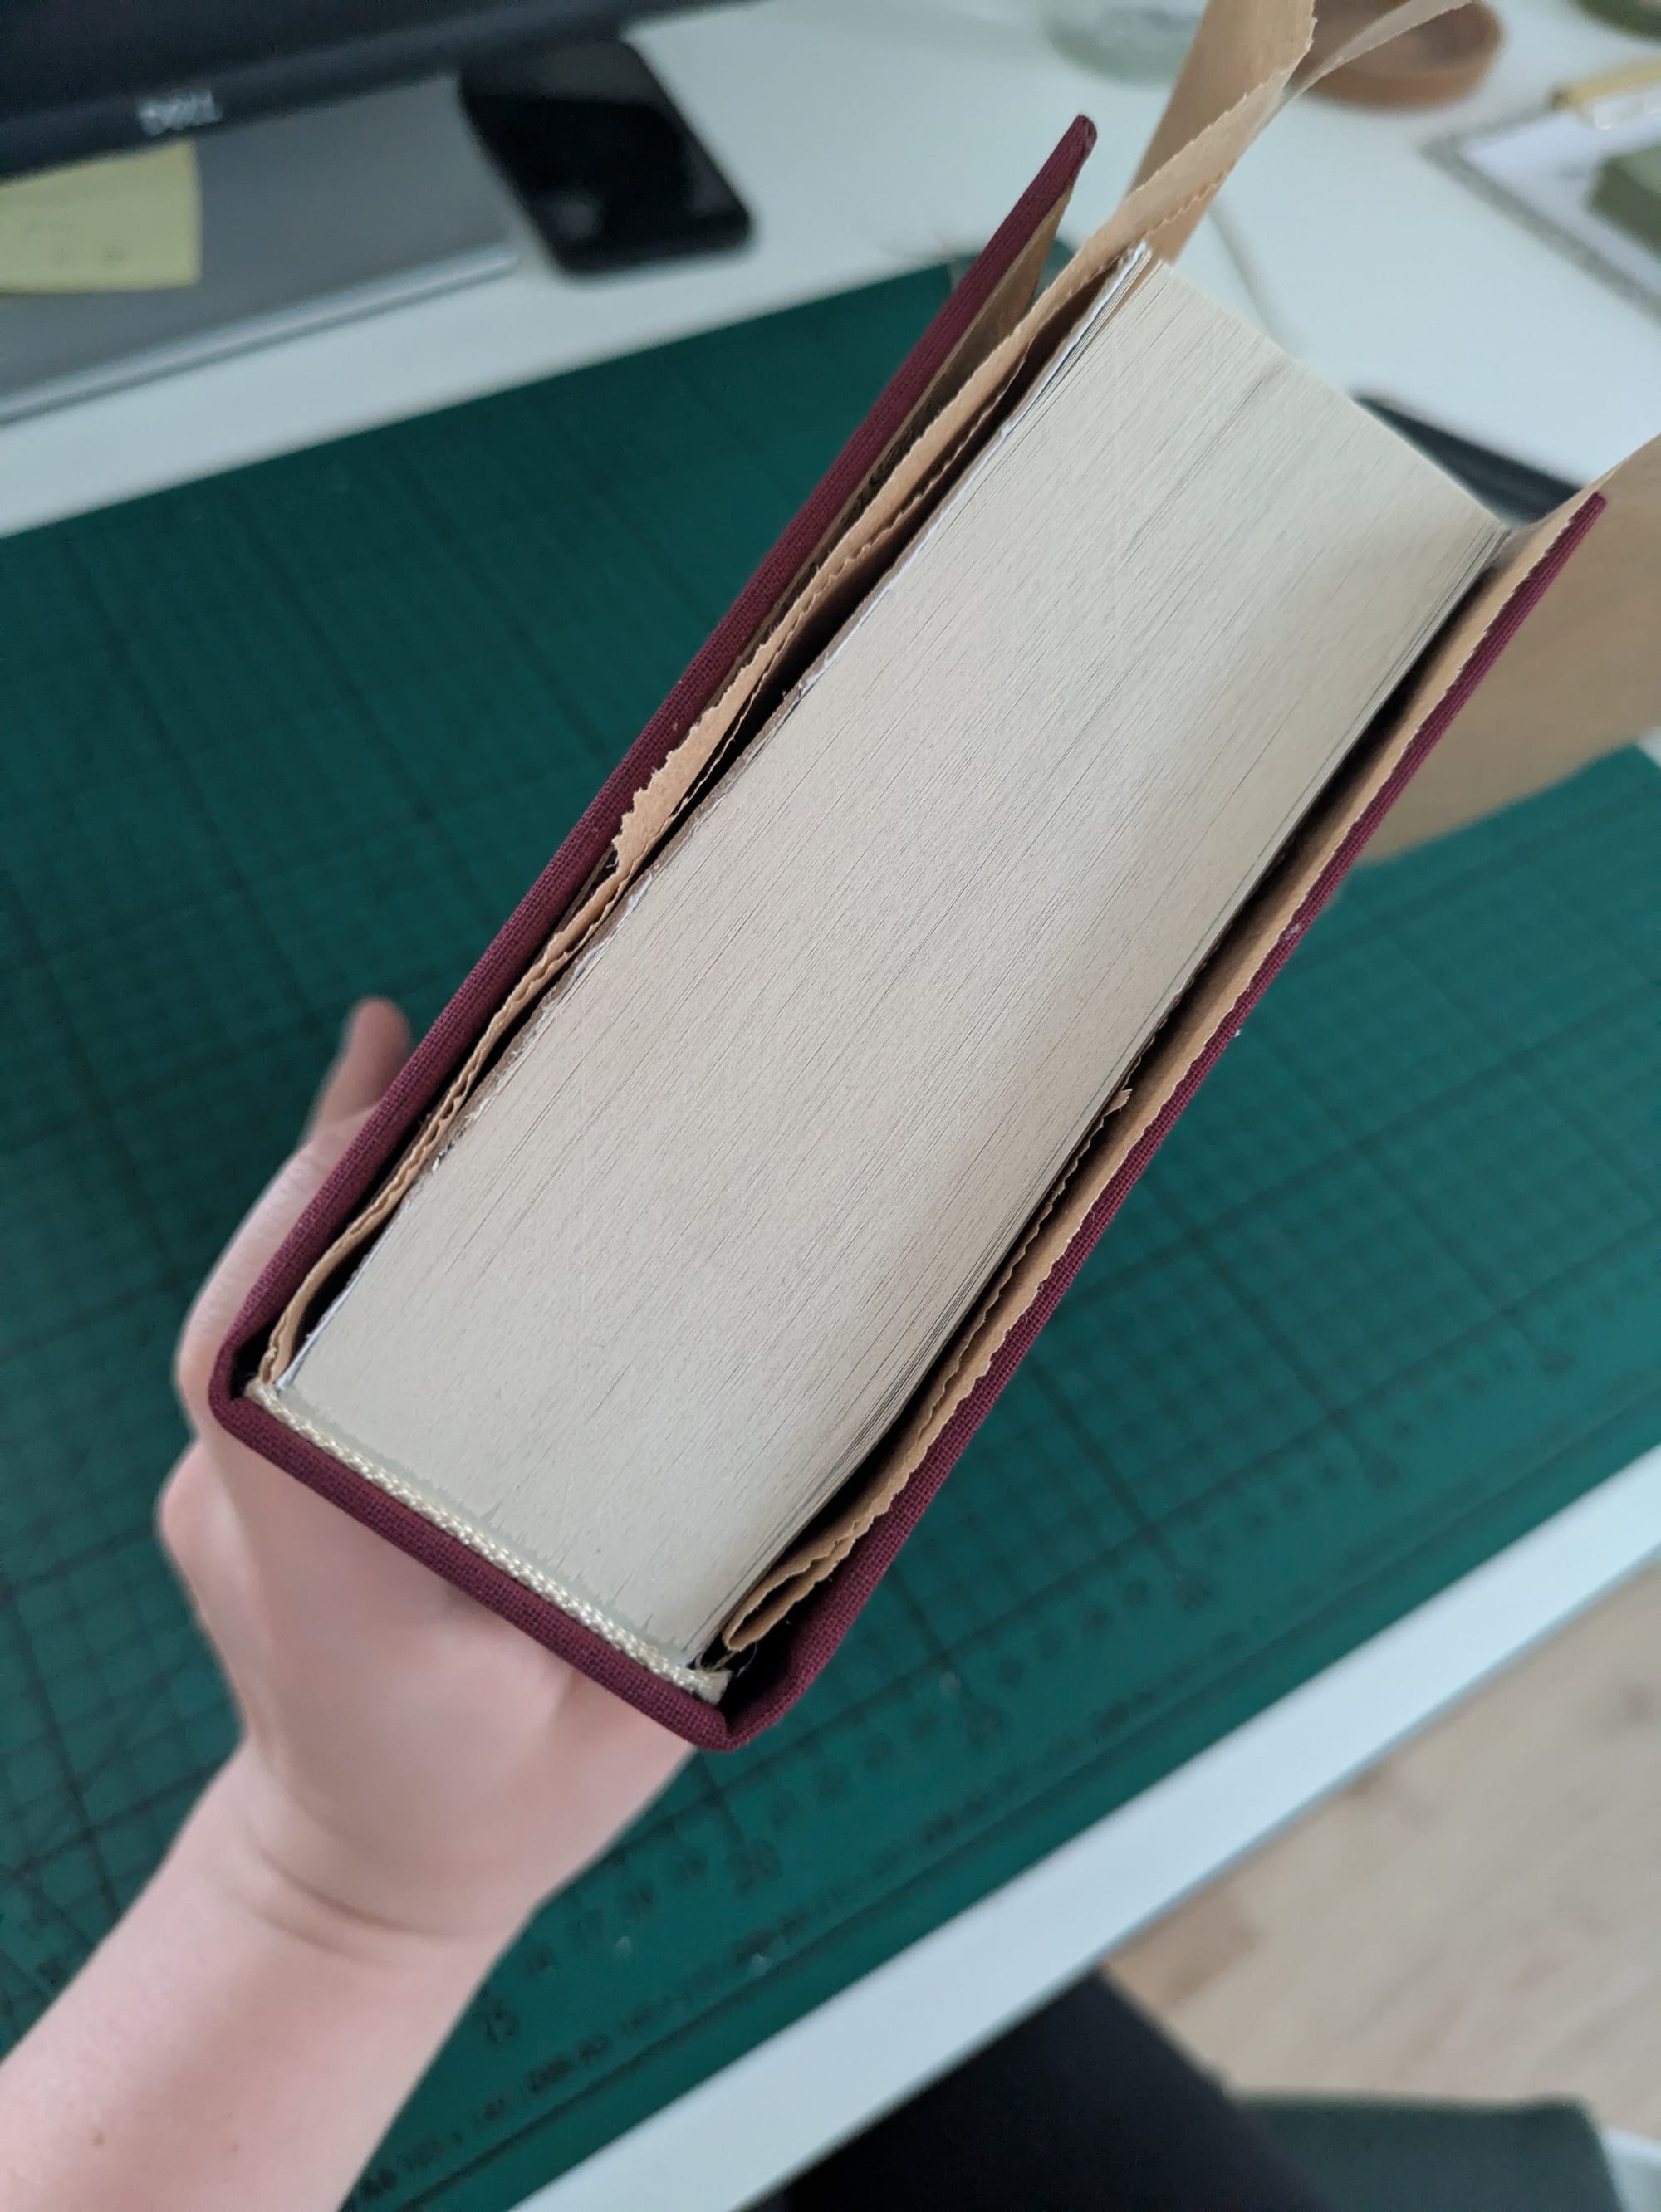
Once the casing has dried you're now able to glue your text block into your finished casing. For this step, make sure to line up the text block in the middle of your spine casing. If you have a cover design applied, also make sure you're text block is the right way up. For this it's usually handy to mark the end papers accordingly.
Placing the text block in the middle of the casing.
For gluing the first side of the text block to your casing, you're going to add a piece of paper in between the endpaper at the front of your book. This will help to prevent any glue to get stuck to the rest of the pages while you're working on this step. Apply the glue onto the endpaper and cover the whole page. Once this is done, you're then going to replace the piece of paper with a piece of parchment paper. This can stay inside your book during the process of pressing the book and will be easy to remove later on, while also keeping any glue from seeping onto the pages of the text block.
Once your parchment paper is in place, you can then check the alignment of your text block one final time before pressing down the casing to glue everything into place. Flip over your book and repeat with the other side. Then, it's time to press your book.
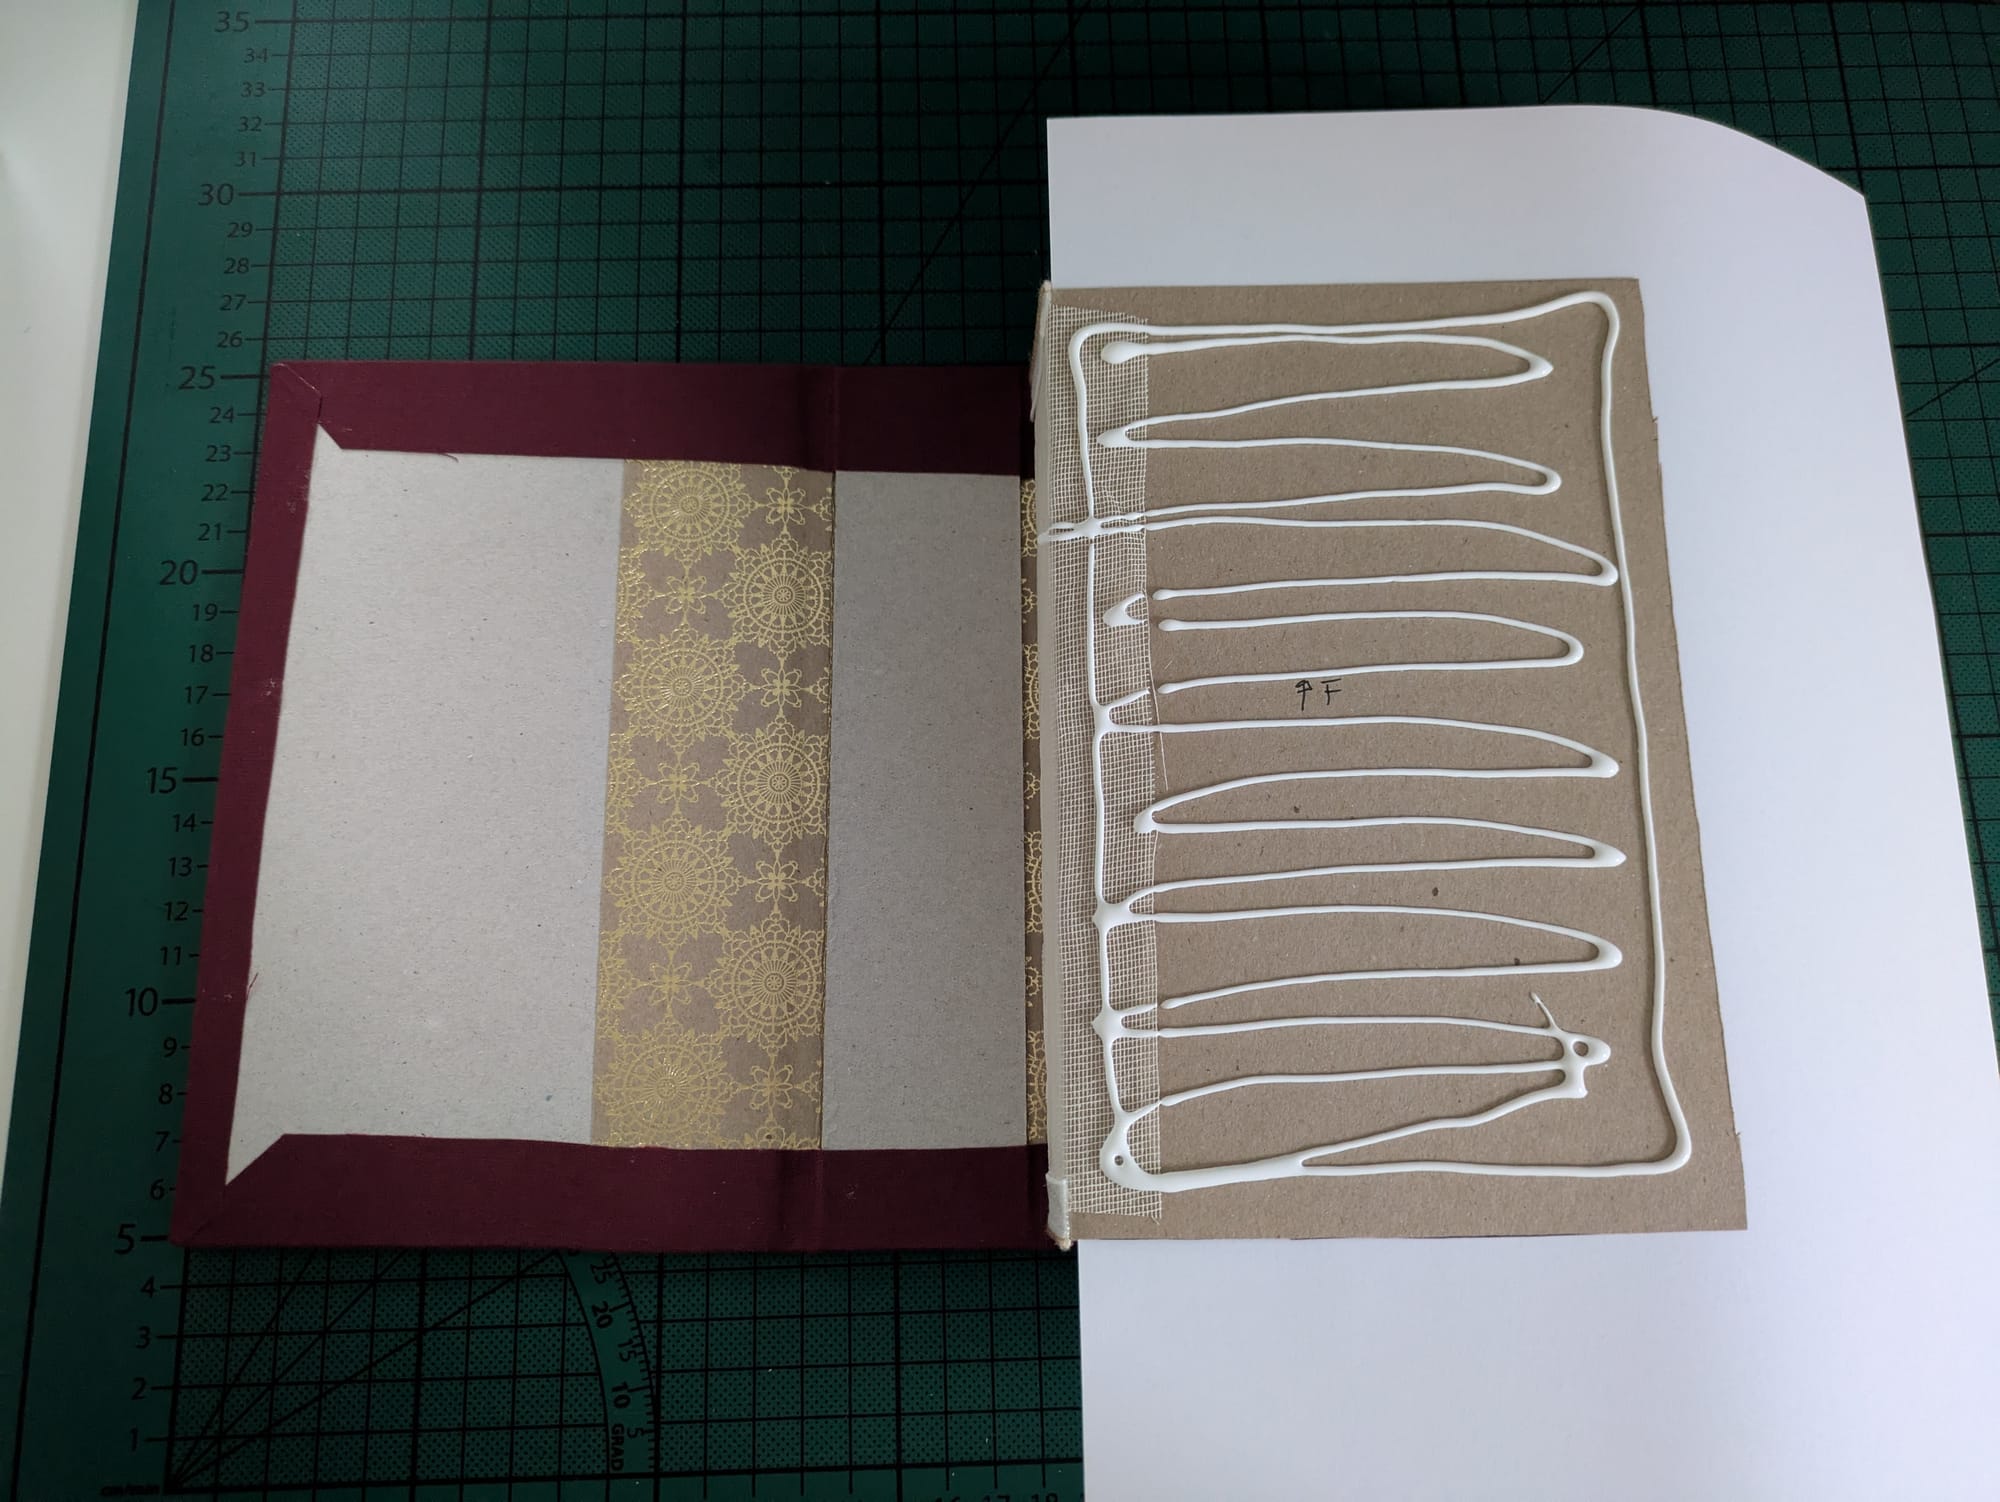
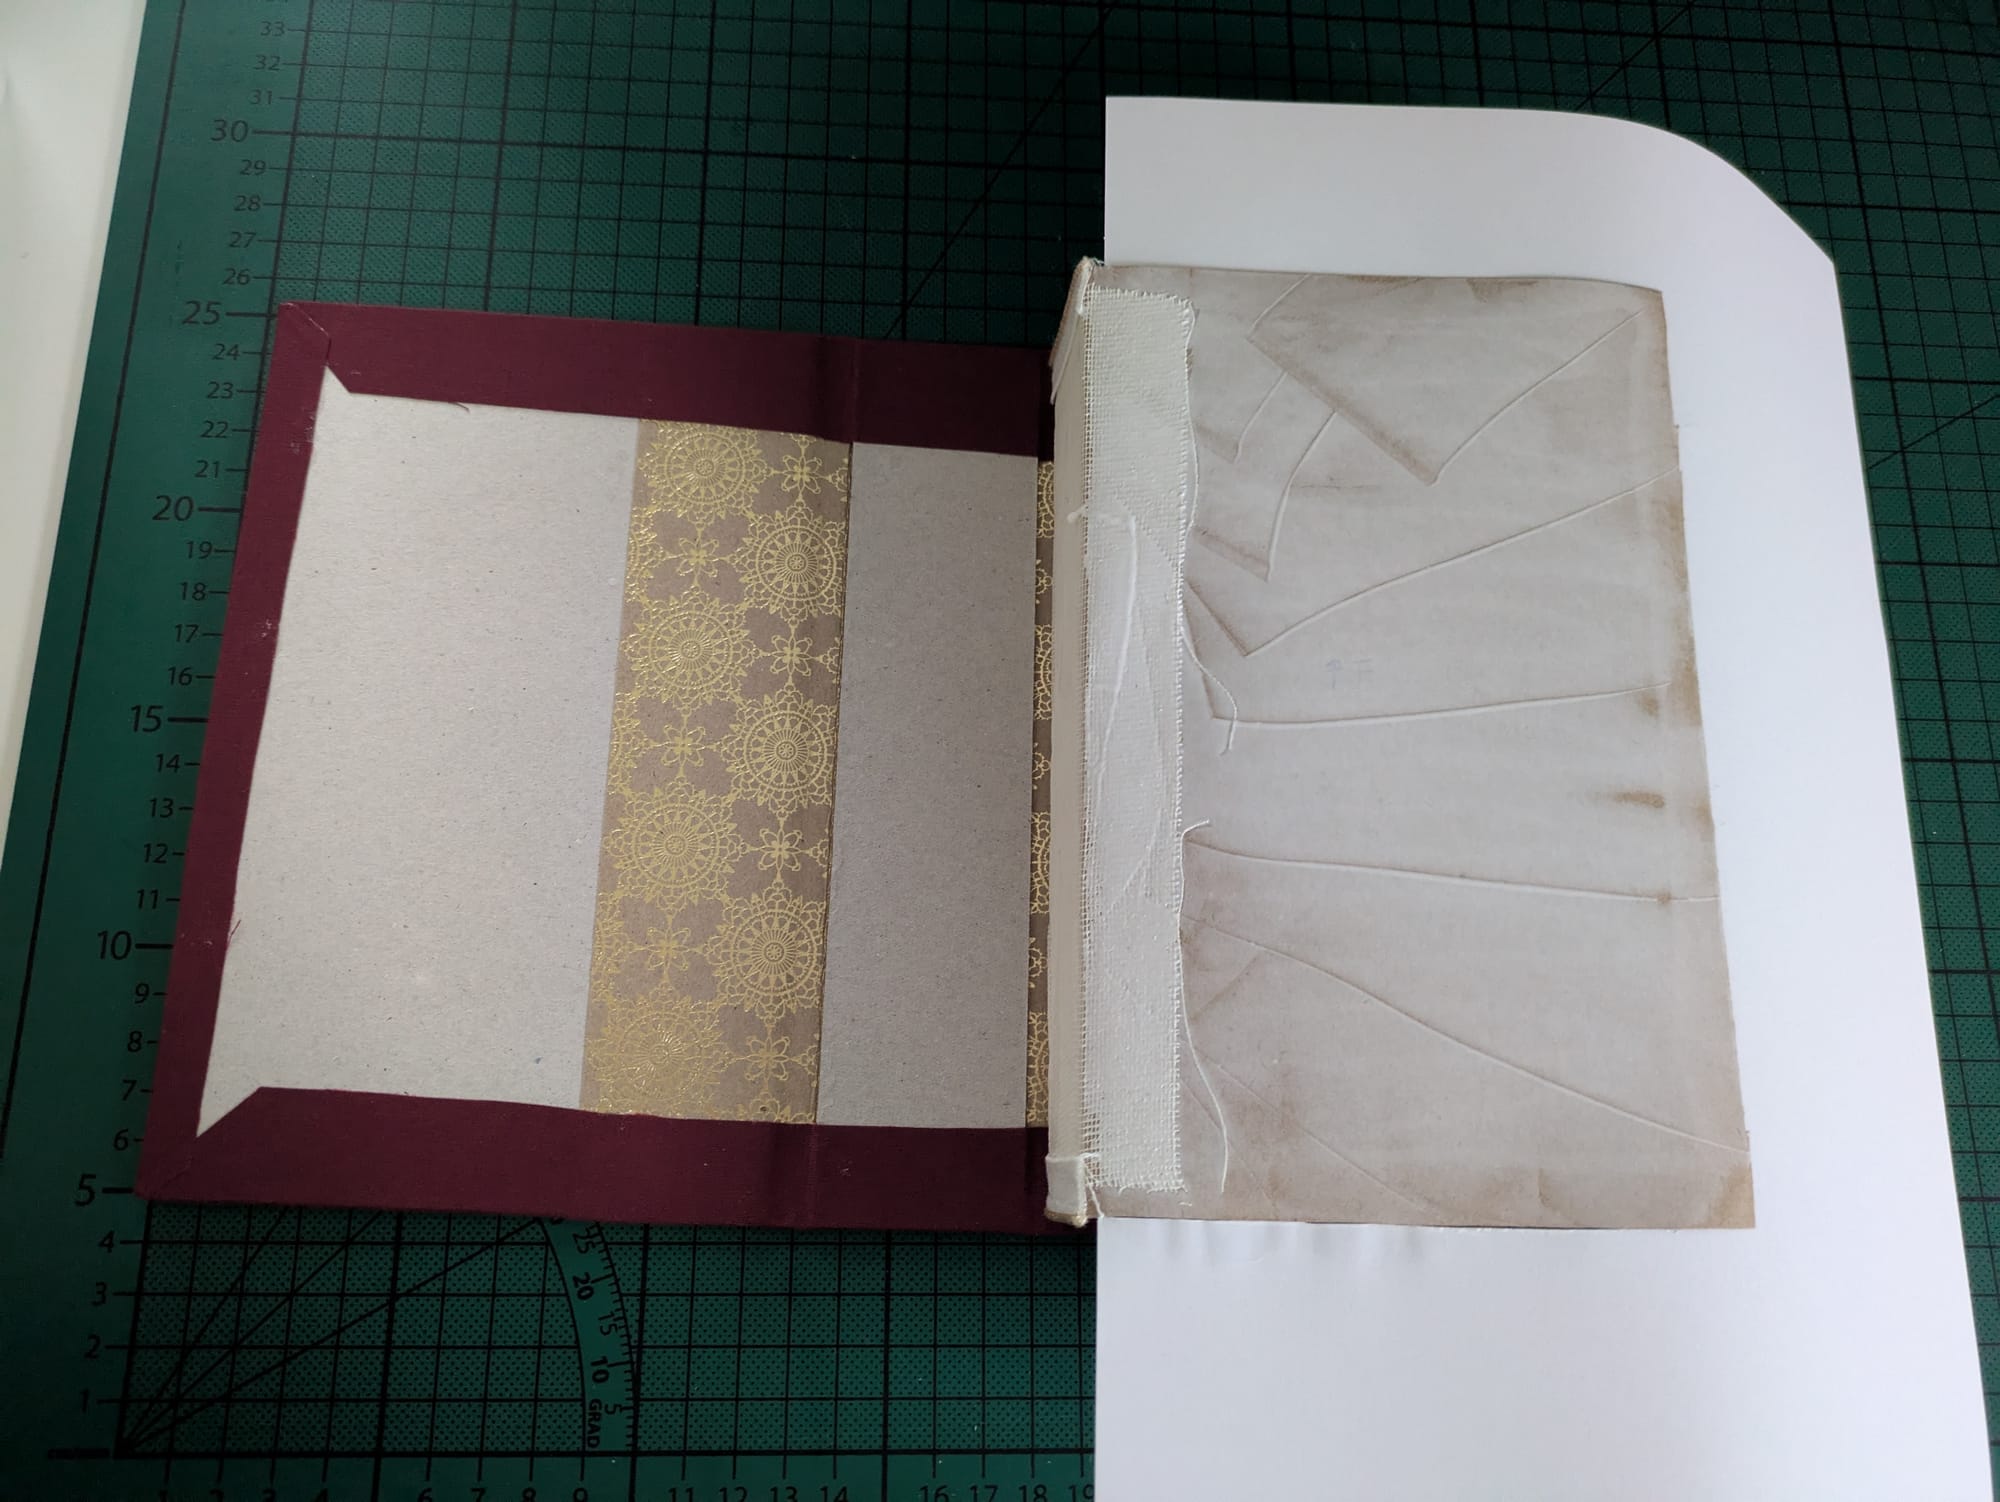
Gluing the text block into the casing while ensuring no glue gets stuck on the text block itself.
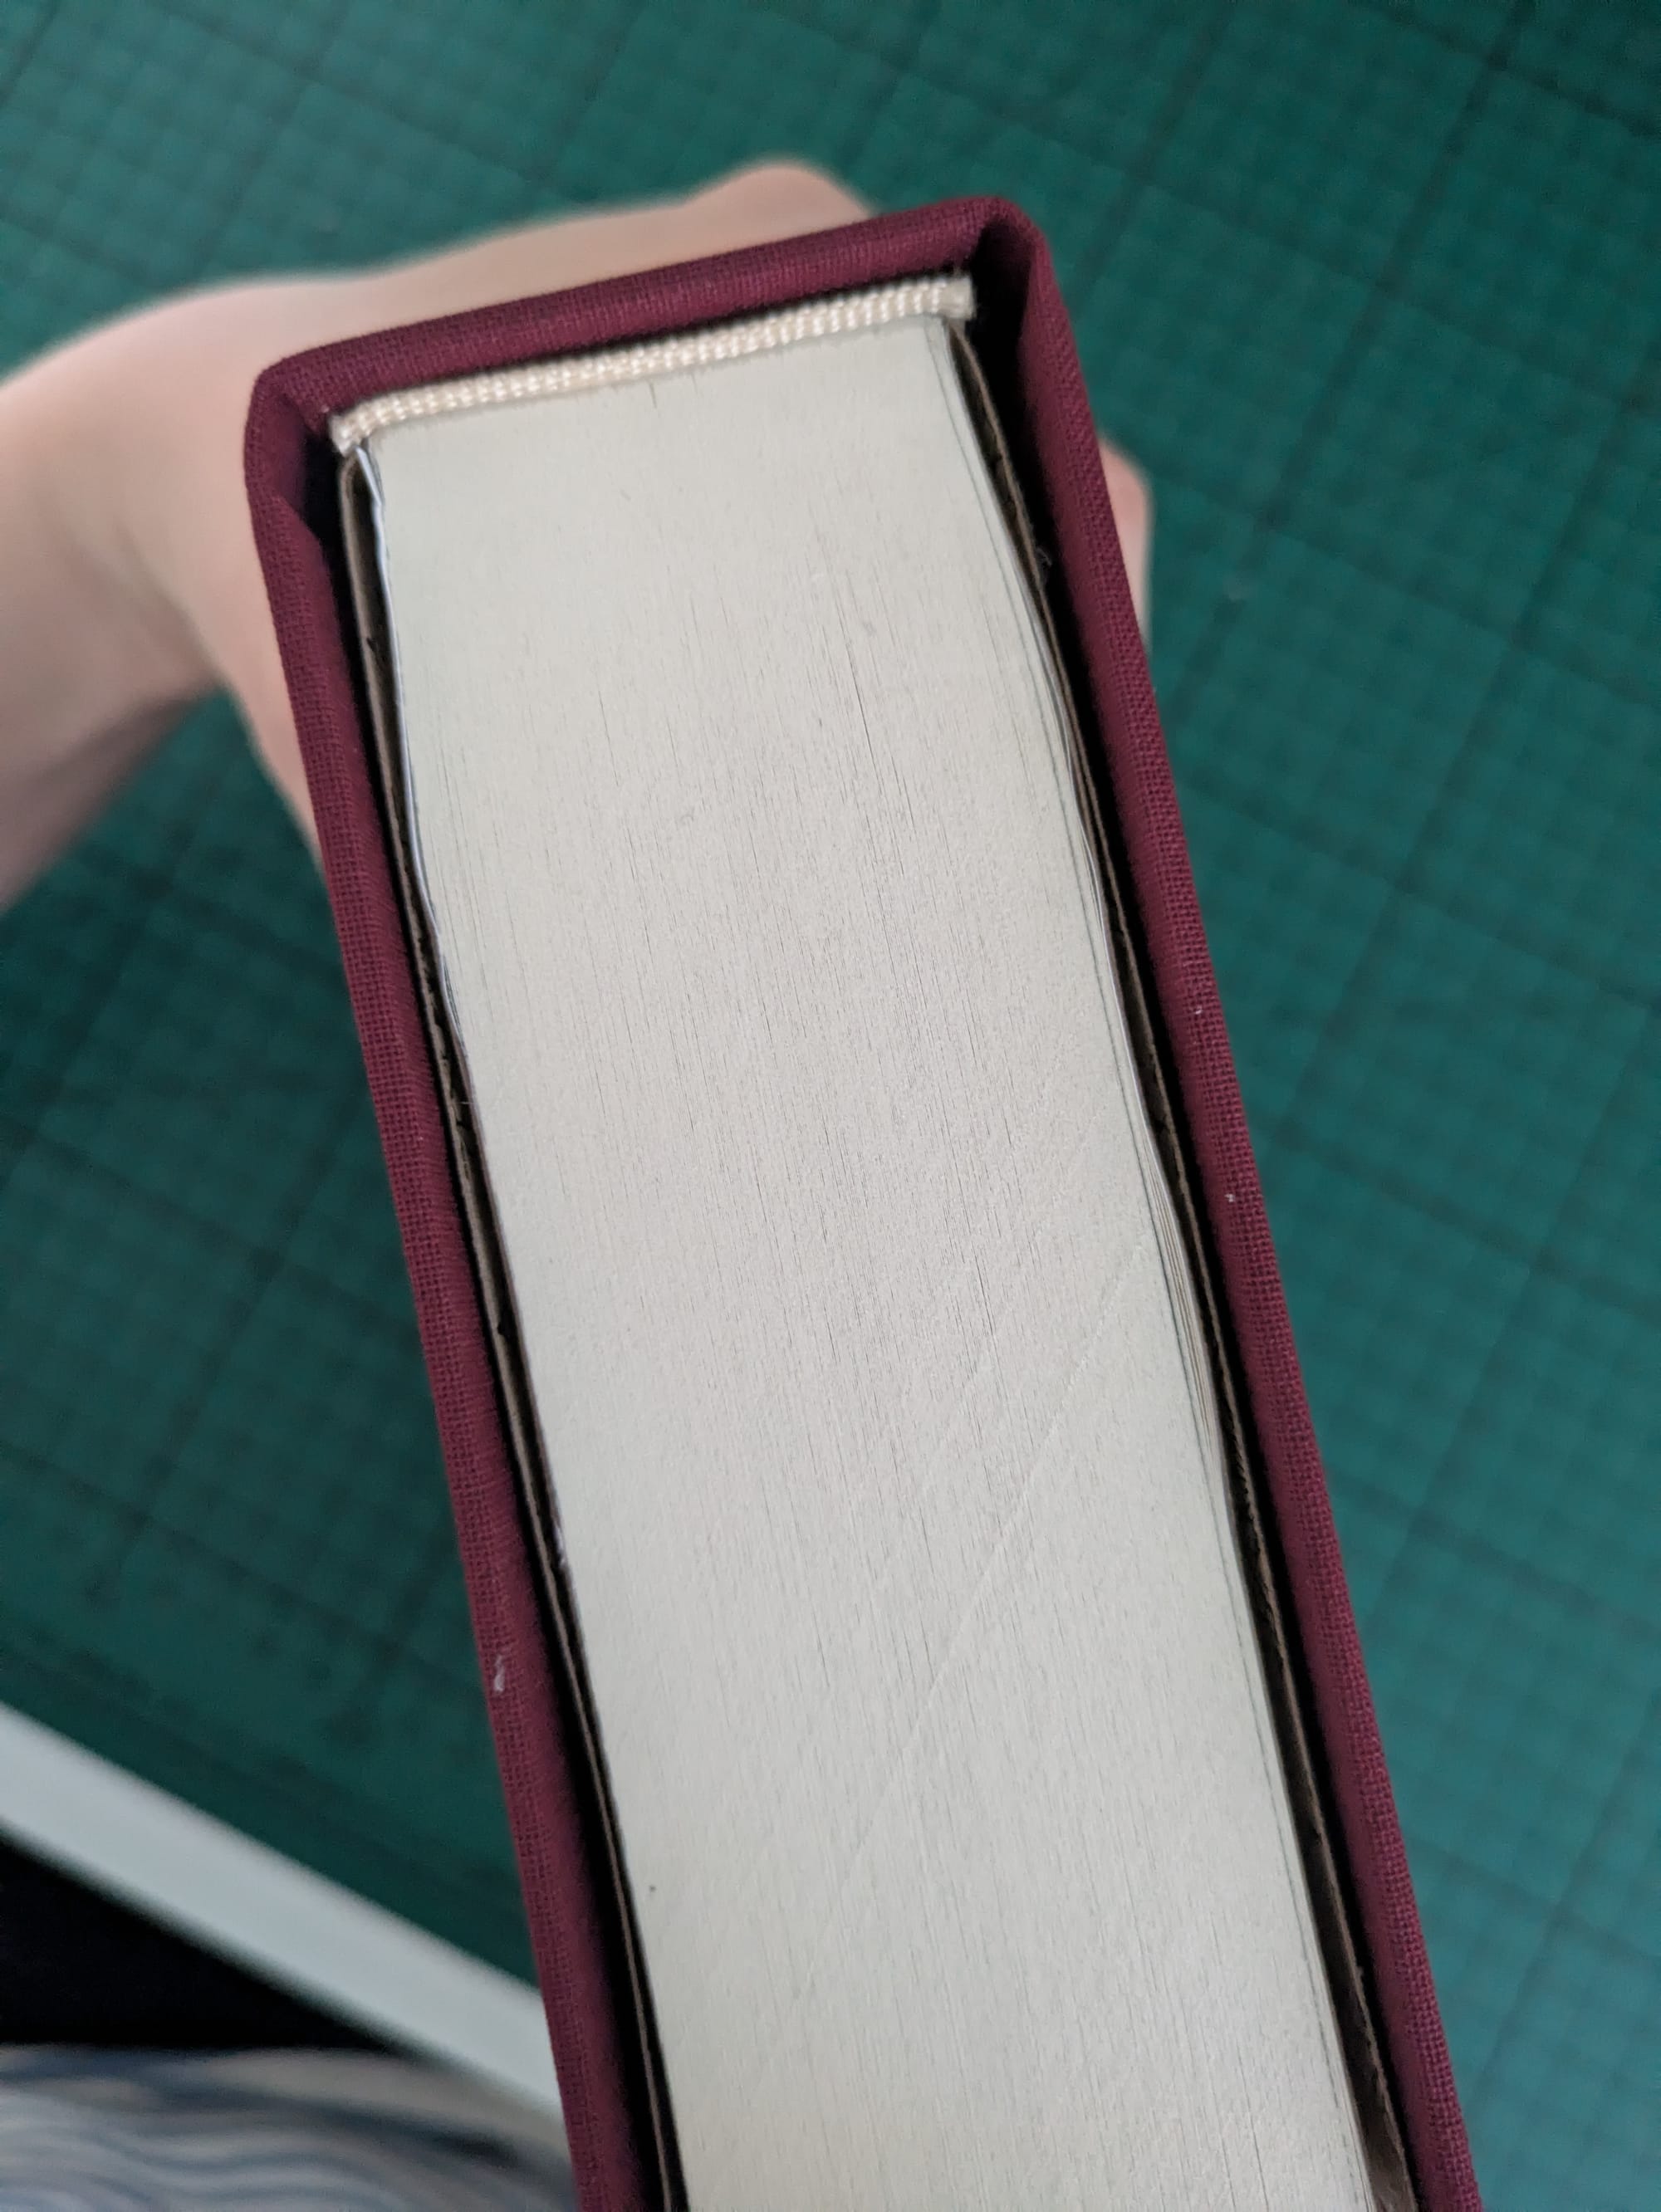
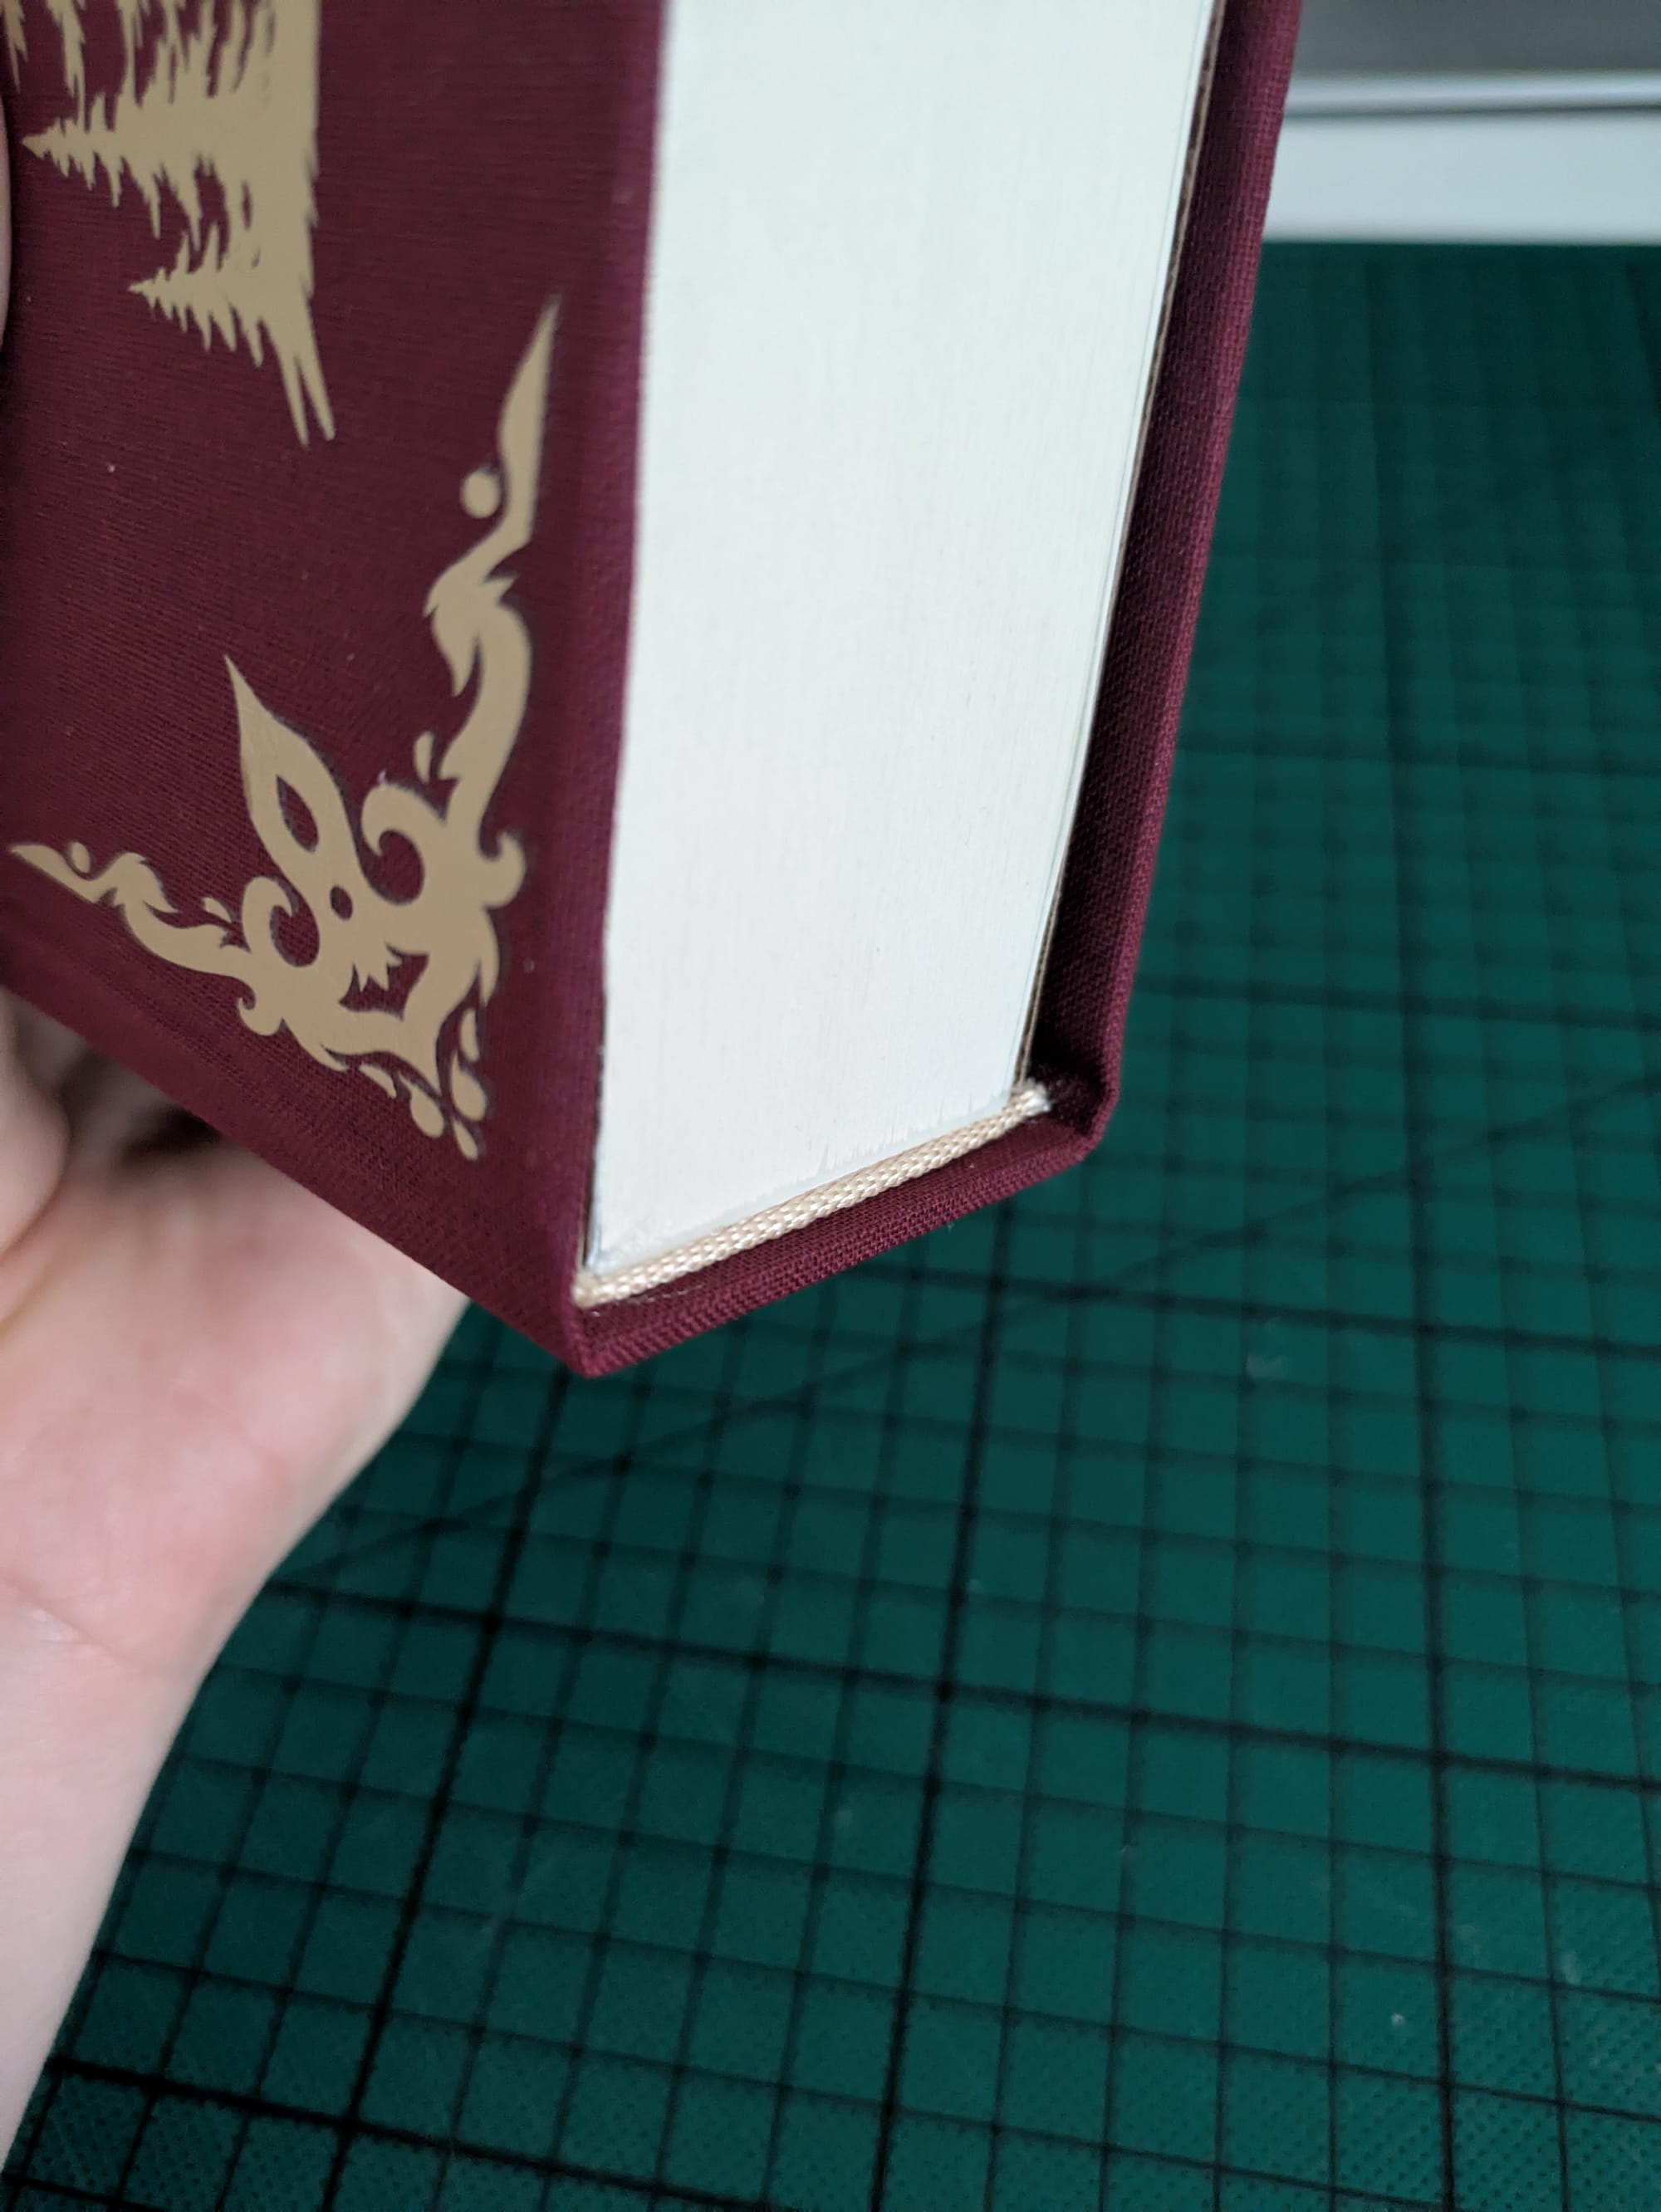
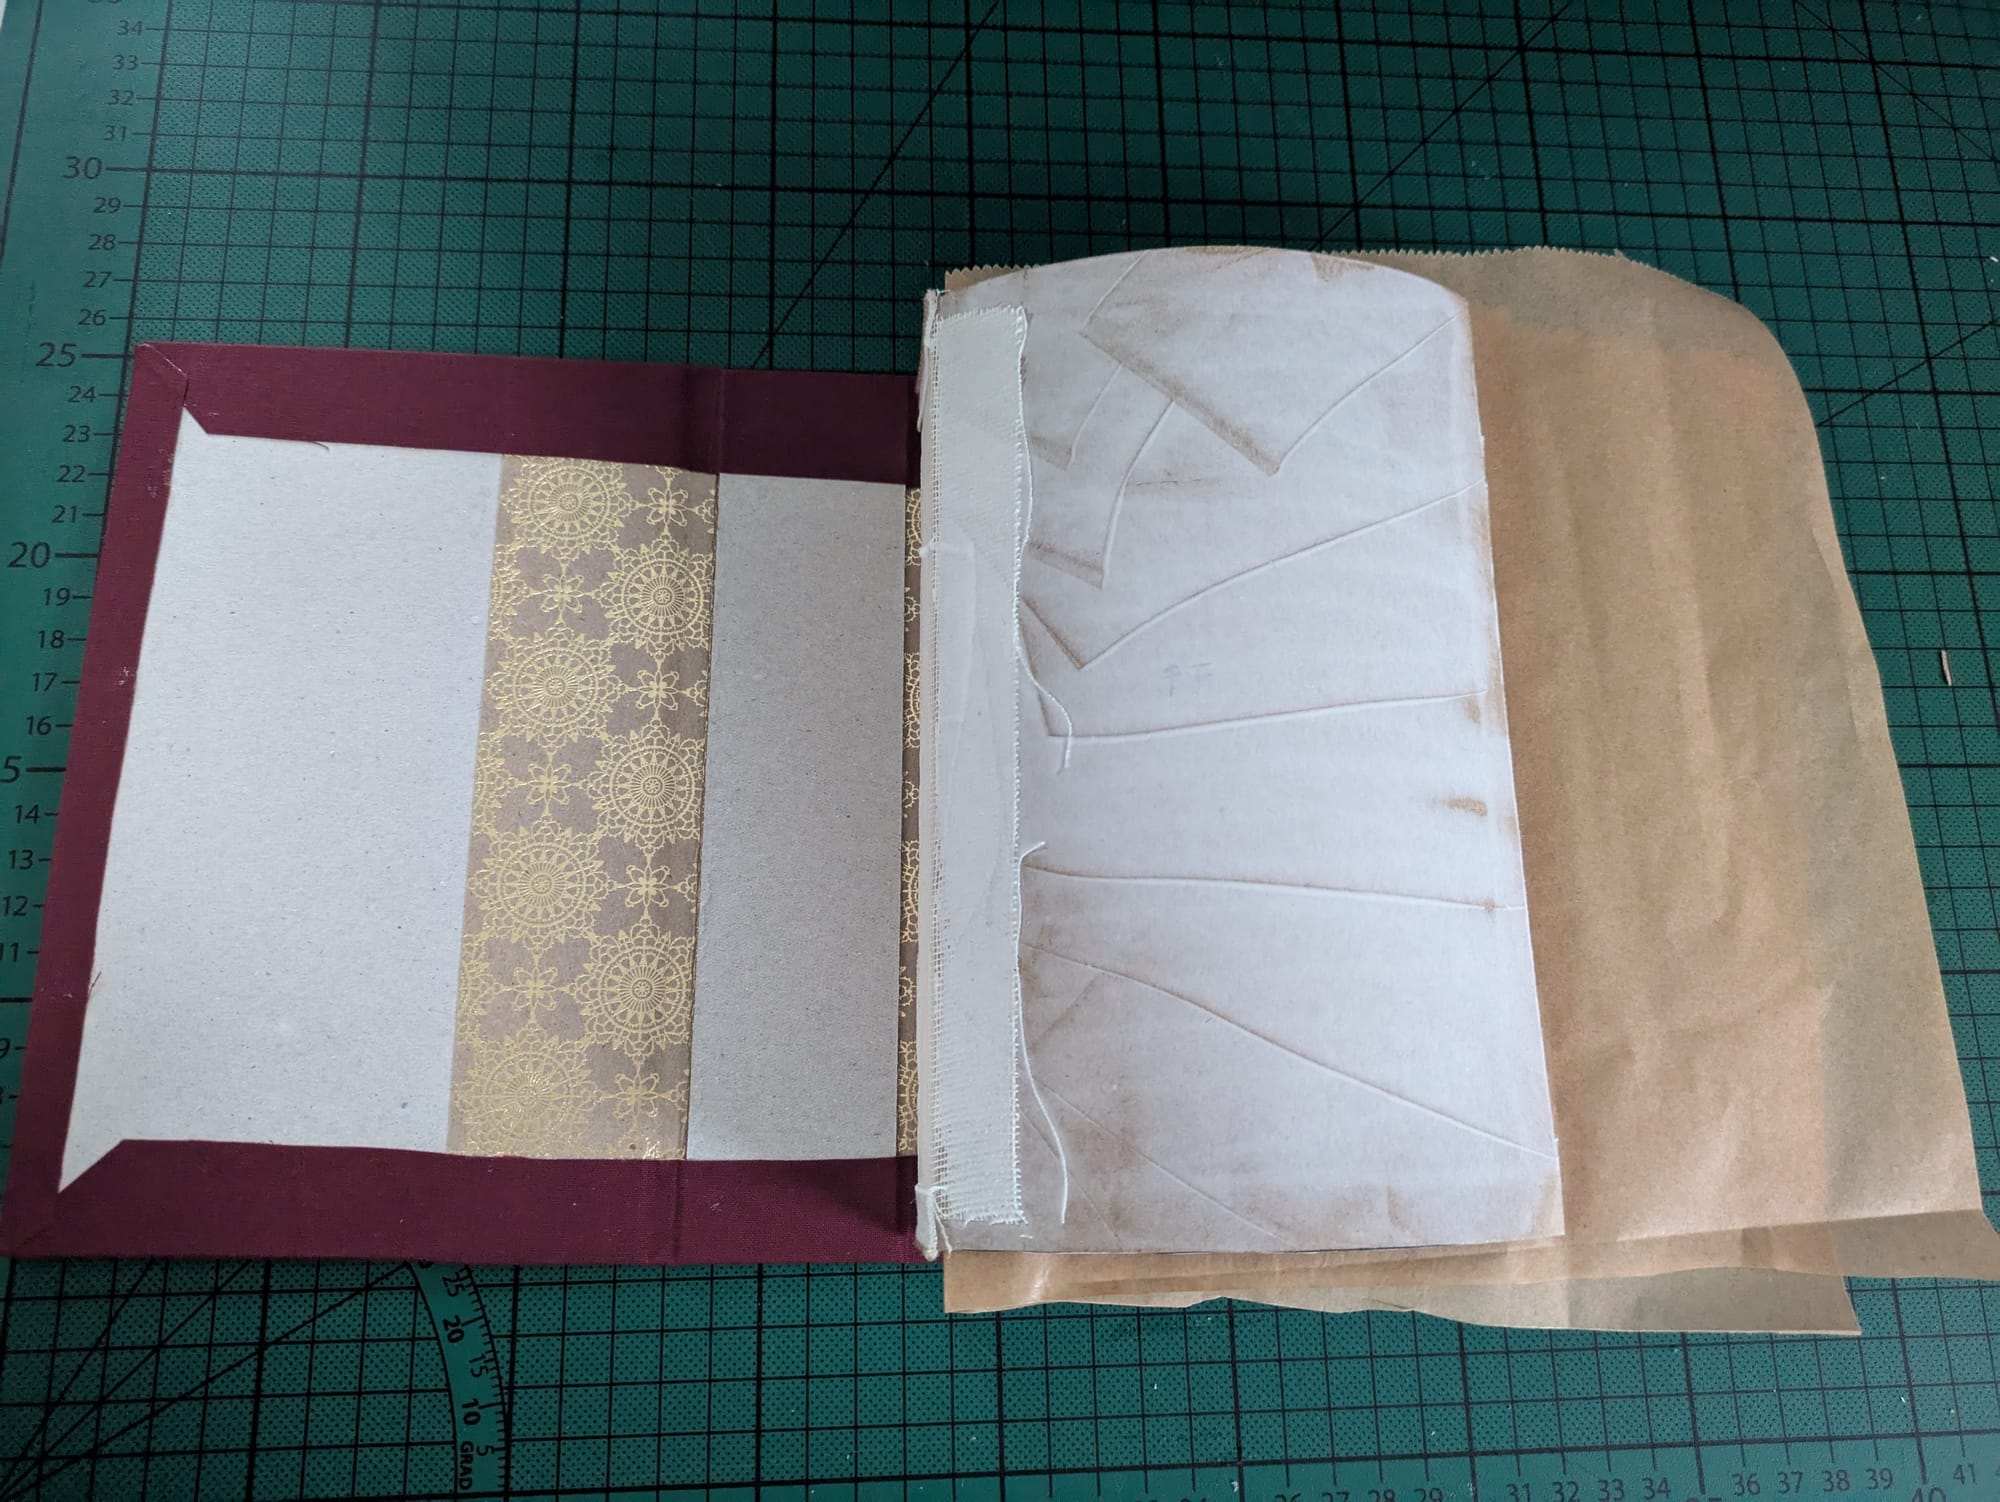
I usually do this process overnight to allow everything to dry nicely into place. When pressing your book, make sure the spine is remaining outside of the two wooden pieces of your book press. This will further help the hinge to form nicely and not compress your spine.
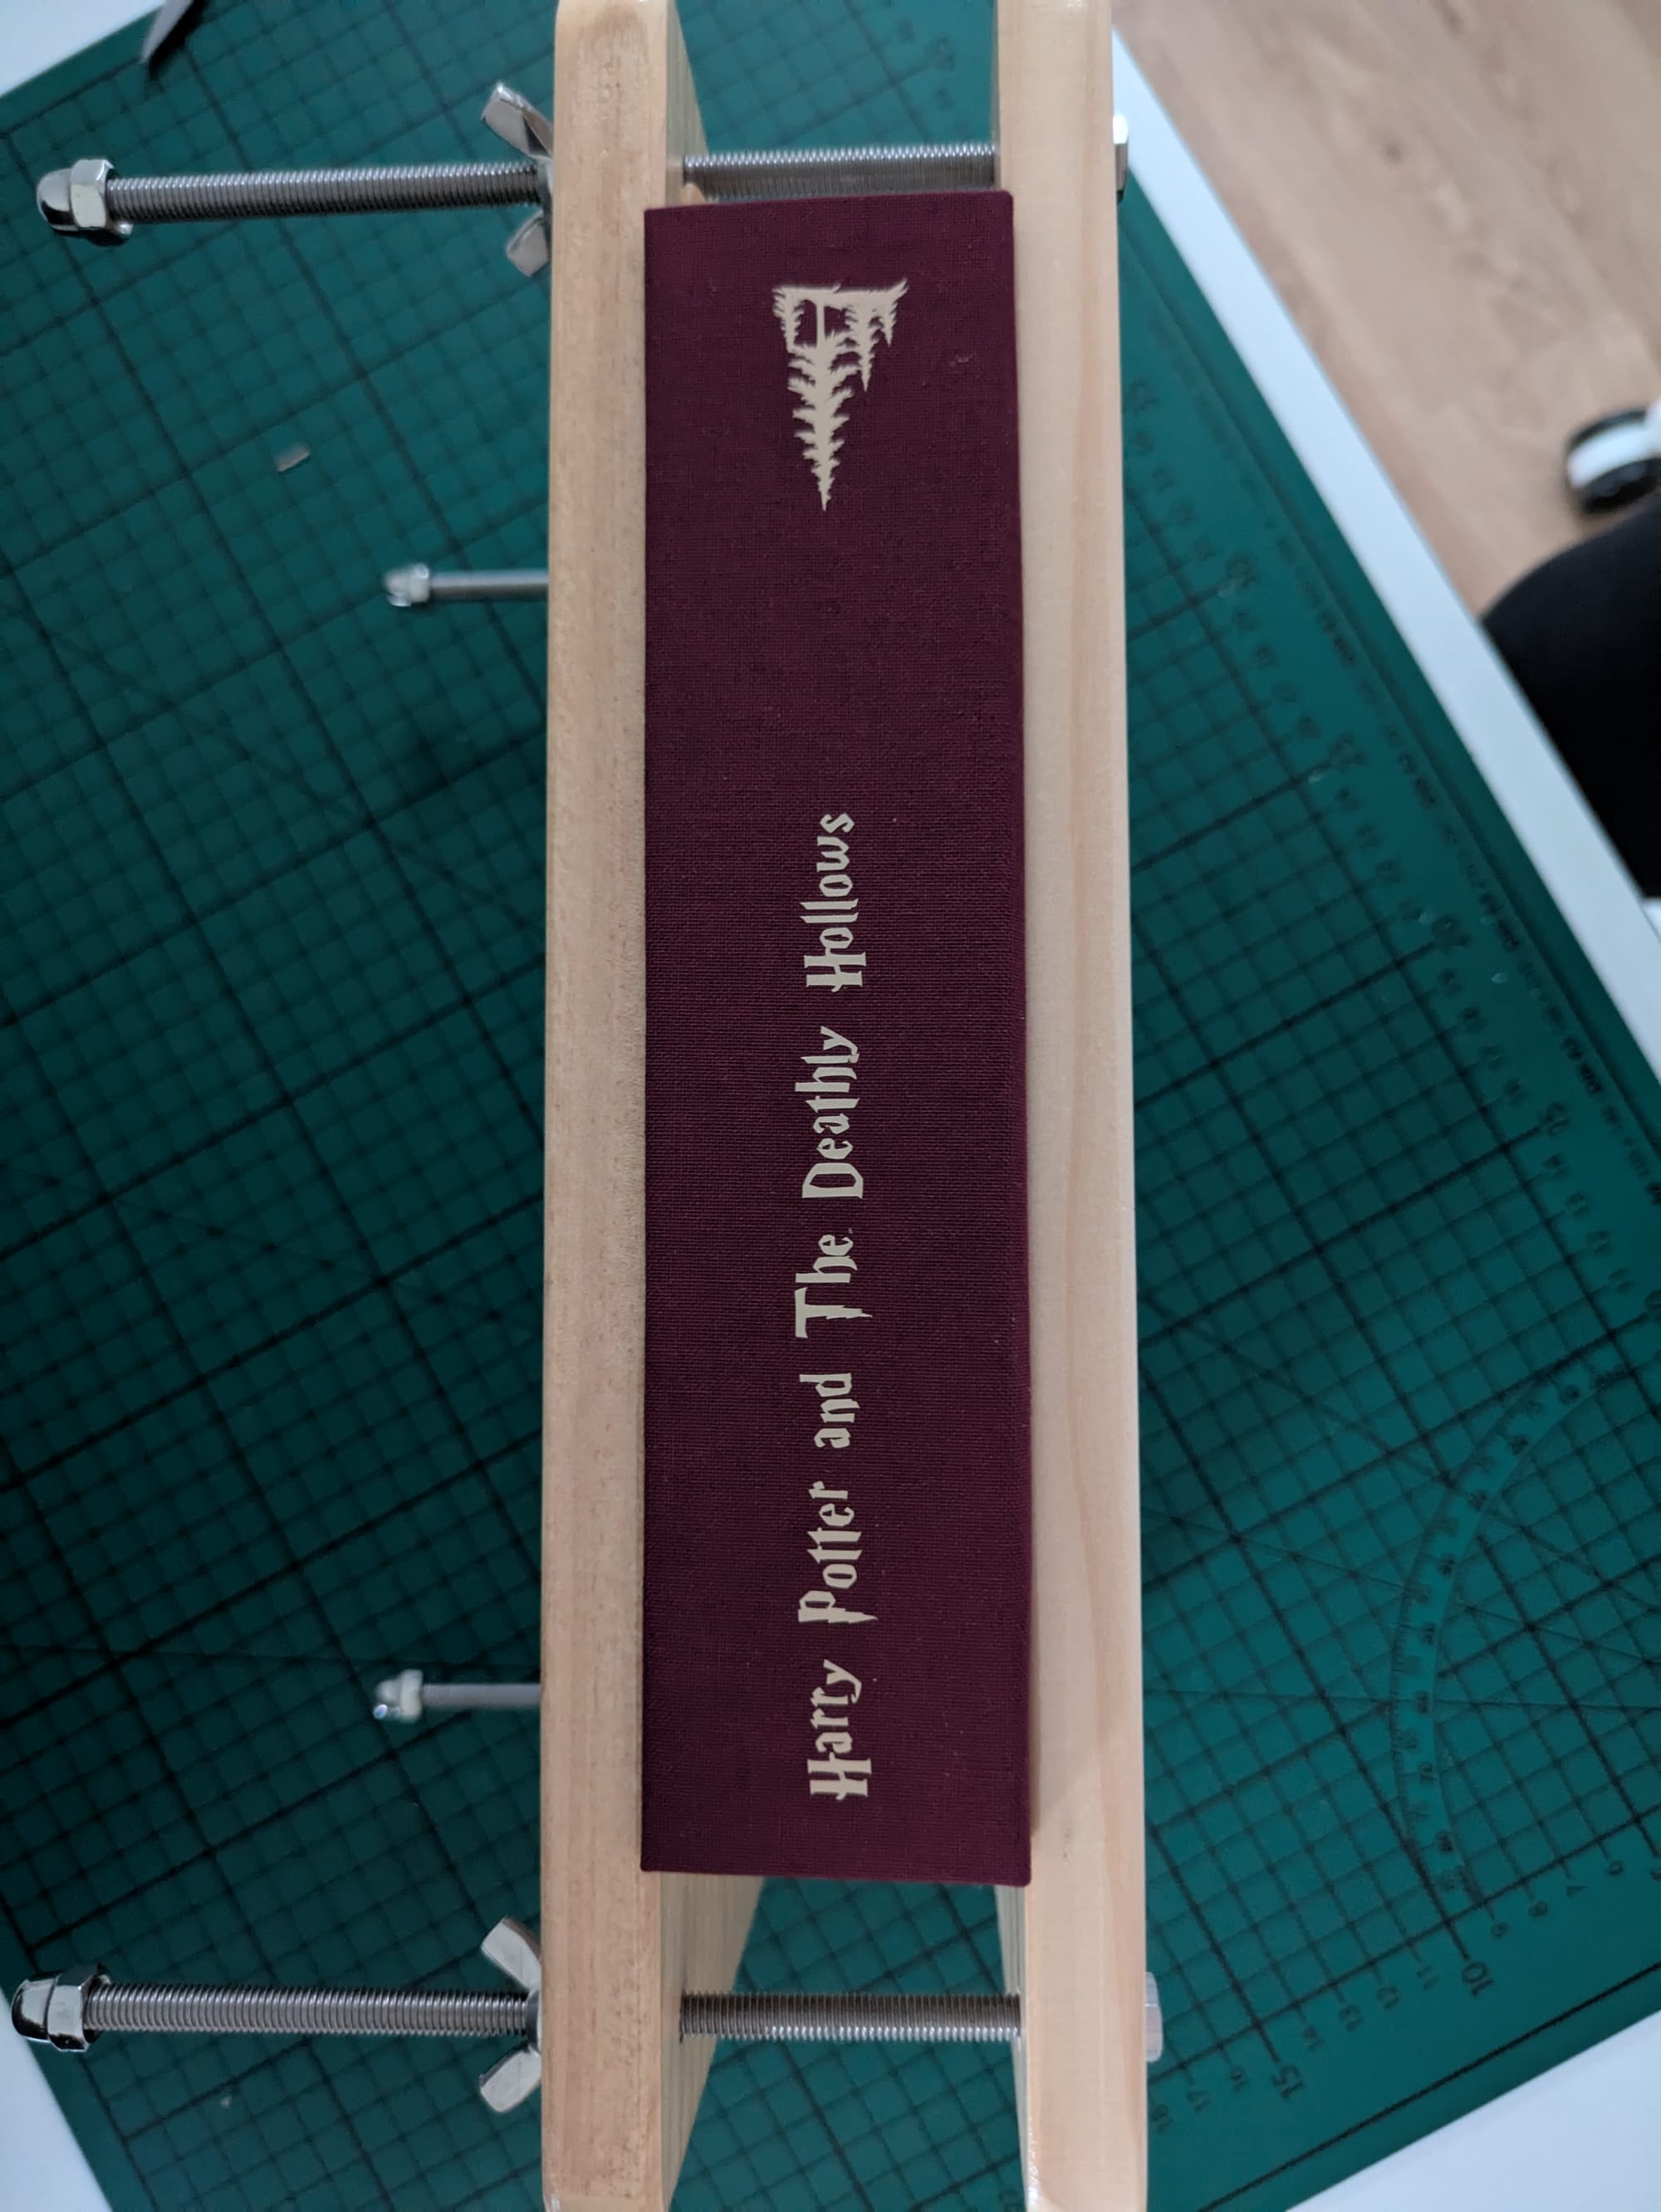
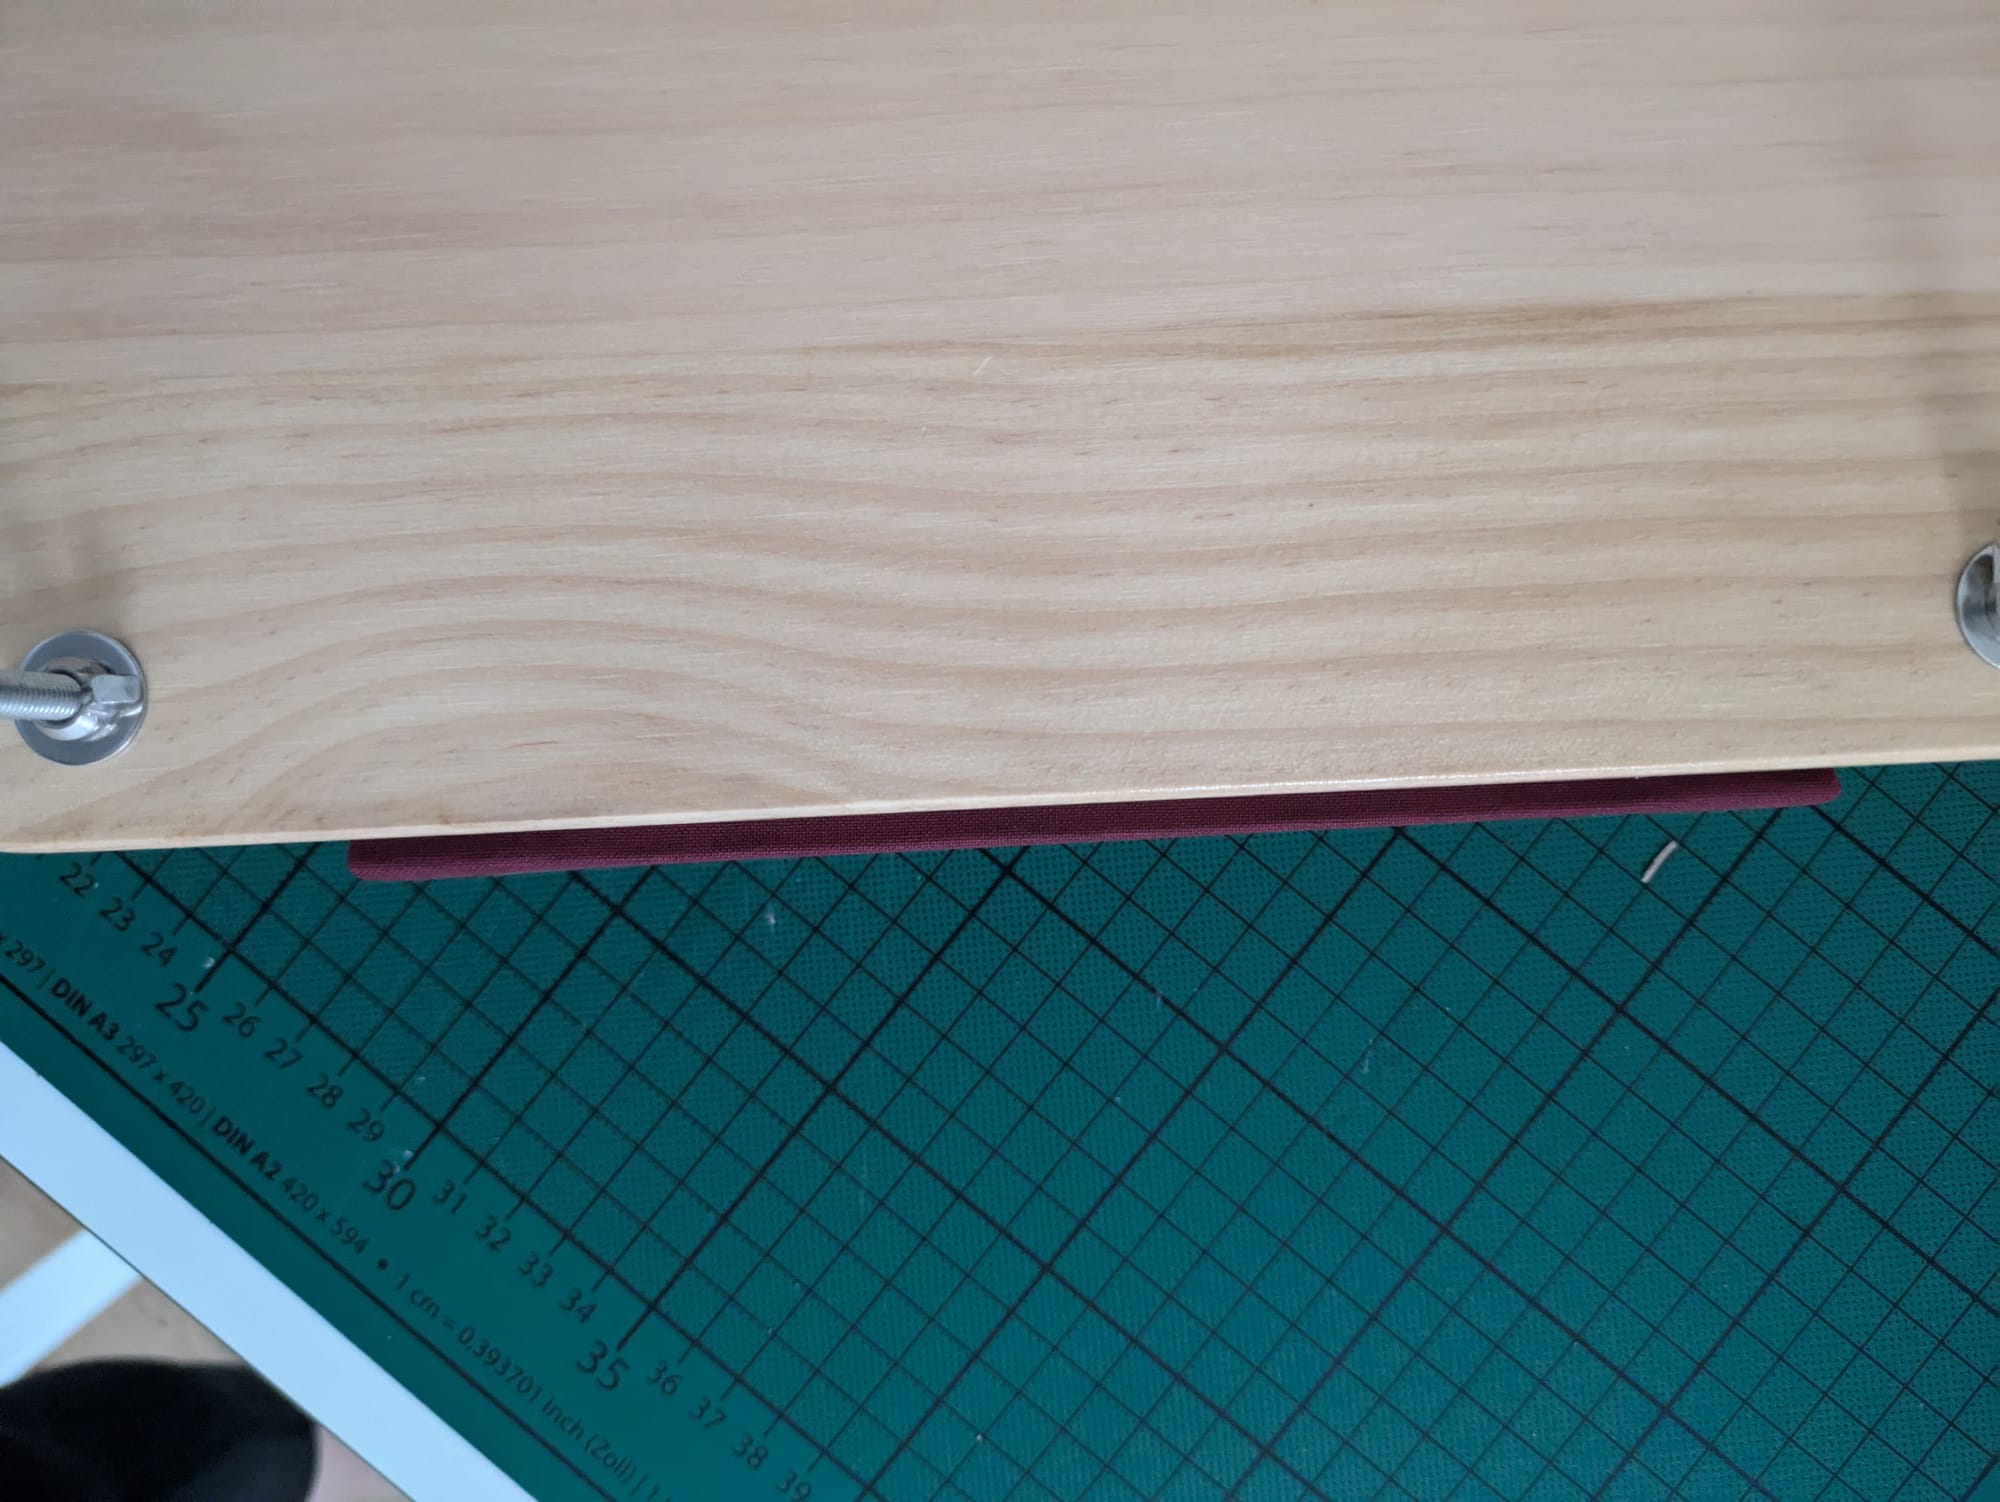
Pressing the book with the spine just outside of the pressing area, ensuring the hinge will form nicely and the spine will not get compressed.